Nobody likes a messy, old, smelly fridge. If it’s not quite time to upgrade yet, then keeping on top of mess and smell is important.
Having a system for where things go can help you better identify odour and keep the fridge from getting crowded. Not only does a tidy fridge mean a clean fridge, but it also means a clearer mind.
But sometimes it doesn’t matter how many times you’ve cleaned out your fridge and wiped it down, it still has a bad odour.
How to clean a smelly fridge
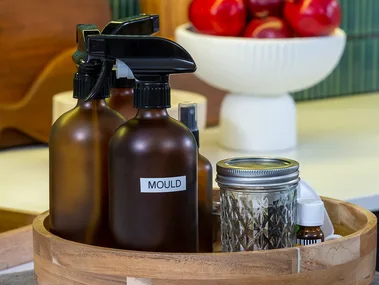
The answer is as simple as one natural deodorising ingredient: bicarb soda. Bicarb has a lot of uses around the home and is an affordable natural cleaner.
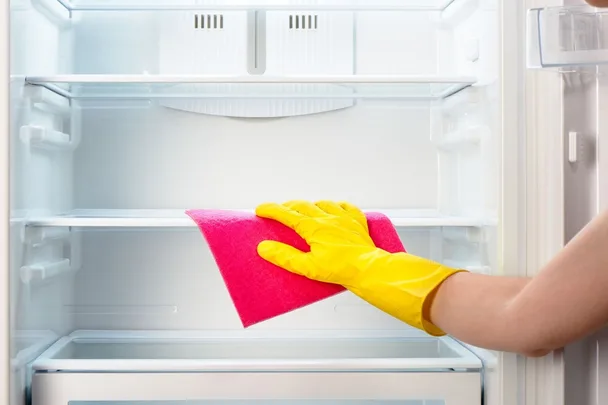
All you need to do is make a solution of 15ml of bicarbonate of soda and one litre of warm water. Use the liquid to wipe down the shelves in your fridge with a paper towel or clean cloth.
Paper towels are are super absorbent, making them ideal for cleaning up spills and messes in your fridge. Plus, since you’re using them with a cleaning solution, you can easily toss them after use for a quick and hygienic clean!
We highly recommend using VIVA regular multi-purpose cleaning towels. They are versatile, absorbent and durable, making them great for a wide range of cleaning jobs.
You can also stop your fridge from smelling in the future by leaving an open container of bicarb soda on a shelf over the back. It should absorb smells for around three months, so make sure you remember to replace it.
Now it should be as good as new.
How to organise a fridge
A clutter-free fridge it a thing of beauty. Follow this 10-step system to a tidy fridge. Once you’re done don’t forget to share your new system with all members of your household and encourage everyone’s help to stick to it.
Step 1: Start by taking everything out.
Step 2: Wipe down all surfaces of the fridge with warm soapy water, remembering door shelves and compartments. Let it all dry before putting back in.
Step 3: Consider each item you have removed. What do you actually use regularly and what doesn’t actually belong in the fridge?
Step 4: Larger jars of sauces and pastes can be frozen into cubes for ready use, to make space and to extend their life span.
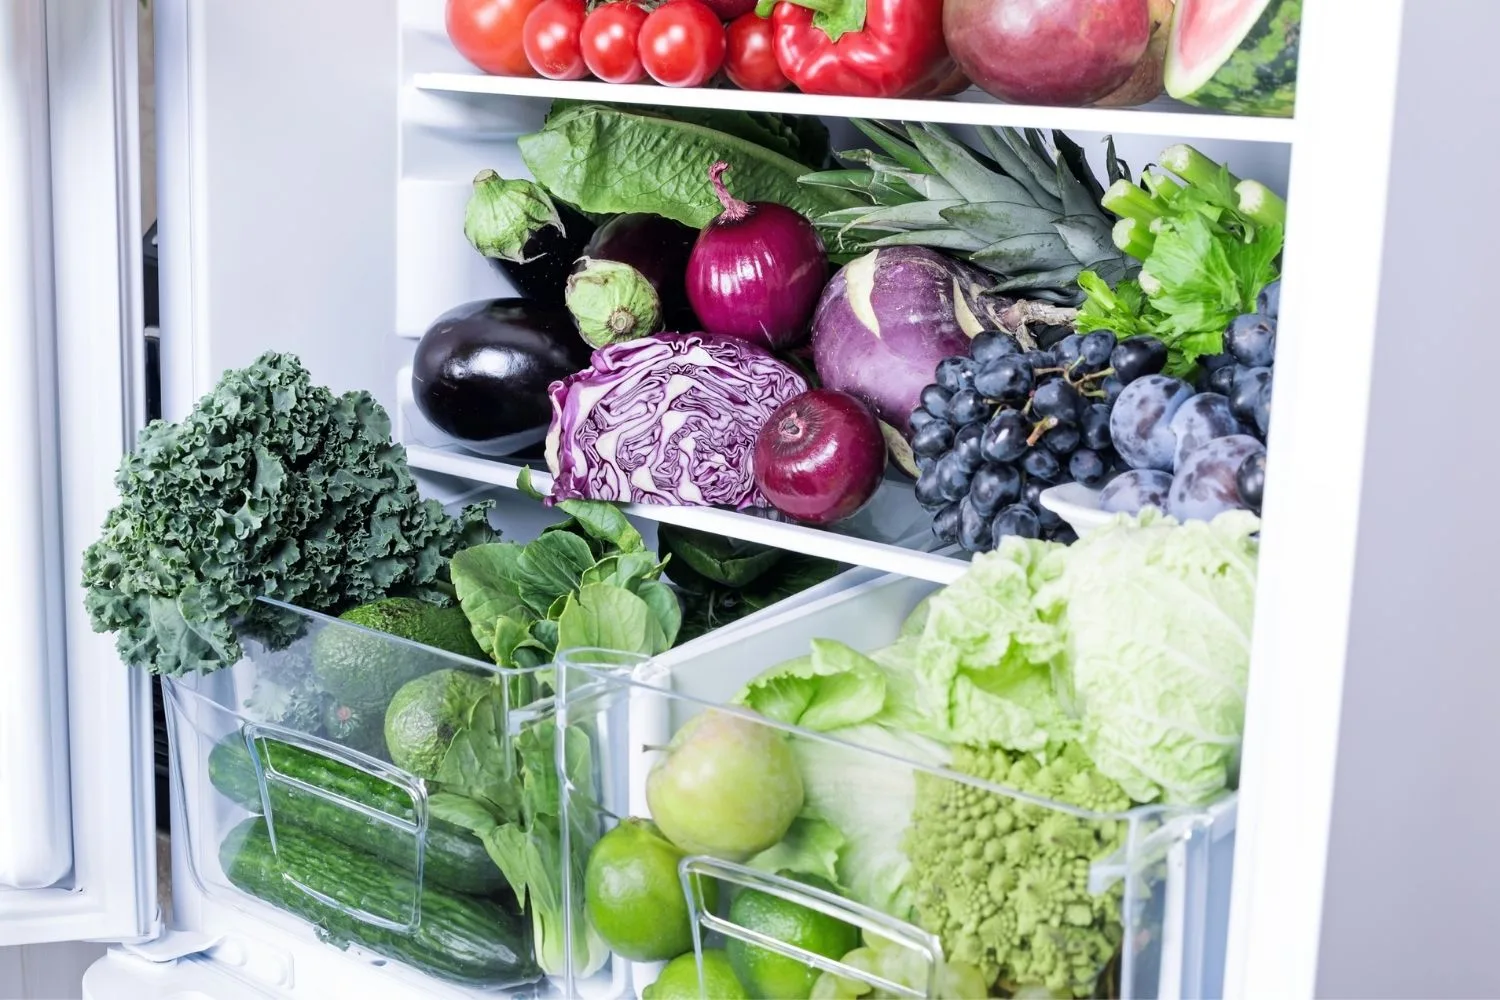
Step 5: Begin to replace items into your fridge. Put perishables at eye level where they are a visual reminder for use.
Step 6: Put greens, veggies and fruit in your crisper drawer where you can see what is there. Store harder, longer-lasting items beneath leafy greens so you don’t find soggy lettuce at the bottom down the track.
Step 7: Consider keeping items in sections e.g. fruit, veggie, dairy and meat. Follow your fridge guidelines as to the best area for each food type.
Step 8: Pull everything to the front of the shelves to prevent things being forgotten.
Step 9: Only buy what you need.
Step 10: For big, bulky items like watermelon, cut up and put in a large container or bowl as soon as you arrive home and unpack. This makes food prep quicker and takes up less space in your fridge.
Related articles:
- 6 side-by-side fridges made for maximising space and freshness
- Upgrade your grocery storage with these 5 top-rated fridges
- Discover the top 8 French door fridges for every home and budget
 Getty
Getty
