Gather your supplies
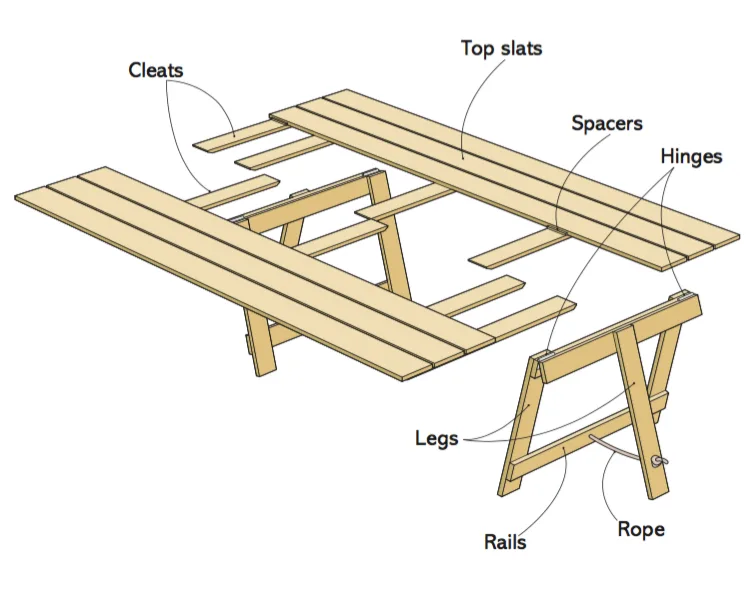
• Top slats (6) 140 x 19 x 2100mm clear pine
• Cleats (8) 90 x 19 x 850mm clear pine
• Spacers (2) 10 x 10 x 90mm pine offcut
• Rails (6) 90 x 19 x 850mm clear pine
• Legs (6) 90 x 19 x 730mm clear pine
You’ll also need
Large builder’s square; drill and bits; external PVA; 35mm external countersunk timber screws; sandpaper; Cabot’s Stain & Varnish (we used Indian Tea); Dulux 1 Step Primer, Sealer & Undercoat; Dulux Aquanamel (we used Lexicon); 75mm hinges (4); 8mm rope
Reference diagram
Here’s how
Step 1 Lay top slats on flat surface and, using builder’s square, align ends and square them to sides of table. On 1 slat, measure 20, 110, 310, 400, 960, 1050, 1520 and 1610mm from 1 end. Square across all 6 slats. This gives four 90mm spaces that are cleat positions.
Step 2 Shape a 45° bevel on underside at each end of cleats to remove sharp corners. Put 3 slats on a flat surface, glue and screw second cleat from end to outer slat so it’s spaced 20mm in from side of table. Use square to make straight and 35mm screws (don’t drive too deep). Screw to other 2 slats using 10mm spacers to maintain constant gap. Repeat for other 3 cleats.
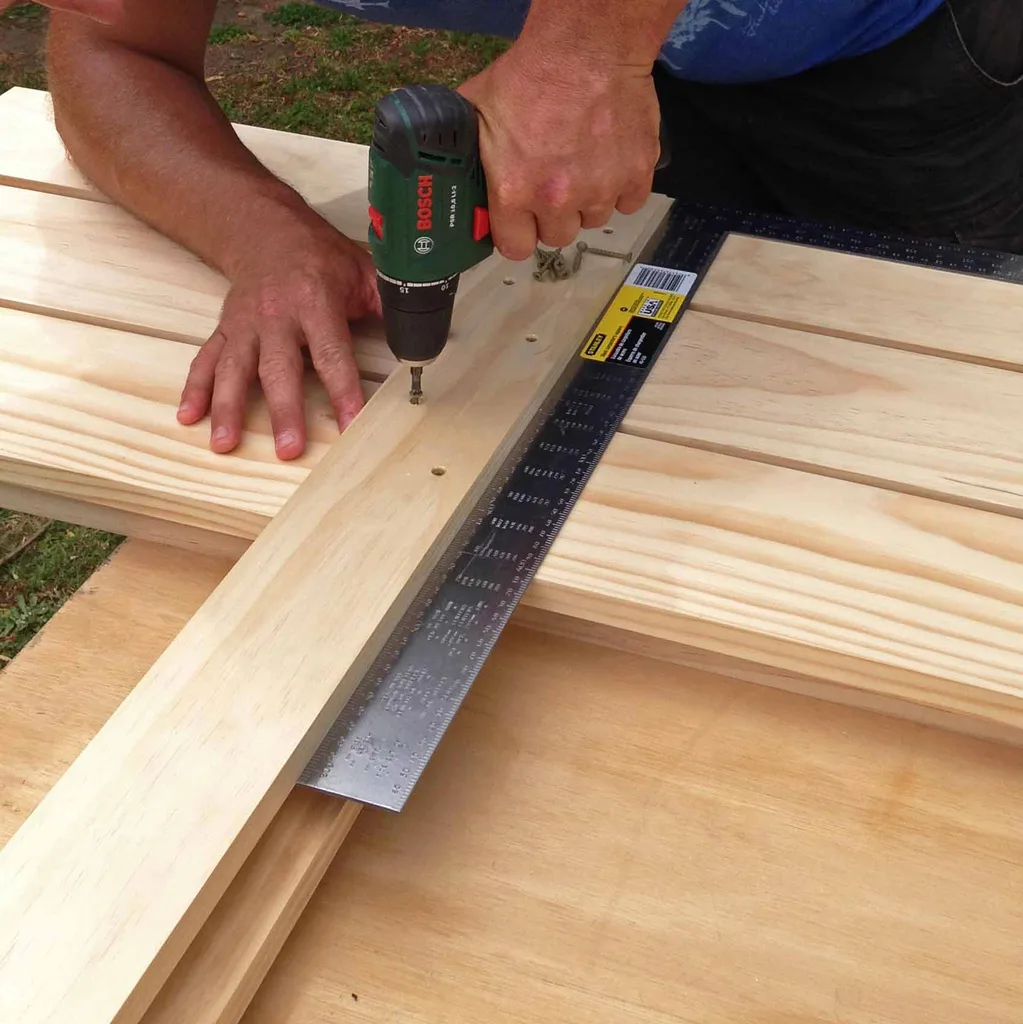
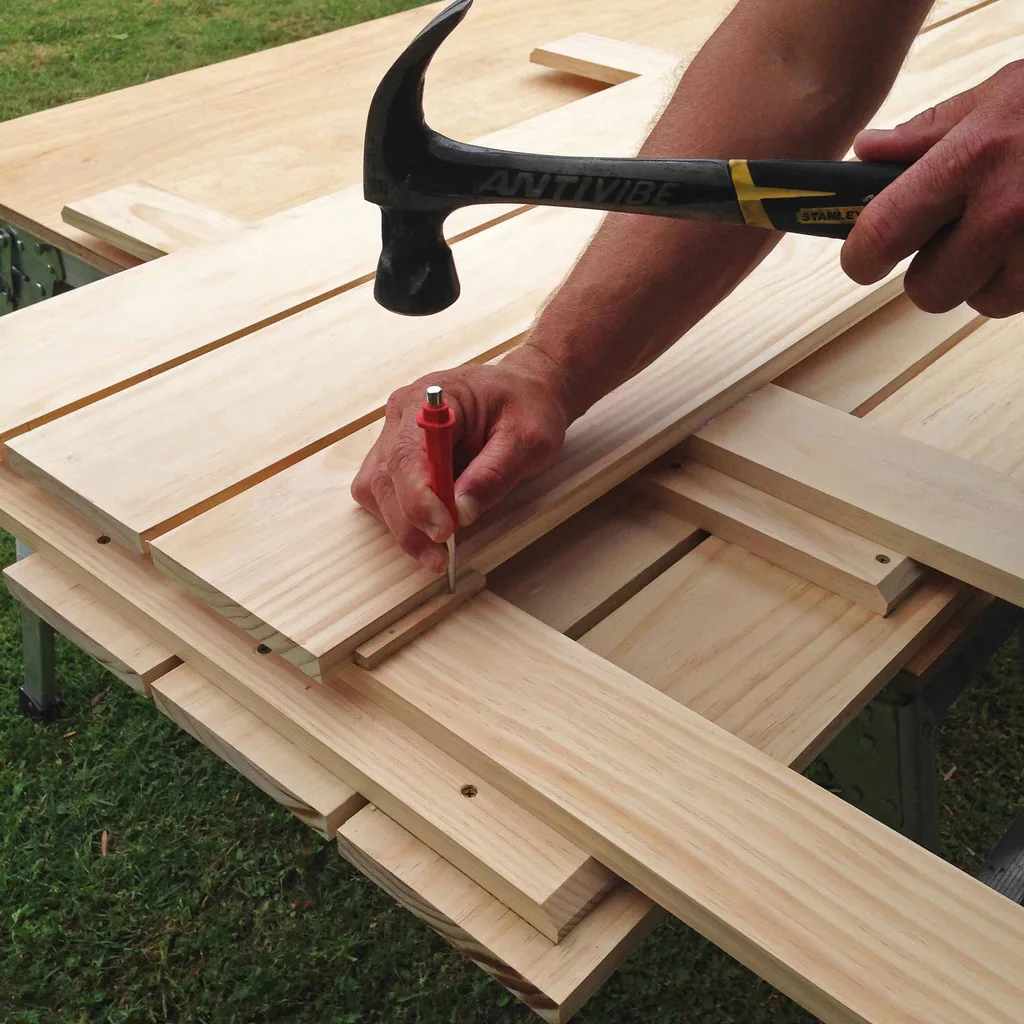
Step 3 Repeat Step 2 to make a second assembly exactly the same (you turn it 180° when fitting together). Glue and nail spacers against inner slats on this tabletop half only. This completes the 2 tabletop halves
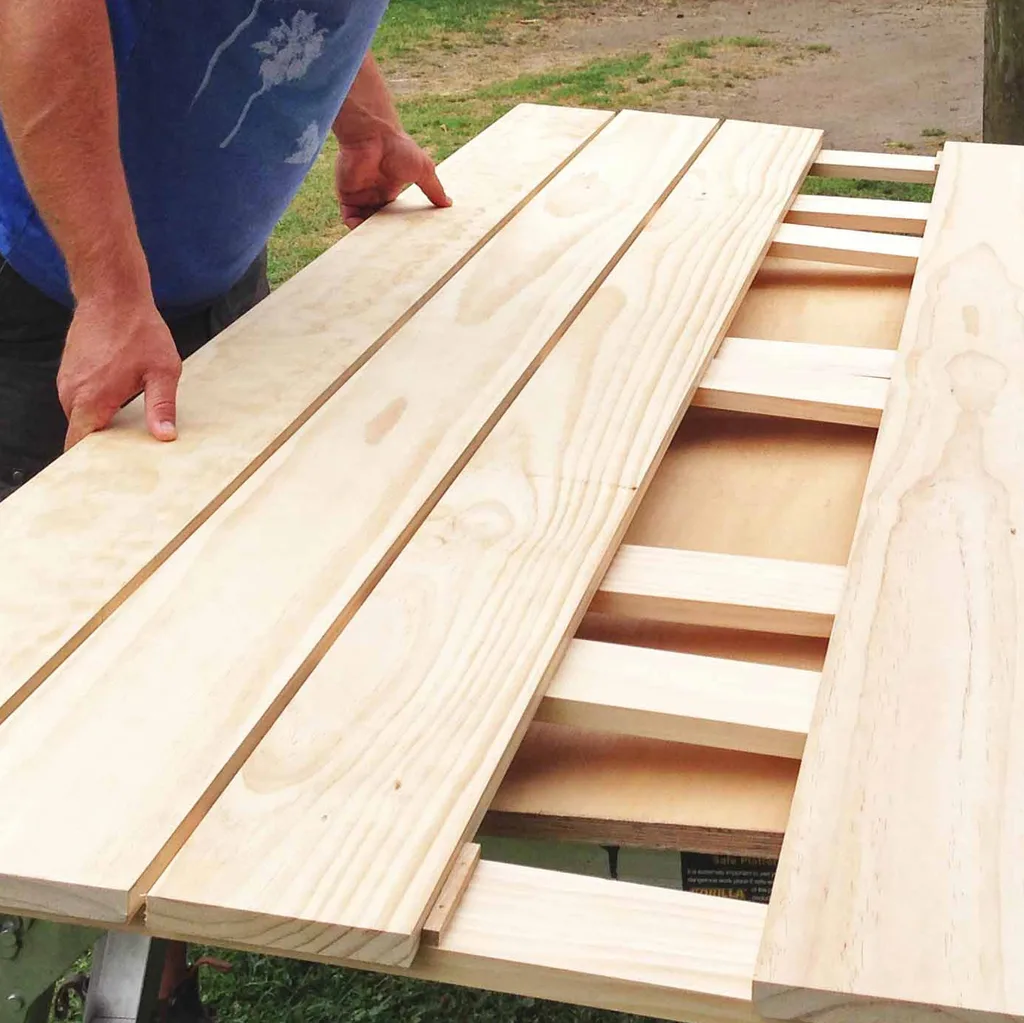
Step 4 Test fit halves together. Centre cleats slide against each other and there should be a 90mm gap adjacent to cleats 400mm in from each end.
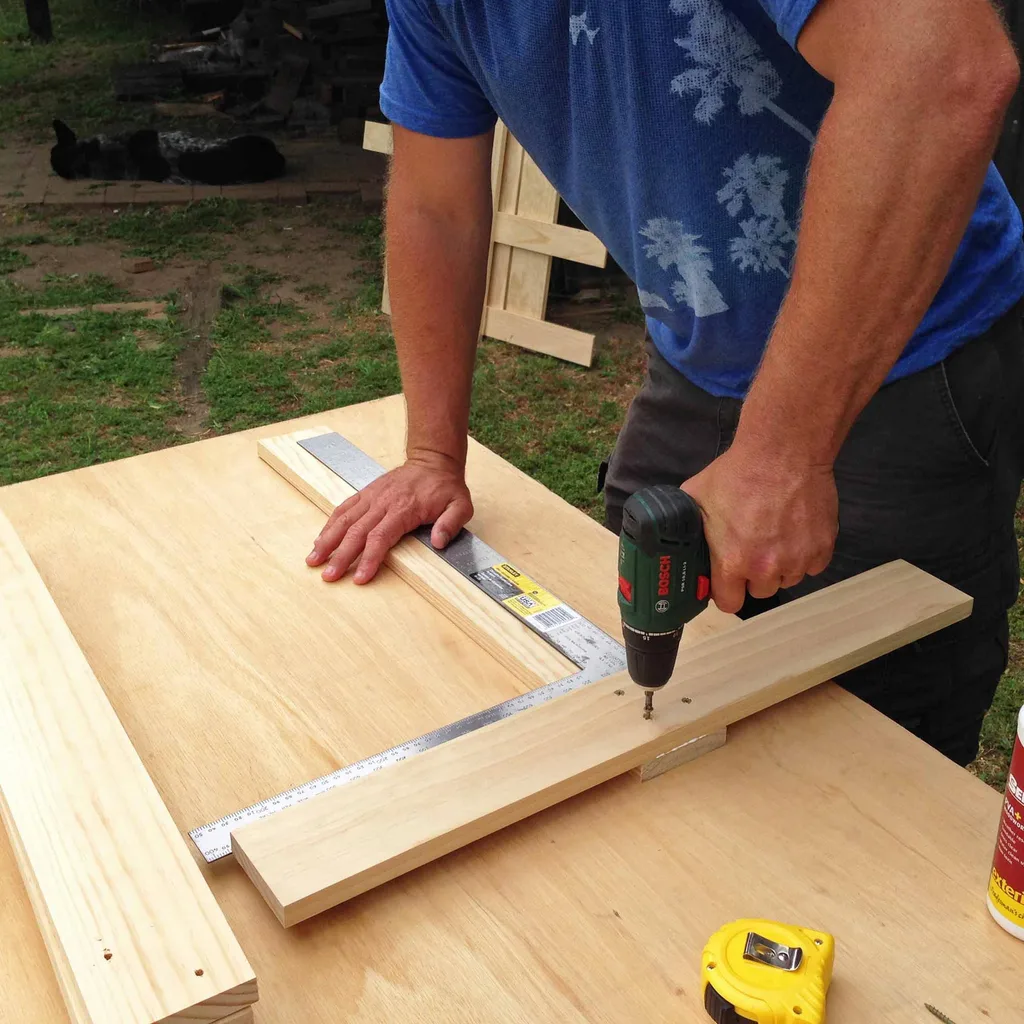
Step 5 Find centre of 1 rail, then glue and screw 1 of the legs to rail using four 35mm screws. Use square to ensure leg will be straight. Repeat to make a second T-leg assembly.
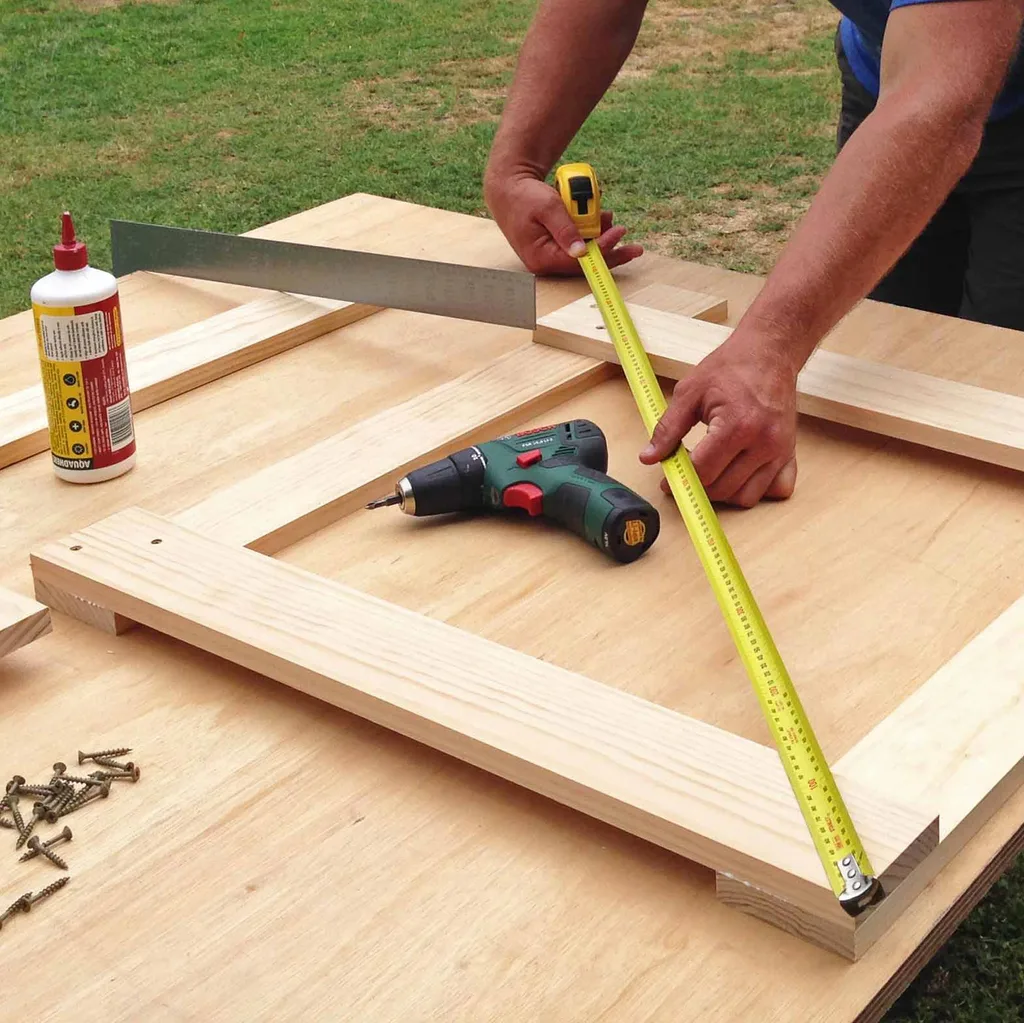
Step 6 Make 1 square leg assembly by screwing 2 rails to 2 legs, so they are flush at top and ends, and bottom rails 100mm up from bottom. Check diagonals to make sure assembly is square. Repeat to make a second square assembly. Sand tabletop and leg assemblies.
Step 7 Paint tabletop with 1 or 2 coats of Cabot’s Stain & Varnish depending on how dark you want stain. Paint legs with 1 coat of primer, then 1 top coat (we used a contrasting semi-gloss off-white) allowing paint to dry between coats.
Step 8 Screw hinges to top inside of T-leg assemblies so they are flush at top and with ends. Screw T-leg assemblies to square leg assemblies.
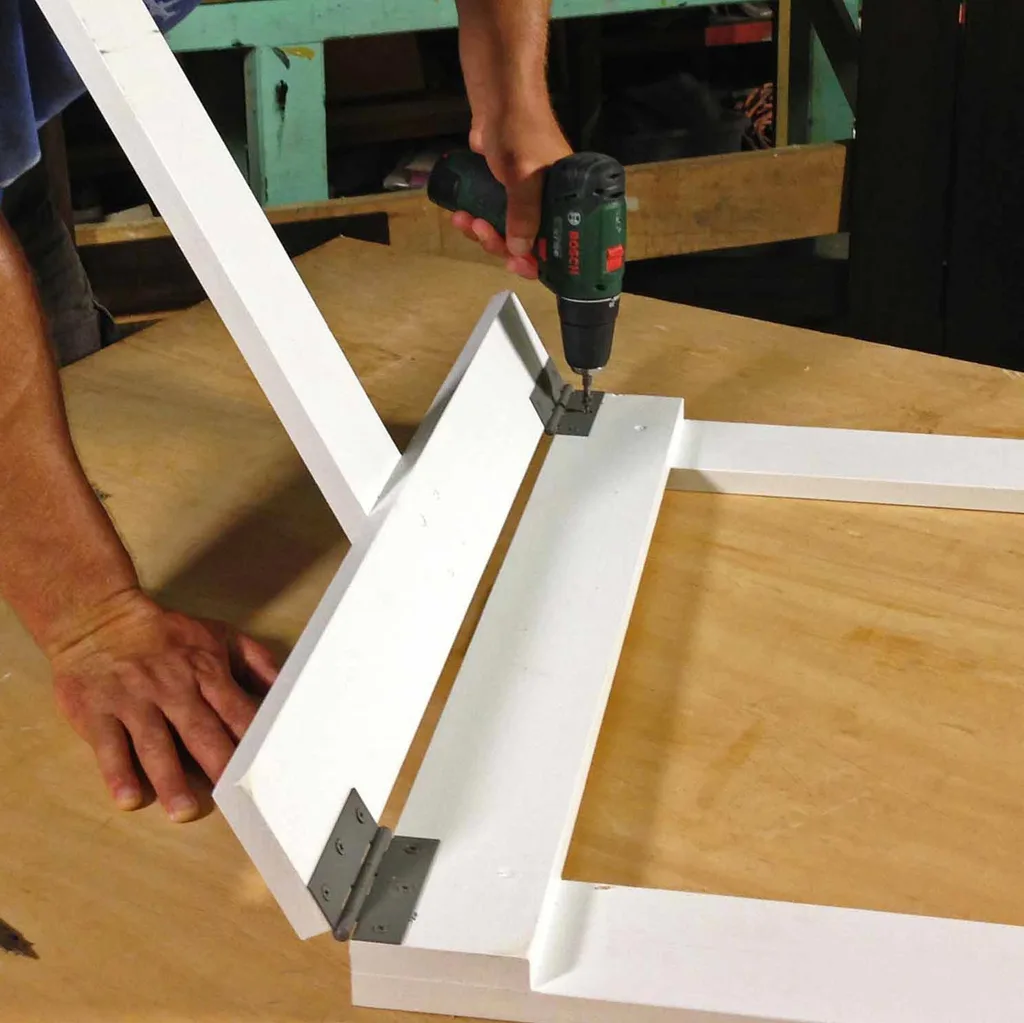
Step 9 Close up legs of 1 trestle and drill a 10mm hole through centre of where T-leg crosses bottom rail of square leg assembly. Cut rope about 500mm long and tape ends. Feed rope through holes and spread legs so they are about 400mm apart at bottom. Thread rope through hole and tie figure- of-eight knots at each end as a stay. Repeat for second trestle.

Step 10 Set out trestles so T-legs are at ends and place tabletop on top, so top rails of leg assemblies sit in 90mm gaps on underside of tabletop.
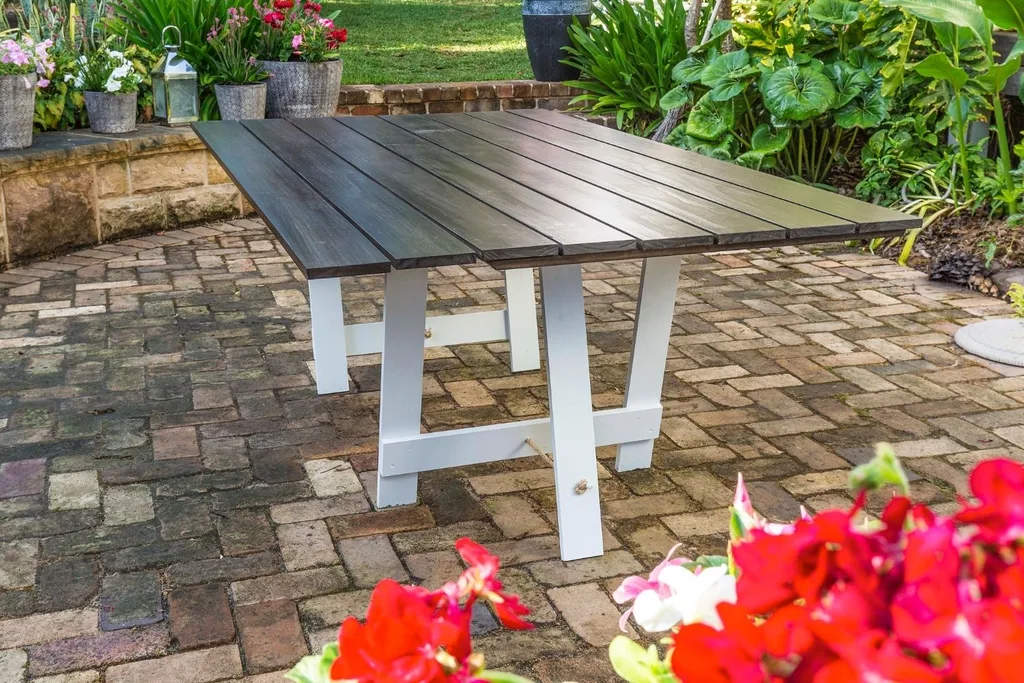
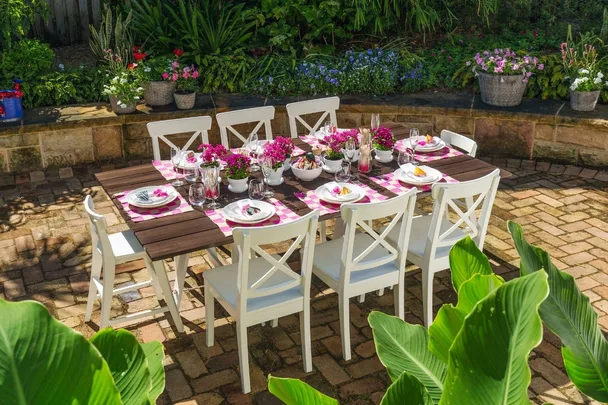
Your table is now ready to be dressed!
You might also like
Build an outdoor table and benches
How to make a gabion table setting
