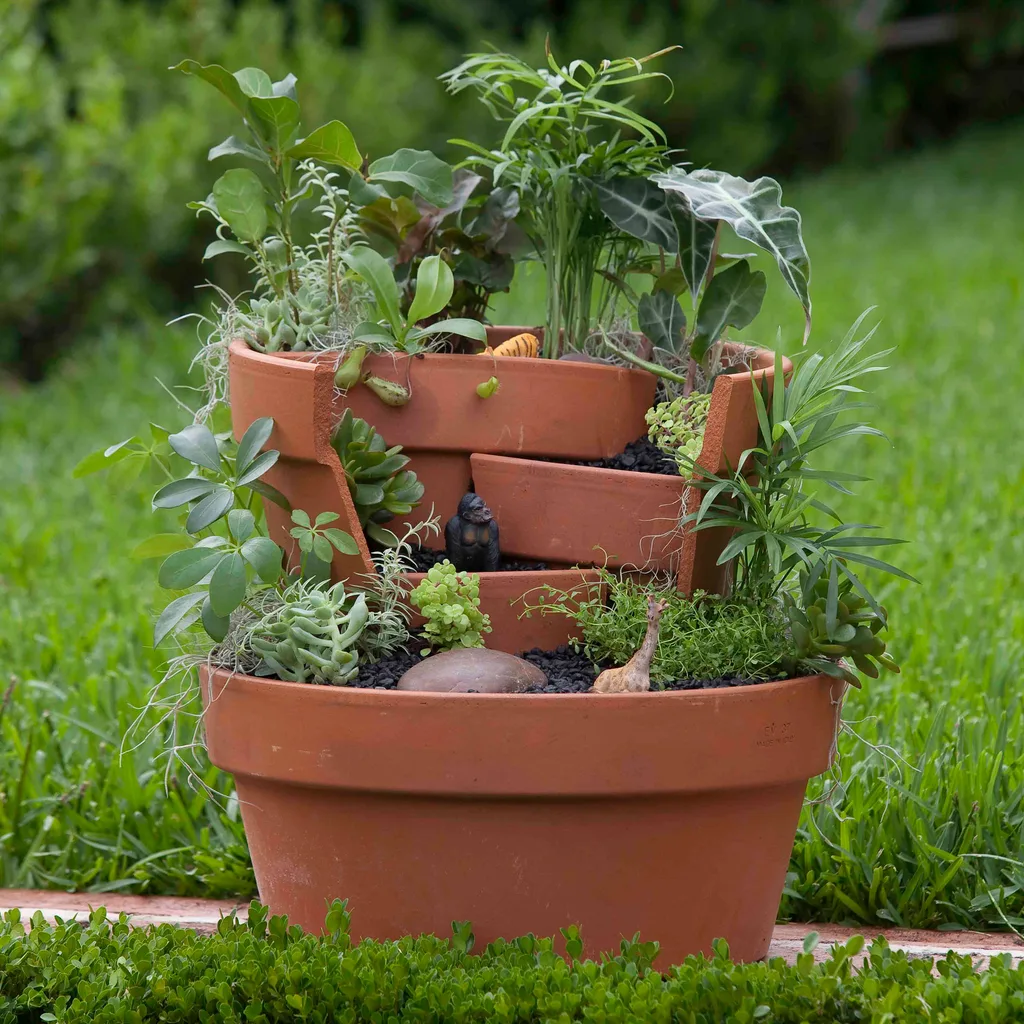
If you’ve got a fairy-obsessed child, then this fairy garden project is for you.
WATCH: How to make a watering can fairy garden
We’ll show you how to transform broken terracotta pots into a whimsical fairy garden, perfect for little kids with big immaginations.
Create your own magical fairy garden: A step-by-step guide
Gather your supplies:
- Broken terracotta pots or intact pots (to be broken), various sizes
- Craft drill or file (such as a Dremel Multi-Tool)
- 1 large shallow terracotta pot (to be left intact)
- Potting mix
- Small pebbles
- Small garden ornaments (such as a fairy house and fairies)
- Plants (see Notes and What we planted, below)
You’ll also need:
Safety glasses; disposable dust mask; protective gloves; hammer; trowel
Notes:
- Choose plants with small leaves or bonsai trees to keep everything on a fairy-sized scale.
- Go for plants with a variety of colours and textures, just as you would in a real garden.
How to make your fairy garden
Step 1
If working with intact pots, put on safety glasses and dust mask and use craft drill or file to create a weakened outline and break out a big piece. Tip You can also use a hammer to break pots, wearing gloves for safety.
Tip: You can also use a hammer to break pots, wearing gloves for safety.

Step 2
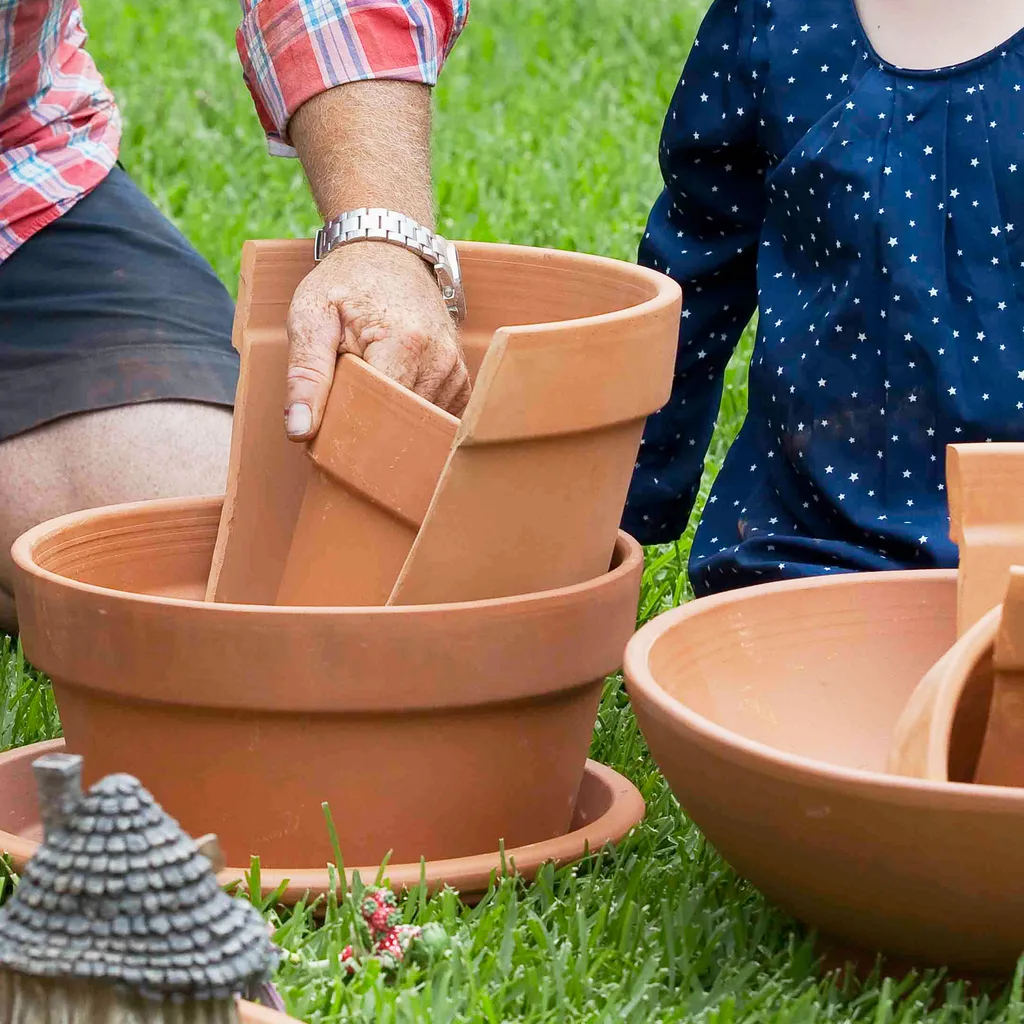
Arrange pot shards in the large pot, layering to create platforms on different levels.
Step 3
Fill with potting mix, making sure pot shards stand upright and stay in place.
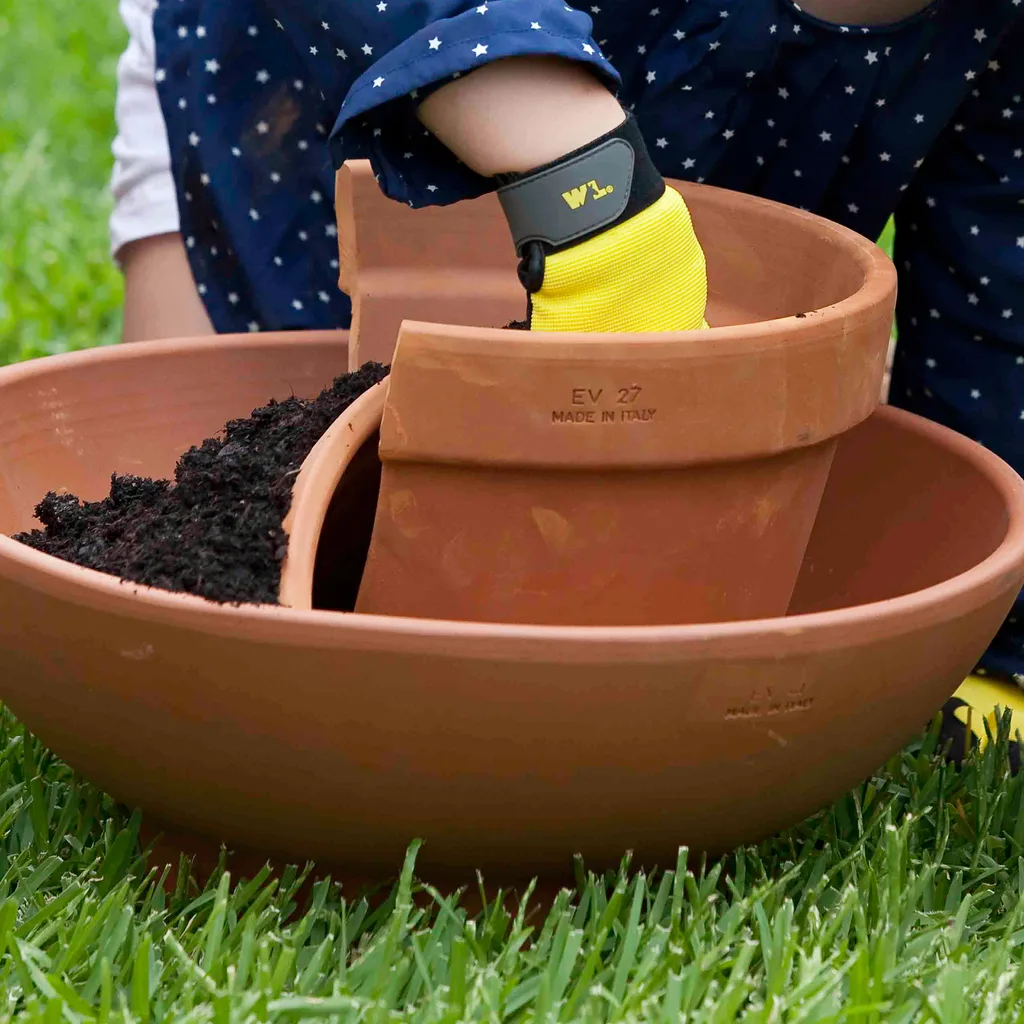
Step 4
Start planting larger plants, leaving space for the ornaments.

Step 5
Fill in gaps with smaller plants and water in.

Step 6
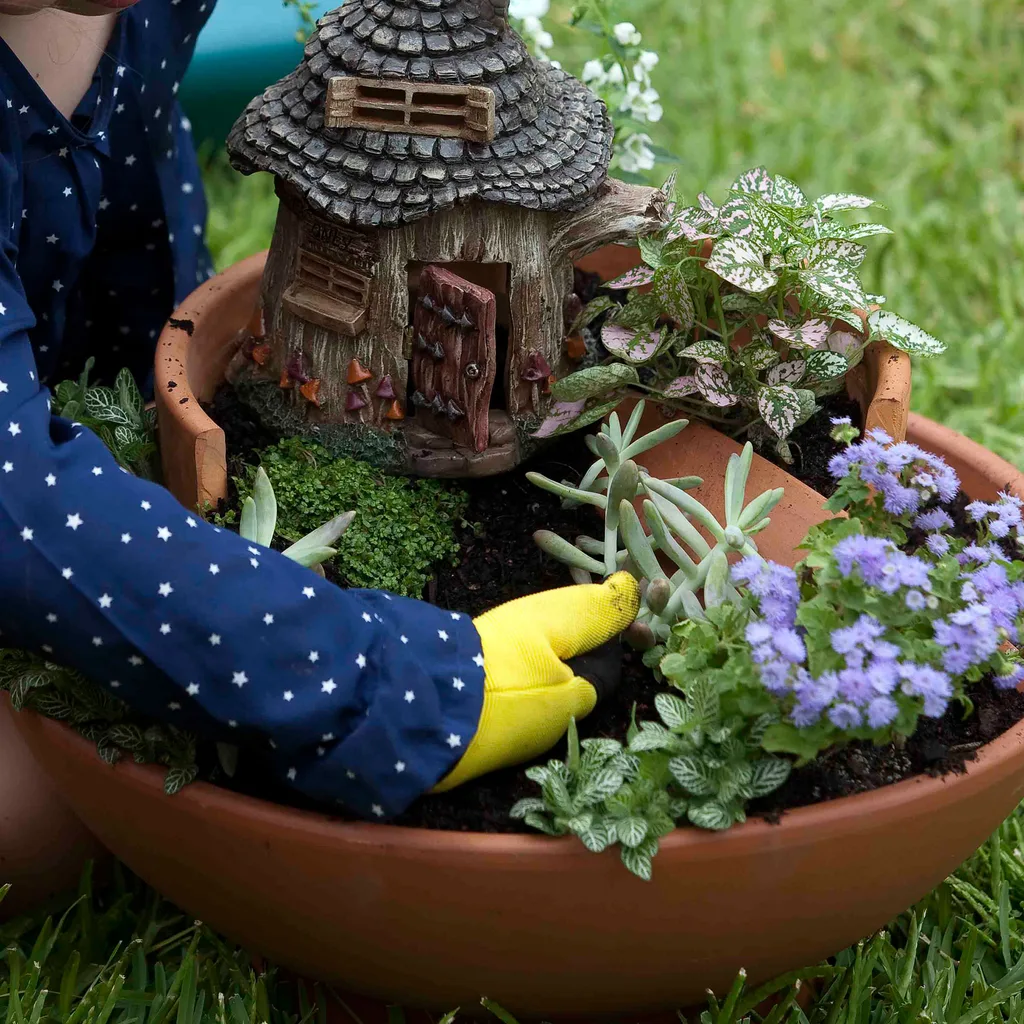
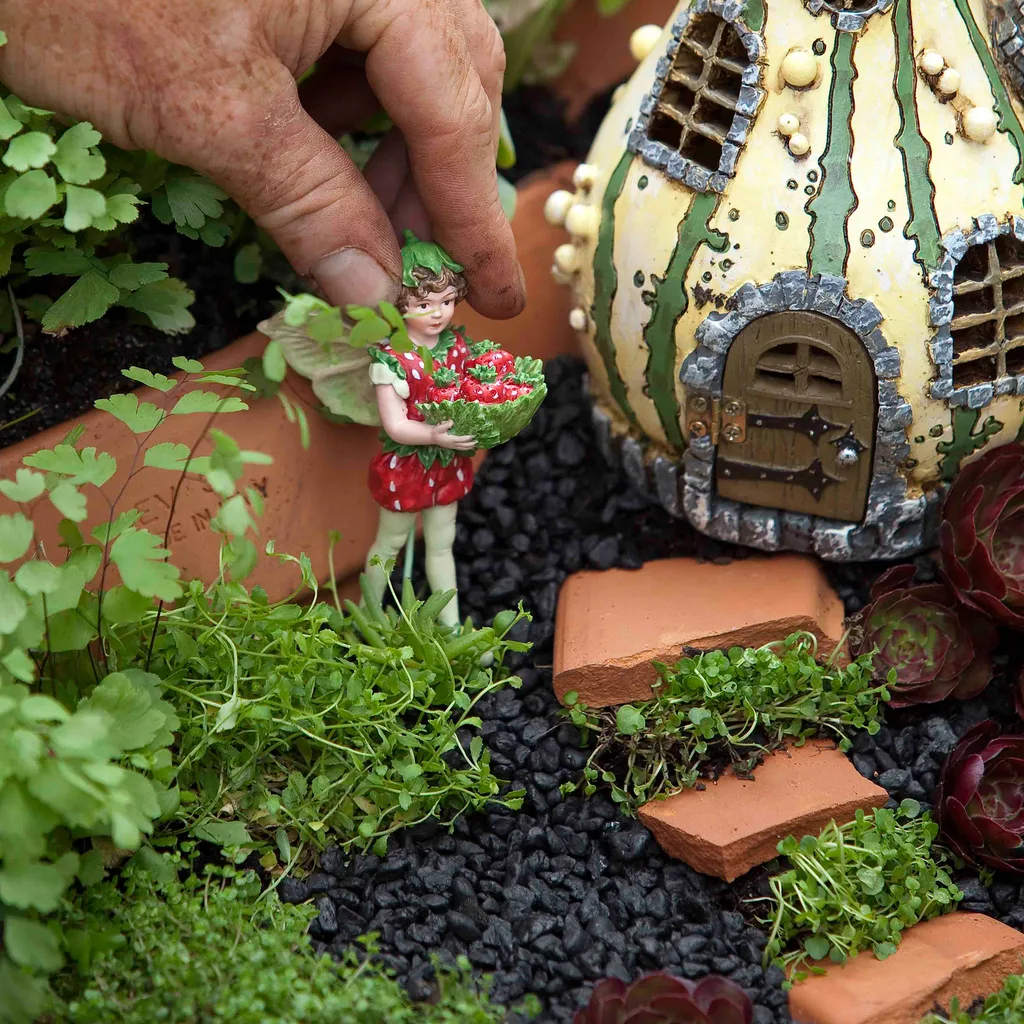
Place the larger ornaments in spaces. Carefully break additional pot shard into small pieces and place as step pathway.
Step 7
Scatter pebbles around plants and steps, then arrange fairies and remaining ornaments around your layered garden.
Step 8
Place in a sunny position add water weekly.
