Many things can go wrong with doors, but thankfully most repairs are fairly simple. Take these three different problems. A sliding door has lost a chunk of timber at the bottom – it’s expensive to replace, so it’s worth making repairs. A kitchen cabinet door with broken hinges can be made good as new by replacing the hinges. And fighting a door that is scraping on the floor is annoying, but often easily fixed. Whether you’re opening them to new vistas or closing off the kids, you can make them work like… doors!
It is not uncommon for the bottom leading edge of a sliding door to split away. The roller assemblies have been housed in the bottom so the timber is thin. Doors are often made in layers, so if the door comes off its track it will invariably land on an edge, and the face of the door could split away. This is made worse if the bottom of the door gets wet during rainy weather. The roller assembly will likely break away as there isn’t sufficient timber to hold the screws. However, all is not lost.
Gather your supplies
Exterior PVA glue; 2-part resin filler; belt or orbital sander; primer, sealer and undercoat; enamel topcoat; replacement roller assemblies.
Here’s how
Step 1 Save broken-off piece or pieces if you can. Lift door off its track and pull out at bottom, making sure roller assembly clears track. Lay door on saw horses or similar with damaged side up. Remove both roller assemblies, but save them so you can buy identical replacements.

Step 2 Clean up damaged area to remove dirt and spider webs. Check broken piece will fit in place. If not, cut a new sliver of timber to roughly fit in place. Apply glue to face of door frame.

Step 3
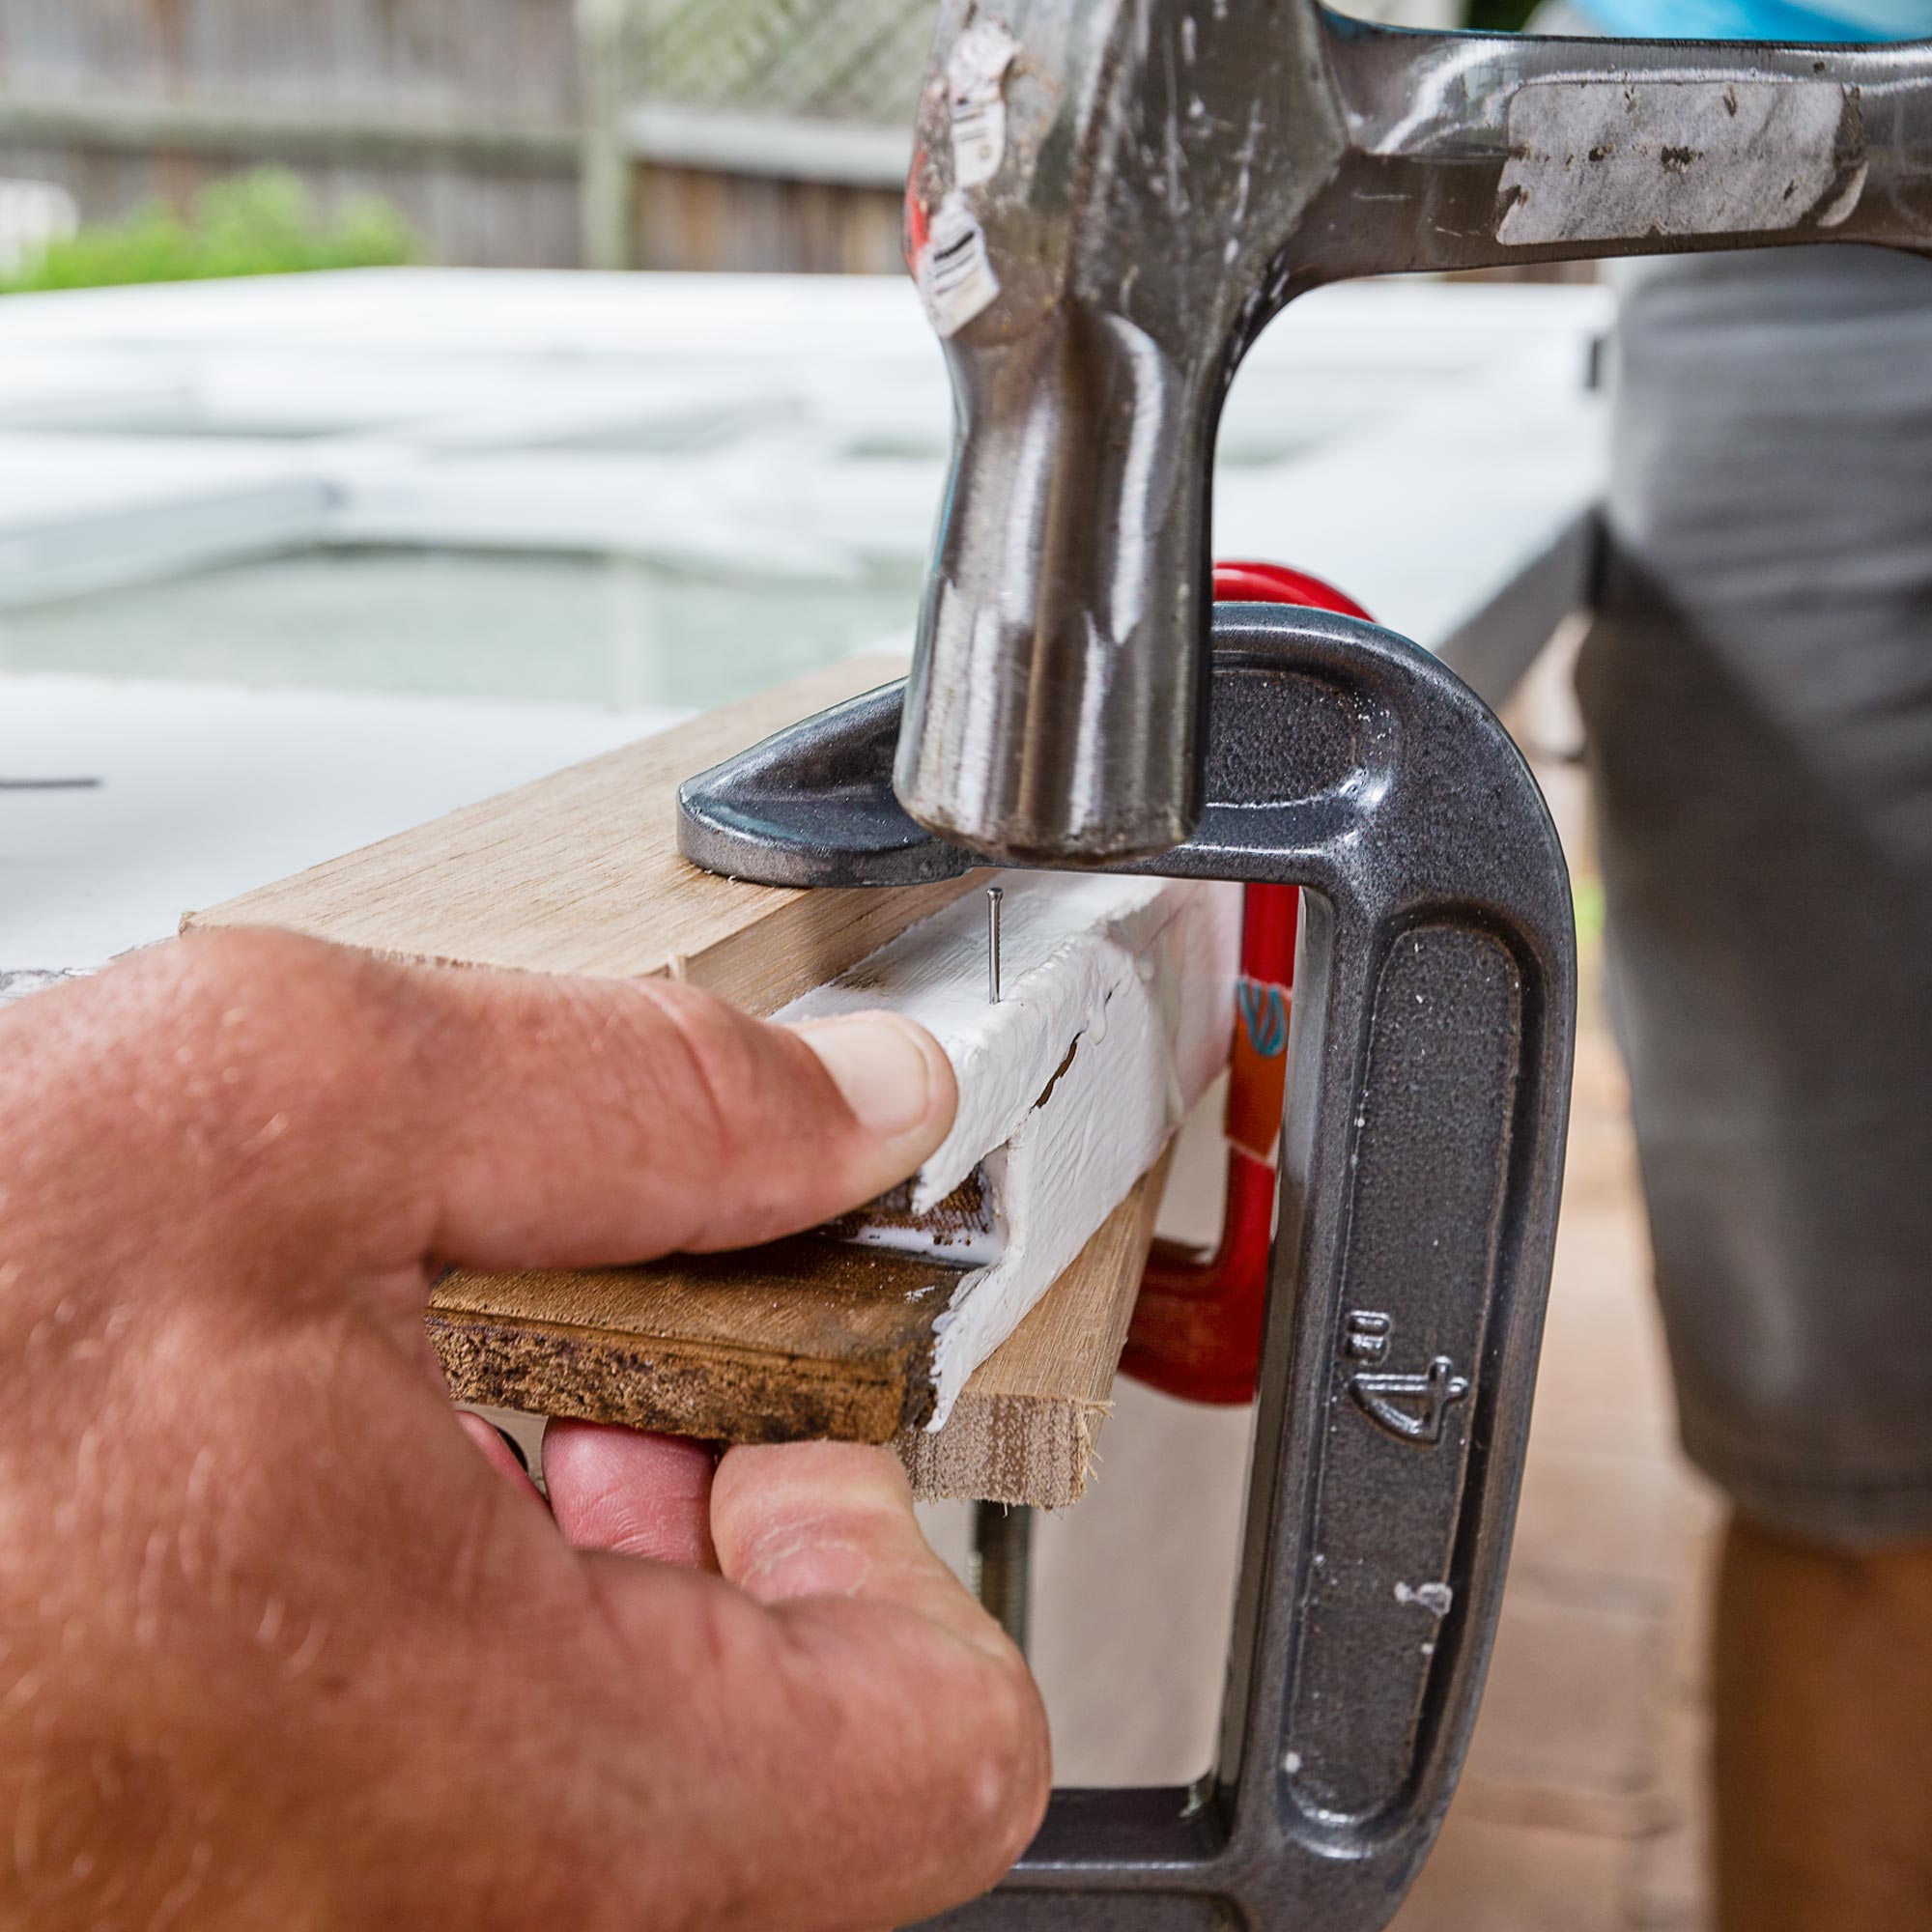
Put broken or replacement piece in place and hold with a clamp using an offcut of timber to give even bearing to all pieces.

Step 4 Use fine 15mm or 20mm nails to reinforce timber. It’s best to predrill to avoid splitting the already broken timber. Punch nail heads below surface. Let glue dry.
Step 5 Mix a small quantity of 2-part resin filler and fill gaps between door and patched pieces. Do not fill too high, as you will have to sand it off. Also, do not get filler into cavity that takes roller assembly or you will have trouble fitting it.

Step 6 When set, sand back filler using belt or orbital sander. Depending on surface, you may need to repeat Steps 5 and 6 for a smooth surface.

Step 7 Paint repaired area or whole door with primer, sealer and undercoat, followed by 2 coats of enamel to match existing doors.

Step 8 Fit new roller assemblies at both ends of door and adjust so roller is nearly fully up. Screw in place, then stand door back in its position on tracks. Use a screwdriver to raise or lower the rollers at each end so that door is in alignment and rolls smoothly.


Related stories

Native ad body.

Native ad body.


Native ad body.

The 3 improvements to make in your own Dream Home