Winter is the time of the year when many of us hibernate indoors and eat hearty meals. But our reluctance to leave the house in dismal weather often results in big weekly shops, and our pantries are slowly filled with the memories of grocery shops past. Spring will soon be upon us, which means it’s time to do a thorough post-winter pantry clean out so you know exactly what you have in your pantry, and you can start planning meals around what you already have, save a little money and reduce your food wastage.
Step one: get ready for the clean out
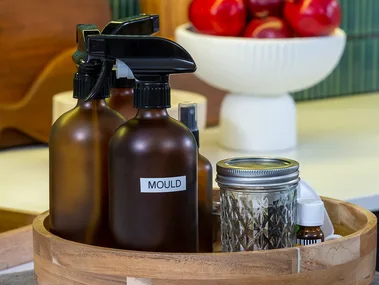
Designate an area in your kitchen, on the bench or on the dining table where you can put everything you’re trying to sort out. Have some storage containers or bags handy in case you need them, as well as some cleaning products for your pantry, such as a spray cleaner and microfibre cloth. Place the bin next to the table so you can easily toss items you don’t want.
Step two: Pull everything out
Pull absolutely everything out of your pantry and start checking expiration dates on all your food. Check if they’ve been opened and if so, what the shelf life is once opened. As you’re working through, toss expired items into the bin, and place items in groups of similar products on your work space. Group sauces and condiments together, snacks together, baking supplies such as flour and sugar together, etc.
Step three: Clean your pantry
Using a cleaner of your choice, give your pantry a thorough clean, removing all left over residue from sauces, any spilt flour or salt, etc. You with this pantry to be clean and fresh for new food.
Step four: check your lighting
Once everything is removed from your pantry, take a moment to consider whether this little storage space gets enough light for you to see clearly into it. If not, there are many inexpensive battery-operated lights that can stick on to a wall or the underside of a shelf to provide some extra lighting.
Step five: reassess the food you are keeping
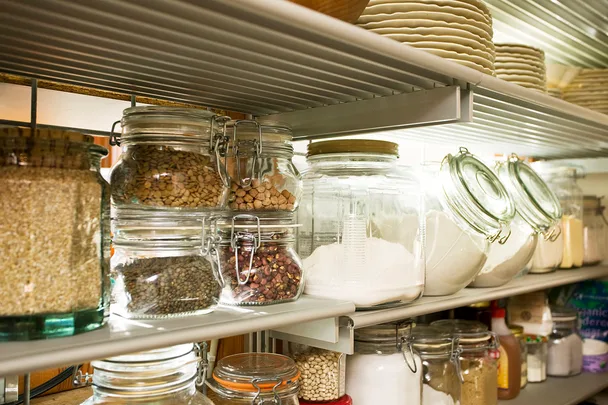
Take stock of the food you have in your cupboard right now, and start writing down recipes that can use up the ingredients you have lying around. Once this is done, take a good look at the packaging of your pantry supplies. Should anything be put into Tupperware containers for more efficient storage? Is anything looking damaged or torn? Would you be able to see/use it easier if it were packaged differently? Is anything leaking or sticky? Whatever you decide, this is the time to wipe down bottles, transfer pasta or cereal into air-tight containers or pop the flour and sugar into resealable bags.
Step six: pack it up
Pick a shelf for each group of items, keeping the most used products at the most accessible point. Arrange herbs and spice for cooking together on one shelf, sauces and condiments on another, cereal and other breakfast foods on one shelf, snacks on another, etc. If you’re short on space, consider sectioning off groups of products using storage baskets or other organization products. Finally, remember the many:few arrangement technique: one row of products set closely together at the back, and one row of fewer items spaces farther apart at the front, so you can easily see and access whatever is on the shelf.
You might also like:
This bloggers pantry is next level amazing
Why you should always clean the kitchen first
