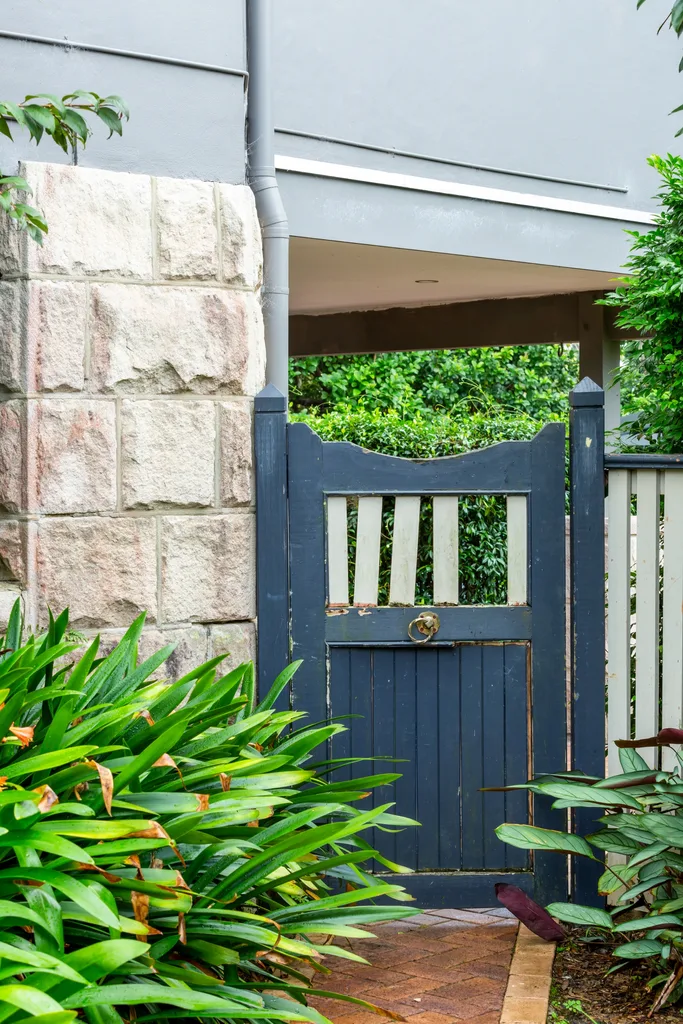
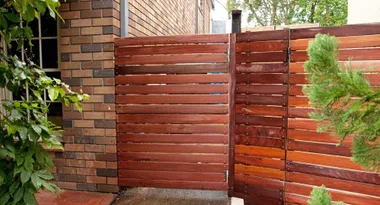
Does your garden gate look ok, but upon closer inspection it’s rotting and overdue for replacement? Well, you’re not the only one and as Adam explains, a gate that doesn’t shut properly risks the safety of our kids and our pets.
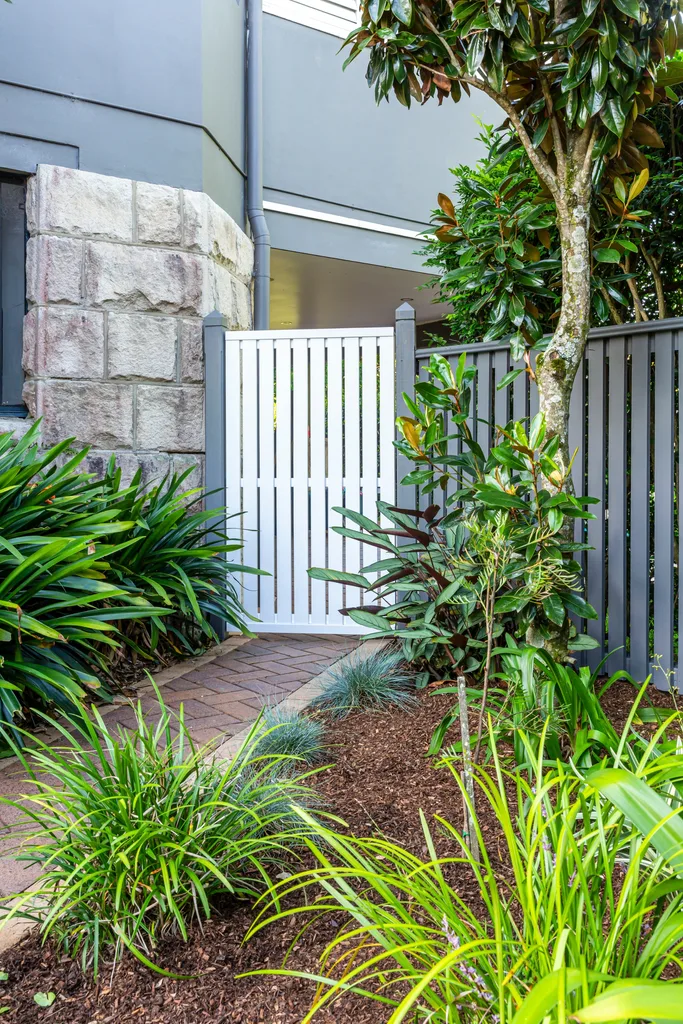
If your old timber framed gate is too far gone to be restored, Adam’s got a long-lasting and easier-to-make option, a prefabricated metal frame you can buy off the shelf at your hardware store. Timber slats give this new gate a classic look and all this can be done in a day!
Gather your supplies
- 700mm gate rails
- 1400mm gate frame kit
- Gate latch
- Metal spray primer
- Duramax Enamel spray paint
- Exterior paint
- 66 x 18mm x 2.7m H3 LOSP primed pine (5)
- 42 x 18mm x 2.7m H3 LOSP primed pine
- 42 x 42mm x 2.7m H3 LOSP primed pine
- 8g x 30mm and 65mm galvanised countersunk screws
- 10g x 50mm galvanised hex head screws with hex nut driver
You’ll also need
- Drill
- Tape measure
- Felt-tip pen
- Clamps
- Jigsaw with metal blade
- 120-grit sandpaper
- Hammer
- Impact driver
- Acetone; cloth
- Mitre saw
- Builder’s square
- Spare pine; pencil
- 5 and 10mm spacers
- Combination square
- 8g countersinking bit
- Timber filler with scraper
- Mini paint roller with tray
- 3.5mm bit
For you to note
- We used a Fortress Gates 1400mm-high frame kit with 700mm horizontal rails. To choose your frame, measure from the ground to where the top of the gate will be, subtracting at least 50mm for clearance. For rails, measure from post to post. Adjust your timber measurements to fit your gate frame.
- Check your in-ground posts are straight and in good condition. If the timber is rotted and they’re not solid enough to hold a new gate, then replace them.
- For an inward-swinging gate, as here, install hinges and latch inside, on the back of posts.
- When using cutting tools and spray paint, wear safety equipment and work in a well-ventilated area over grass or a dropsheet.
- Use an impact driver to install self-drilling screws.
- For outdoor applications, always use treated timber and galvanised or stainless steel hardware.
How to build a wood gate with a metal frame
Step 1
Remove the old gate, latch and hinges. Measure opening between posts (here, 810mm) and subtract 20mm for 10mm clearance either side for final gate width (790mm).
Step 2
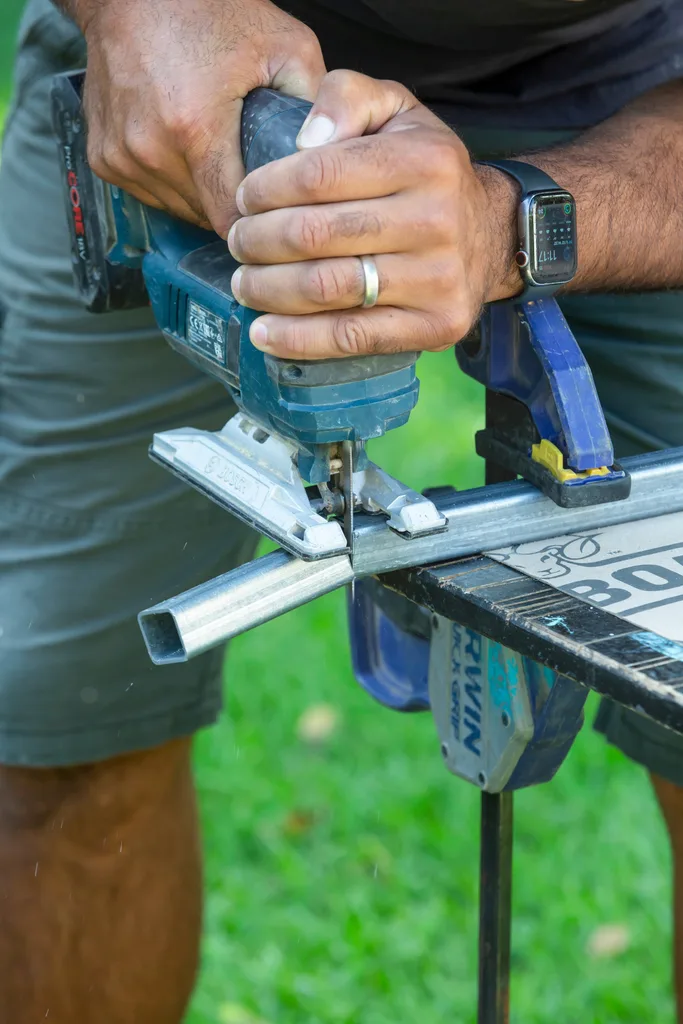
To cut 3 metal rails, subtract 200mm from final gate width to allow 100mm braces either side (590mm). Mark with a felt-tip pen, clamp and cut using jigsaw with metal blade. Sand off burrs with 120-grit paper.

Step 3
Clamp front gate frame. Position top, centre and base rails, tap together with timber offcut and hammer. Fit hinge side of frame, tap together. Use impact driver to secure joins from the inside, 120mm from sides, with supplied screws. Clean frame with cloth and acetone. Apply primer then 2 coats of enamel, leaving to dry after each coat.
Step 4
Apply 2 coats of exterior paint to all primed pine, leaving to dry after each coat. To make cladding, use mitre saw to cut ten 66 x 18mm pickets (1330mm long), three 42 x 18mm rails and two 42 x 42mm trims (all 790mm long).
Step 5
Make a temporary guide with spare pine and builder’s square, setting out two 90° butt-jointed corners a picket-length apart (1330mm) and end rail length (790mm). Use 65mm screws to secure to bench.
Step 6
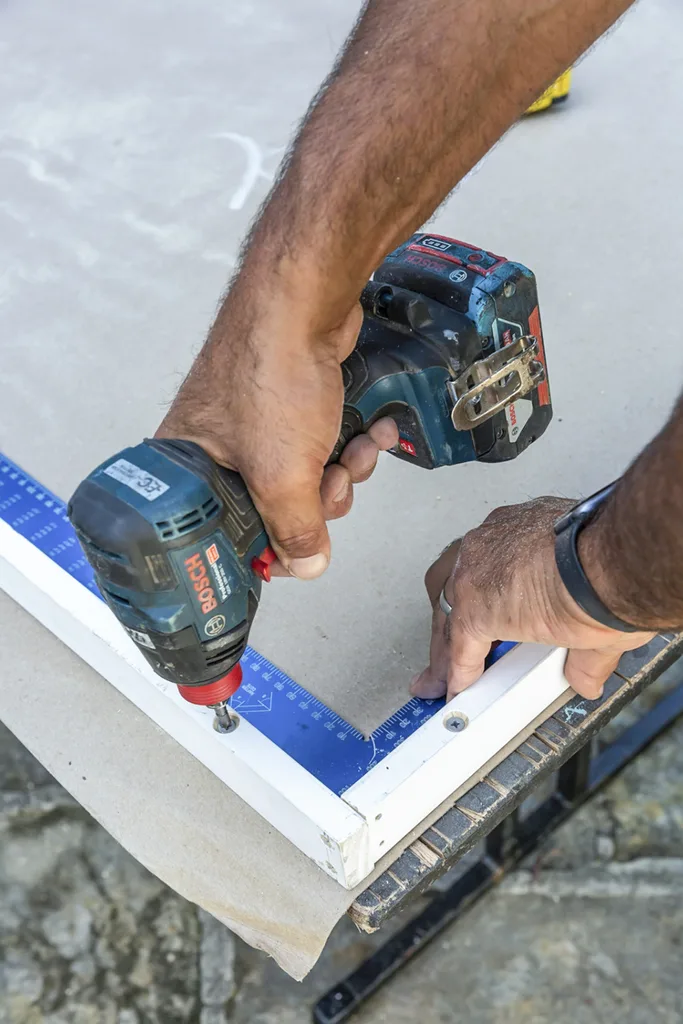
Position pickets against guide, with packers for 15mm gaps. Mark 2 lines along each rail, 10mm in from edges using combination square. Position rails at centre, top and base, flush with pickets. Use countersinking bit to predrill along lines, twice into each picket, offsetting holes. Secure with 30mm screws.
Step 7
Turn cladding front side up. Position trims against top and base. Countersink each with 4 holes, alternating into rails and pickets, securing with 65mm screws. Smooth over screw holes with filler. Touch up with exterior paint.
Step 8
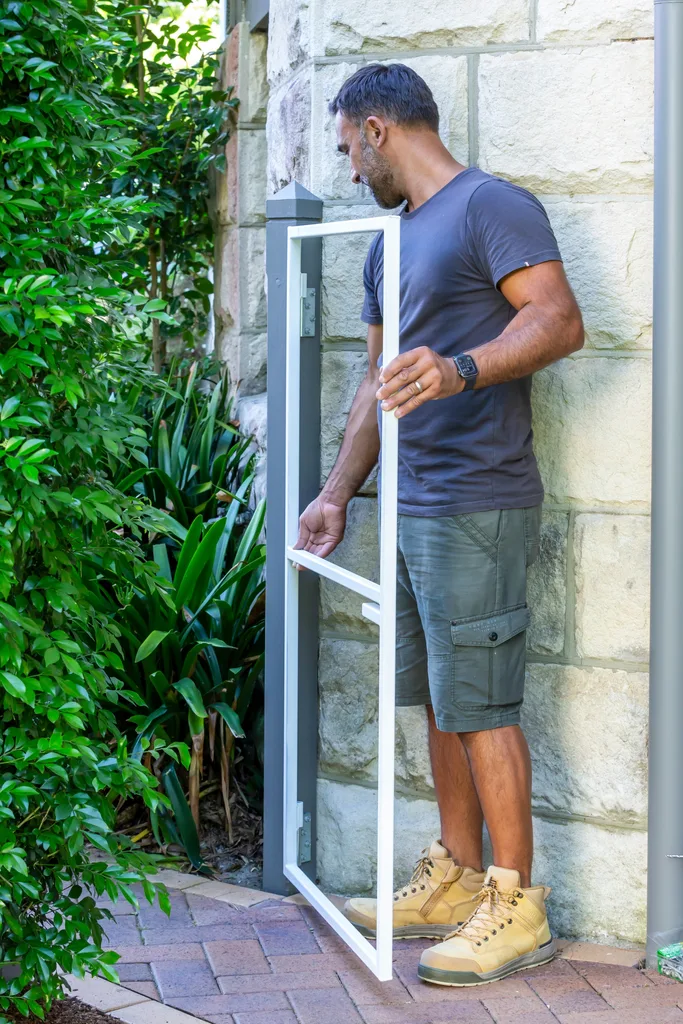
Place gate frame against back of post with a 10mm gap, rest on offcuts, to mark hinge positions. With plastic caps facing up, secure hinges to posts with 50mm hex head screws. Paint hinges to match post. Hang frame on hinges.
Step 9
Hold frame open with offcuts, use 3.5mm bit to drill through top and base rails, 150mm in from sides.
Step 10
Clamp cladding to front of frame, flush with edges. Secure through holes into trim with 50mm hex head screws.
Step 11
Position striker at top of frame, inside gate, to predrill and secure with supplied screws. Attach latch to striker, plate against the post, to predrill then secure through holes with supplied screws.