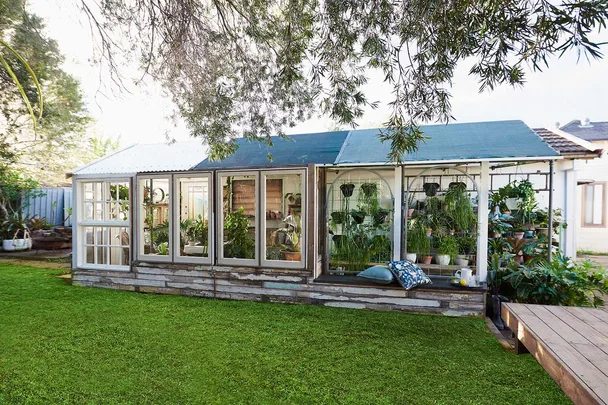
Old sheds aren’t the prettiest of places, especially when it turns into a dumping ground. We’ve all been there – throwing old pieces of timber, tools, or pots that we could ‘use at a later date’, but really, all it does is sit there and collect dust. All that wasted space… until now. We’ll show you how to build a greenhouse to be proud of.
In this transformation, the shed, which was full of old timber offcuts, a couple of old doors and some scrounged windows, has been thrown together to make a charming greenhouse. All it needed was a flick of paint, some inspiration, and a lot of love!
How to build your own greenhouse
Materials:
- Recycled timber of various sizes
- Treated pine sleepers (optional)
- Recycled windows and doors
- Polycarbonate roof sheeting and ridge capping
- Recycled shadecloth
- Post stirrups
- Drill
- 10mm masonry drill bit
- 10mm masonry anchors
- Spirit level
- Hex head bolts
- Clamp
- 100mm batten screws for treated pine
- Easy-fit hinges
- Circular saw
- Stringline
- Angle grinder fitted with a metal cutting blade or tin snips
- Polycarbonate roofing screws
- Construction adhesive
- Nail gun and nails
- Shadecloth clips
Check with your local council for restrictions on the size and position of your greenhouse.
Note:
Step 1
If you’re demolishing an existing structure, keep as much as you can and use it in your new greenhouse.
Step 2
Draw a plan of your greenhouse with sizes of windows, doors, and framing timber. Leave a gap of around 5mm around windows and 10mm for doors. This will determine where your posts go.
Step 3
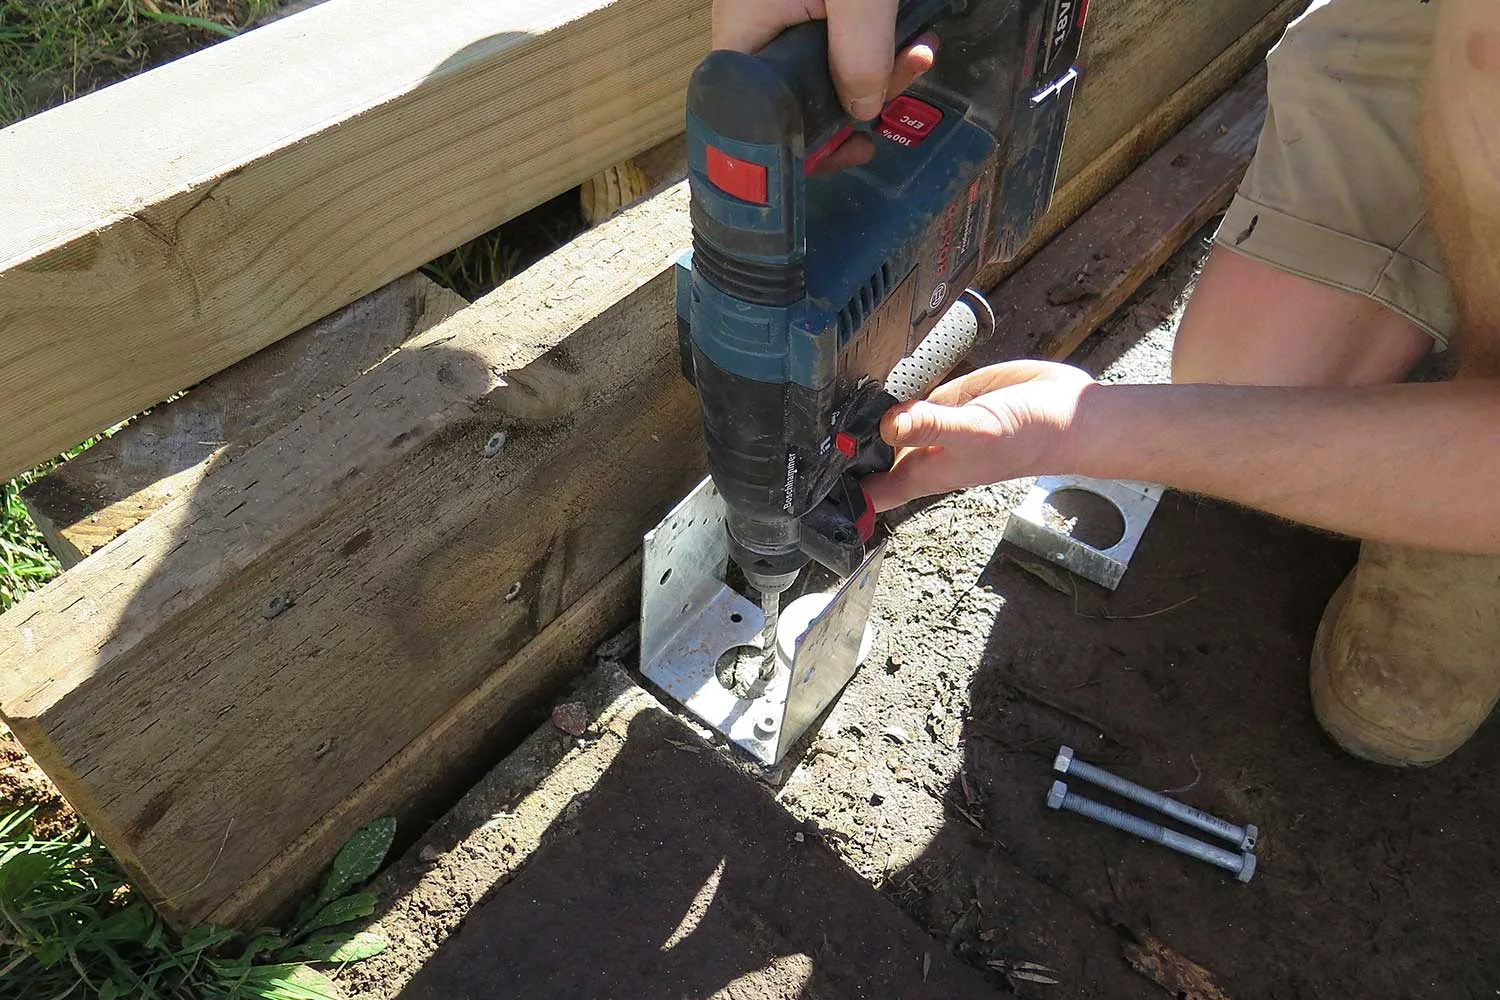
At the post positions, fix stirrups to concrete. Predrill using a 10mm masonry bit and attach using masonry anchors. In areas without concrete, lay a row of timber sleepers on edge to act as the foundation.
Step 4
Sit posts in stirrups, make plumb and brace. Mark a level line around all posts then cut to length. Bolt posts in the stirrups.
Step 5
Construct wall frames as per your plan. If using timbers of different sizes, make 1 side of the frame flush.
Step 6
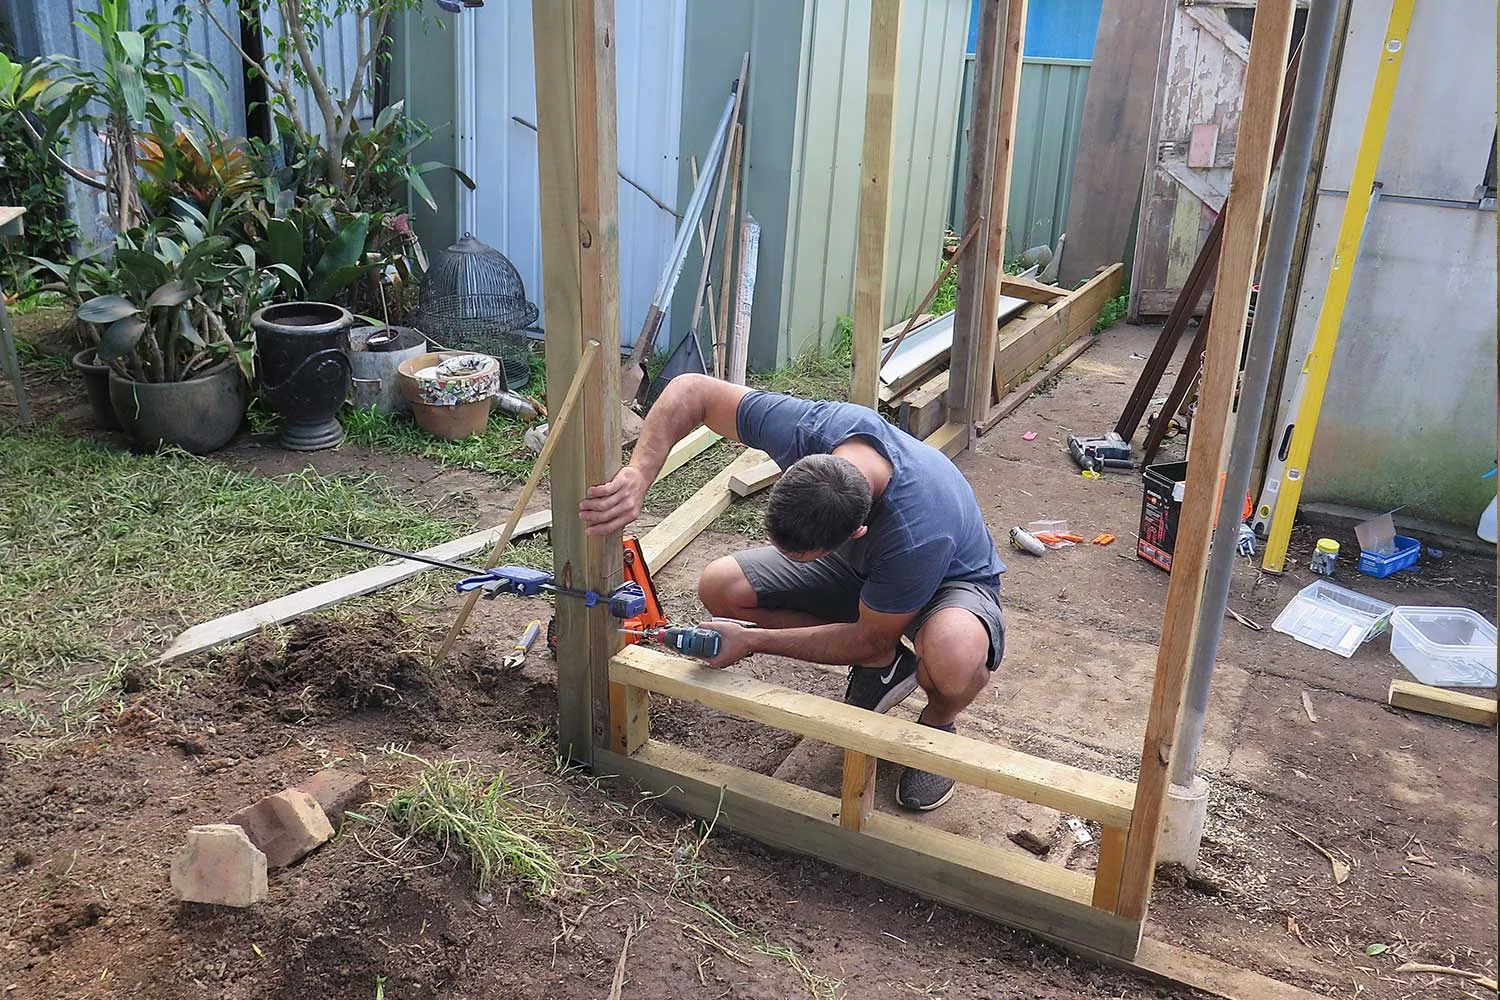
Place frames between posts and clamp to hold. Check for plumb then screw frames to posts with batten screws. Screw frames together where they meet.
Step 7
Predrill and fix bottom of frames to concrete or sleepers.
Step 8
Lift windows into gaps in frames. Use a block of timber to make sure they are even to the frame then screw in place.
Step 9
Attach easy-fit hinges to doors then screw into frame. At top of the opening, nail a strip of timber to act as a stopper for the doors when they close.
Step 10
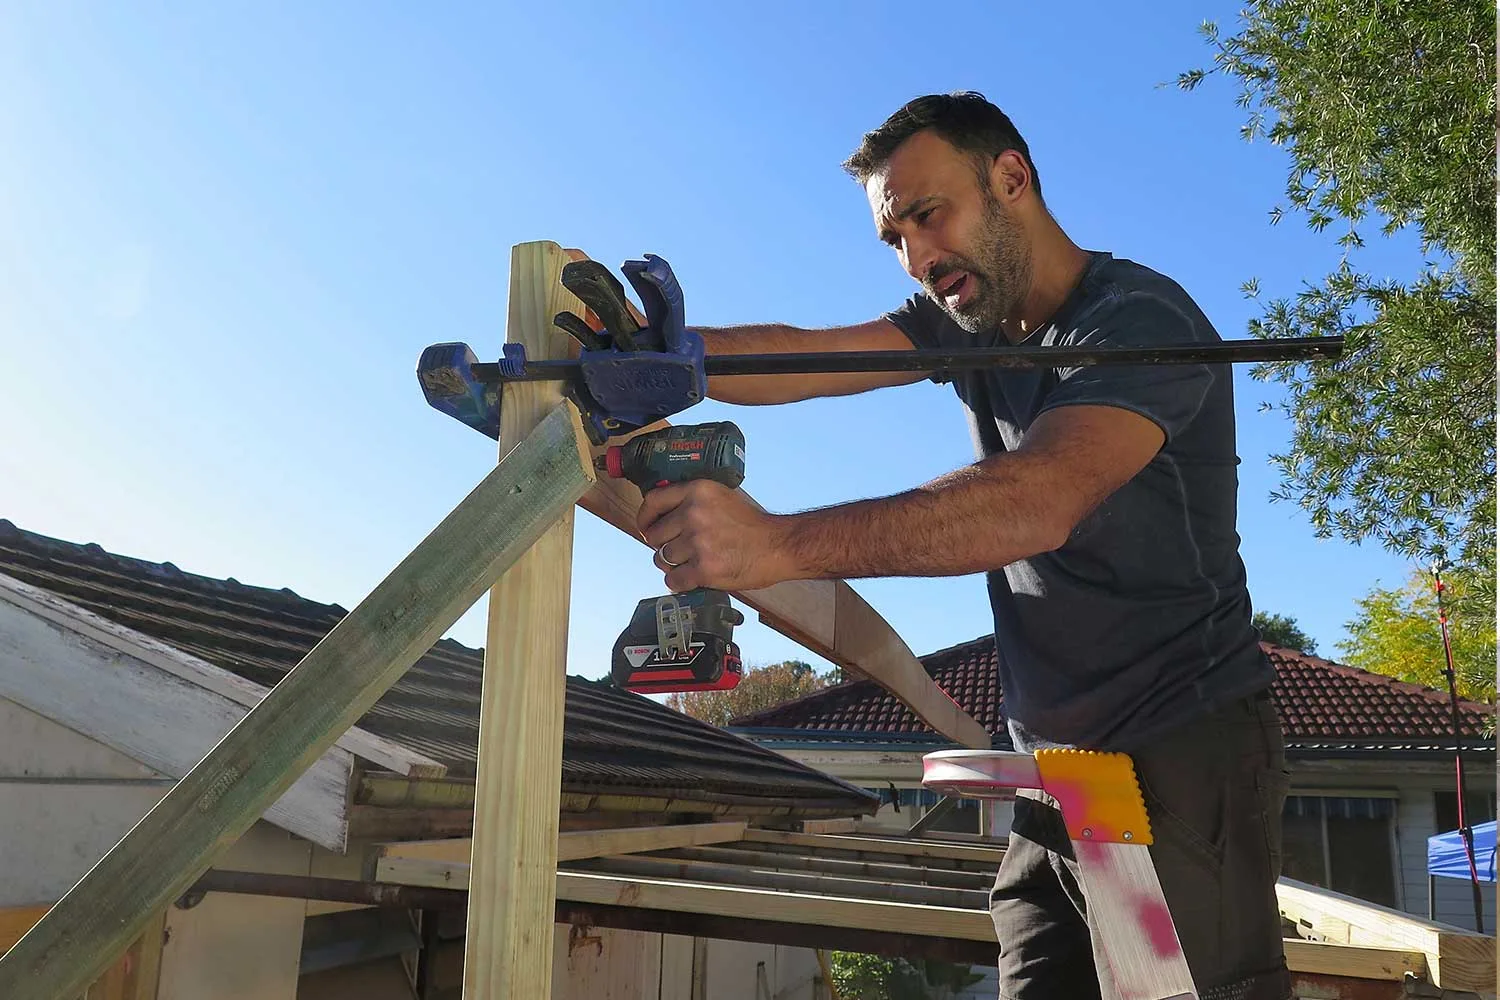
Prop ridge and brace above centre of end walls. Here the ridge is 700mm above the walls.
Step 11
Cut rafters to run from the ridge board down to the support walls. At top of rafter make a plumb cut so it sits flat against the ridge board. Where the rafter crosses the walls, make a cut known as a bird’s mouth. This is a small cut in the bottom of the rafter so it will nestle in the outside corner of the wall plate and sit flat. Once you have cut a rafter that fits, use it as template to mark out and cut a few more rafters.
Step 12
Mark out top of wall plate and side of ridge with rafter positions. Mark side of rafter on plate then an X on the side of the line where the rafter will sit. Here the rafters are 450mm apart under the roofing and 900mm apart under the shade cloth.
Step 13
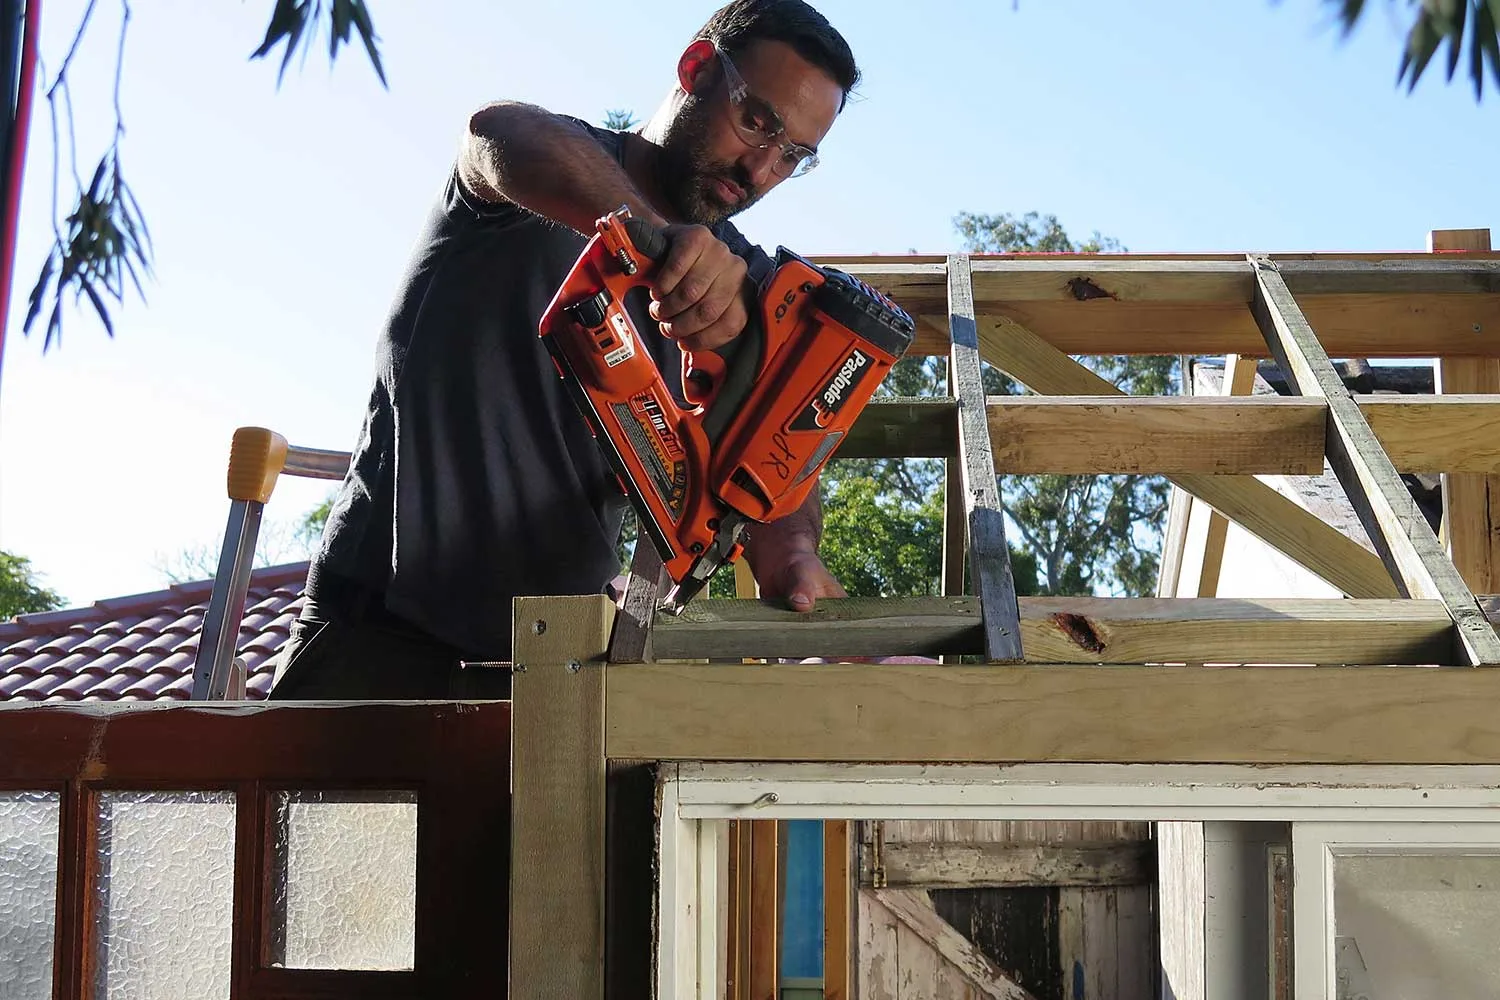
Starting at 1 end, place rafters in position and nail to ridge and top plate of wall. Stretch a stringline along the top of the ridge to make sure it is straight as you nail.
Step 14
Cut and nail blocking to fit between joists where roofing will sit so you have something to screw into.
Step 15
Cut polycarbonate roofing to length using an angle grinder fitted with a metal cutting blade or tin snips.
Step 16
Sit roofing on rafters with the cut edge at the top. Screw sheets to rafters using polycarbonate roofing screws. Make sure your sheets are square to the roof before fixing. Screw ridge capping over the sheets at top of the roof.
Step 17
Spread construction adhesive along timber frame where lining boards will sit. Nail first board in place, making sure it is level.
Step 18
Continue gluing and nailing lining boards to the frame. Cut boards around windows. Where you need to join boards along their length, make the join sit over a wall stud.
Step 19
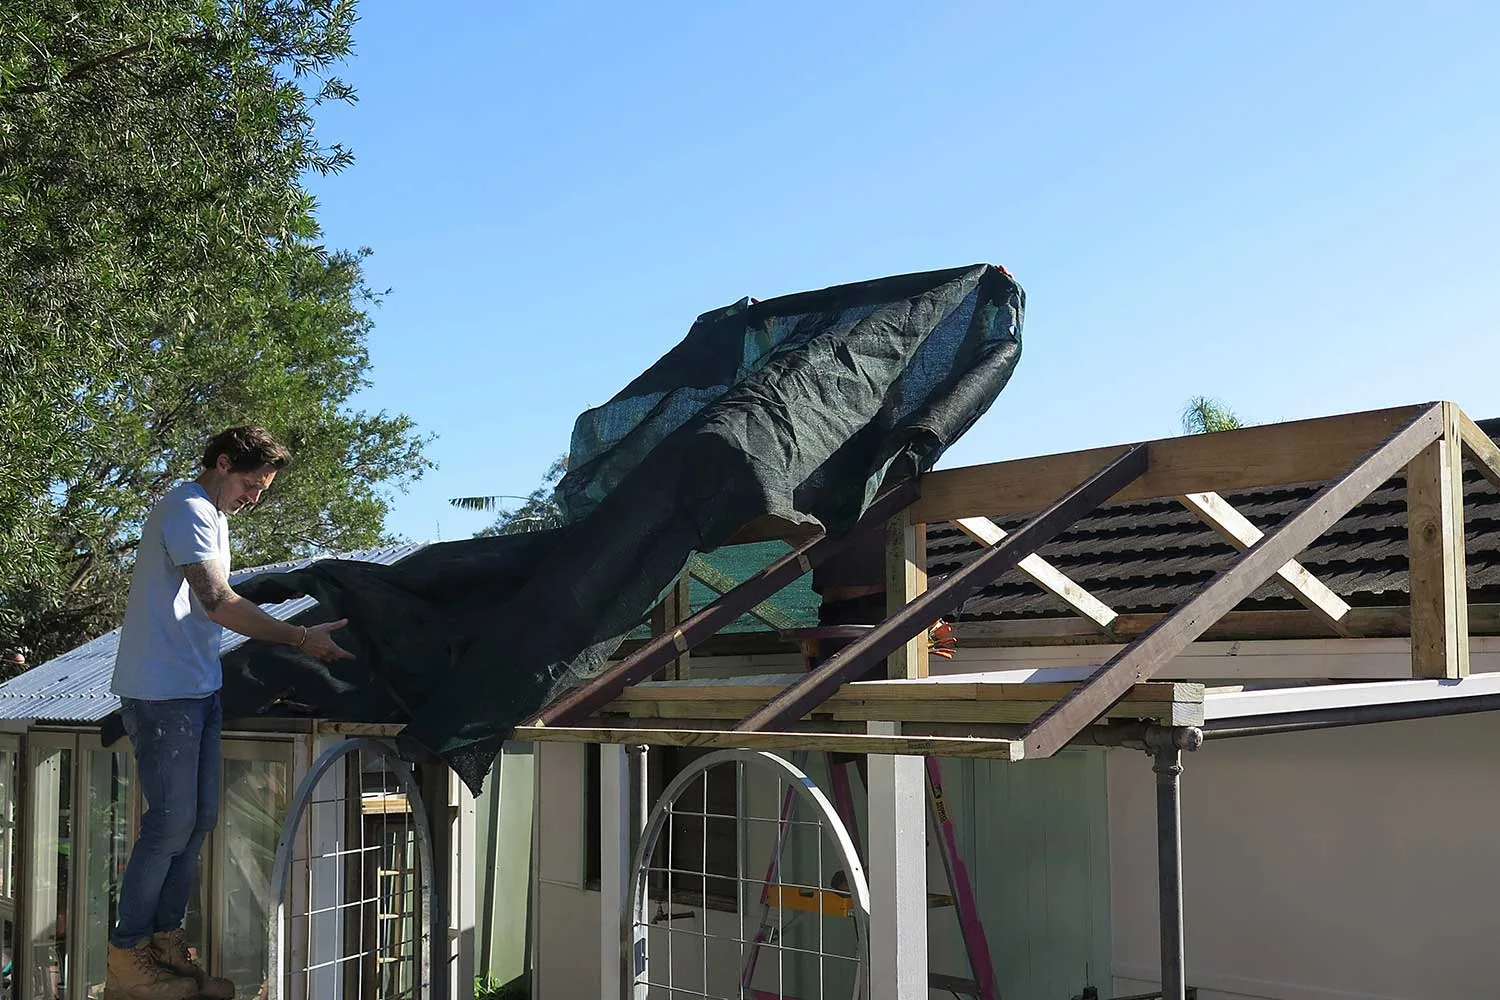
Stretch recycled shadecloth over the rest of the roof of the greenhouse and hold in place using shadecloth clips.
That’s it! Enjoy your new greenhouse and find out how to decorate the interior.
