Dreaming of a new laundry but not sure where to start?
Watch: How to upgrade your laundry
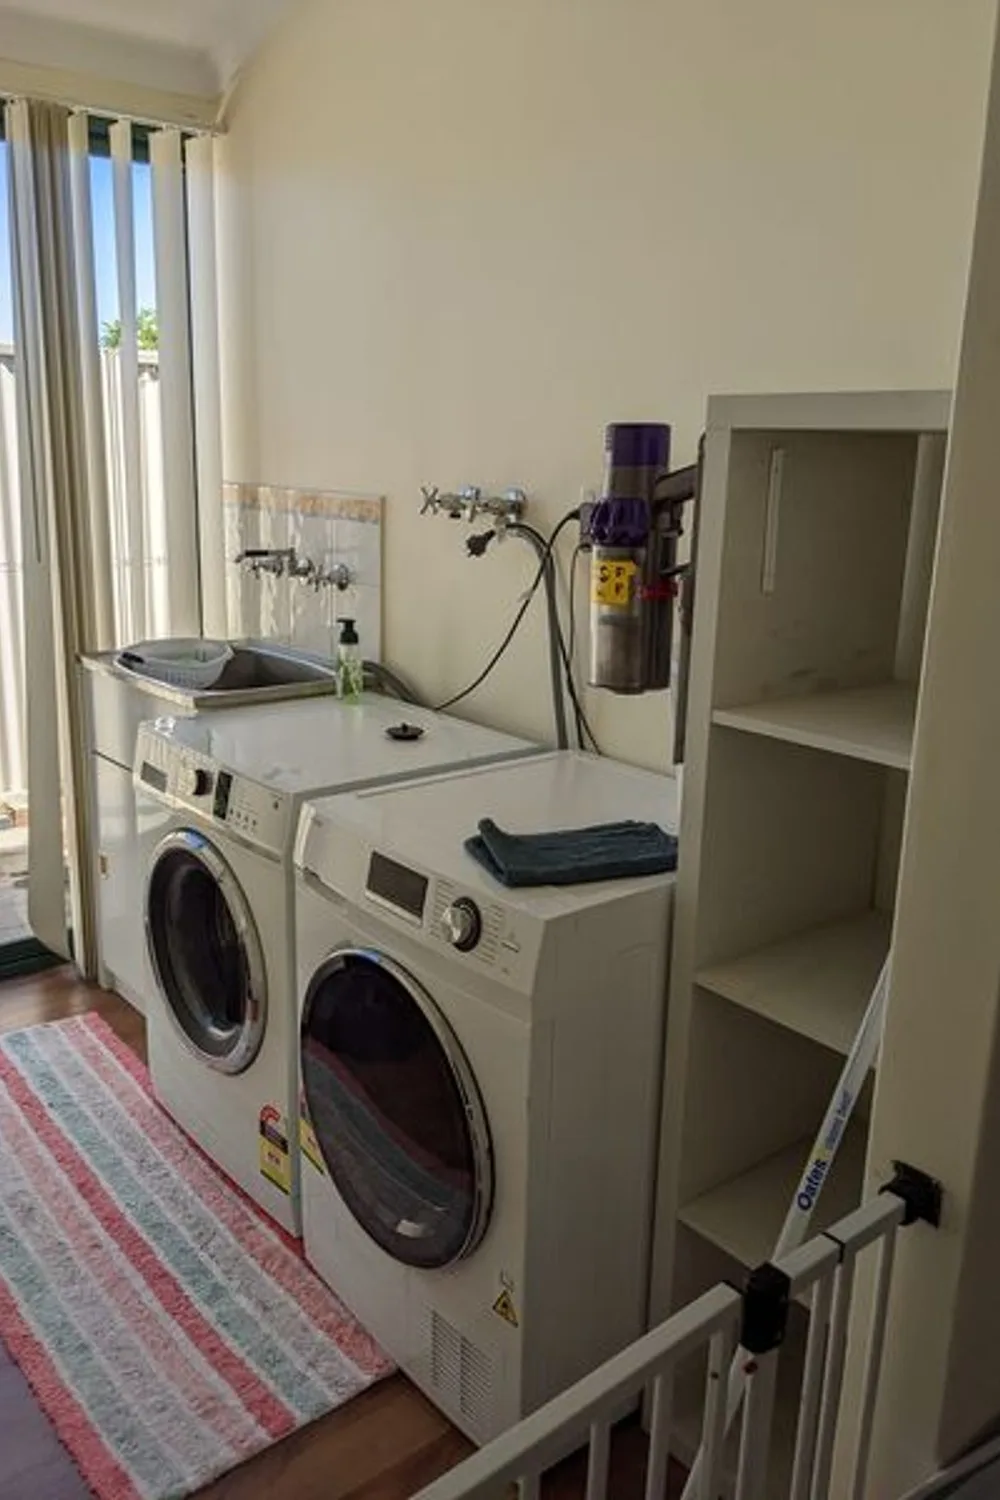
Since moving into her home, Mel Langford says she wanted to update her laundry. Now that she has, she’s sharing how she did it.
Taking to the Bunnings Mums Facebook page, Mel posted pictures of the finished laundry makeover project, and people love it.
“My dad came and helped me do my laundry that I’ve wanted for over a year,” Mel wrote on Facebook. “I was very impressed with how easy it was to work out what we needed for the space. I just measured the area, and the staff helped create a 3D image, and everything was delivered the next morning!”
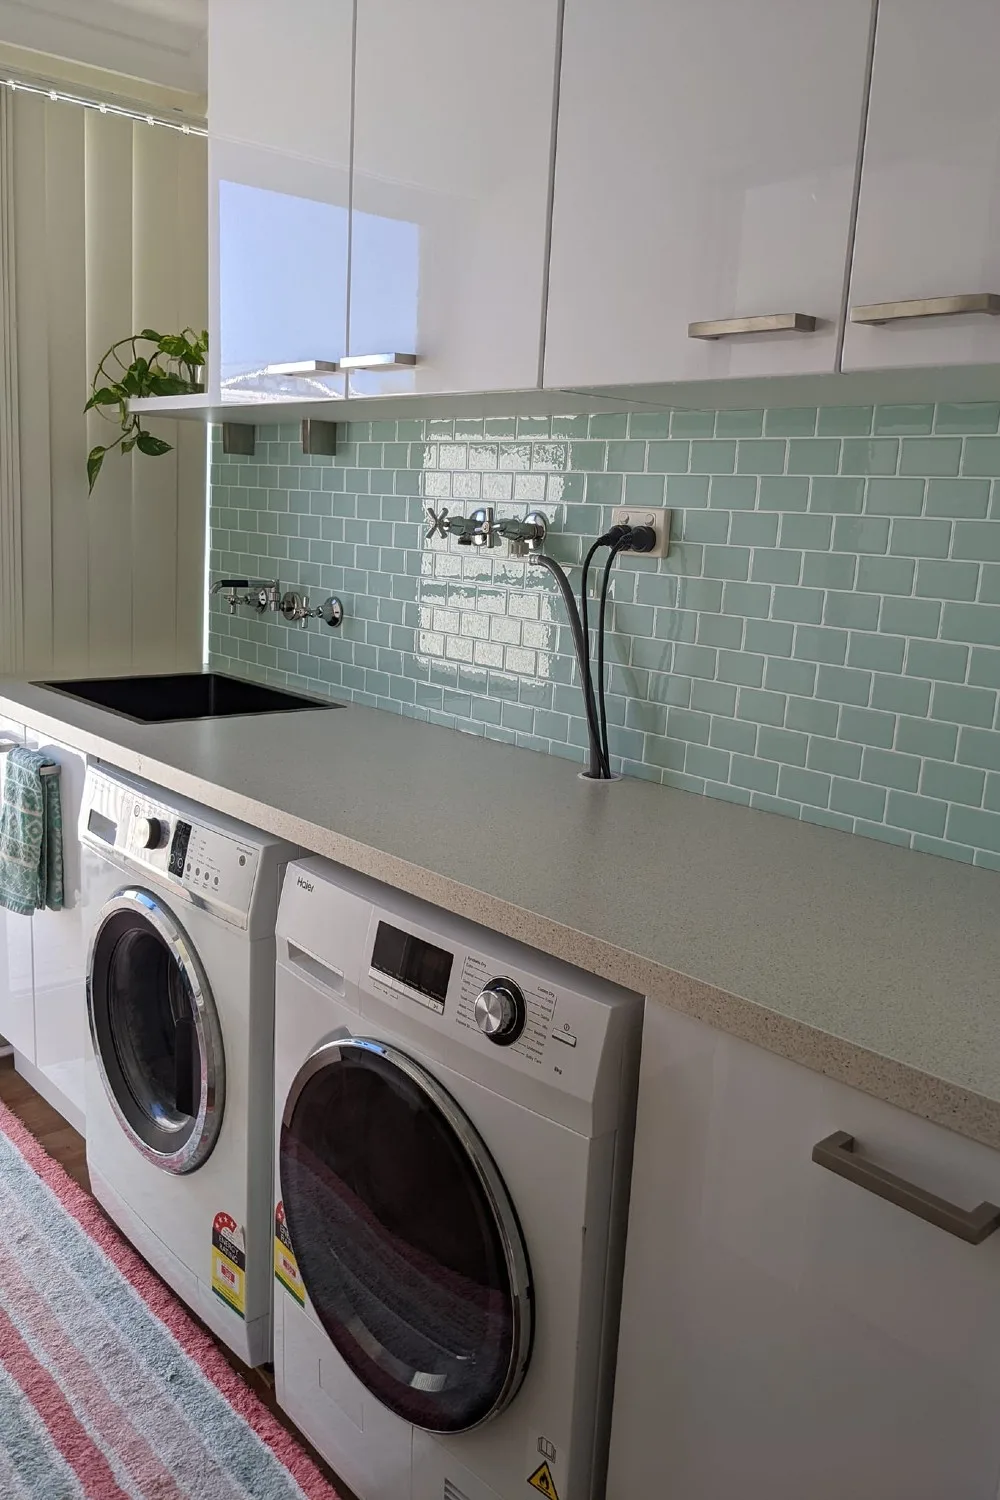
Mel’s supplies and specs:
- The cabinets and benchtop are Kaboodle.
- Both the cabinets and handles were standard.
- The benchtop is Almond Brittle. The sink is D’Lucci Gunmetal single sink 500×400.
- The space where I wanted the cabinets was 600×2400.
- Bottom left cabinet: 600×600 double door.
- Bottom right cabinet: 400×600 single door.
- Wall cabinets: 300×900 double doors X2.
We caught up with Mel to find out more about the fantastic project.
How did you find the whole renovation process?
I found it so liberating. It seems more daunting before you start, but the cabinets are all simple flatpack, and everything comes with instructions.
Roughly how much did this project cost?
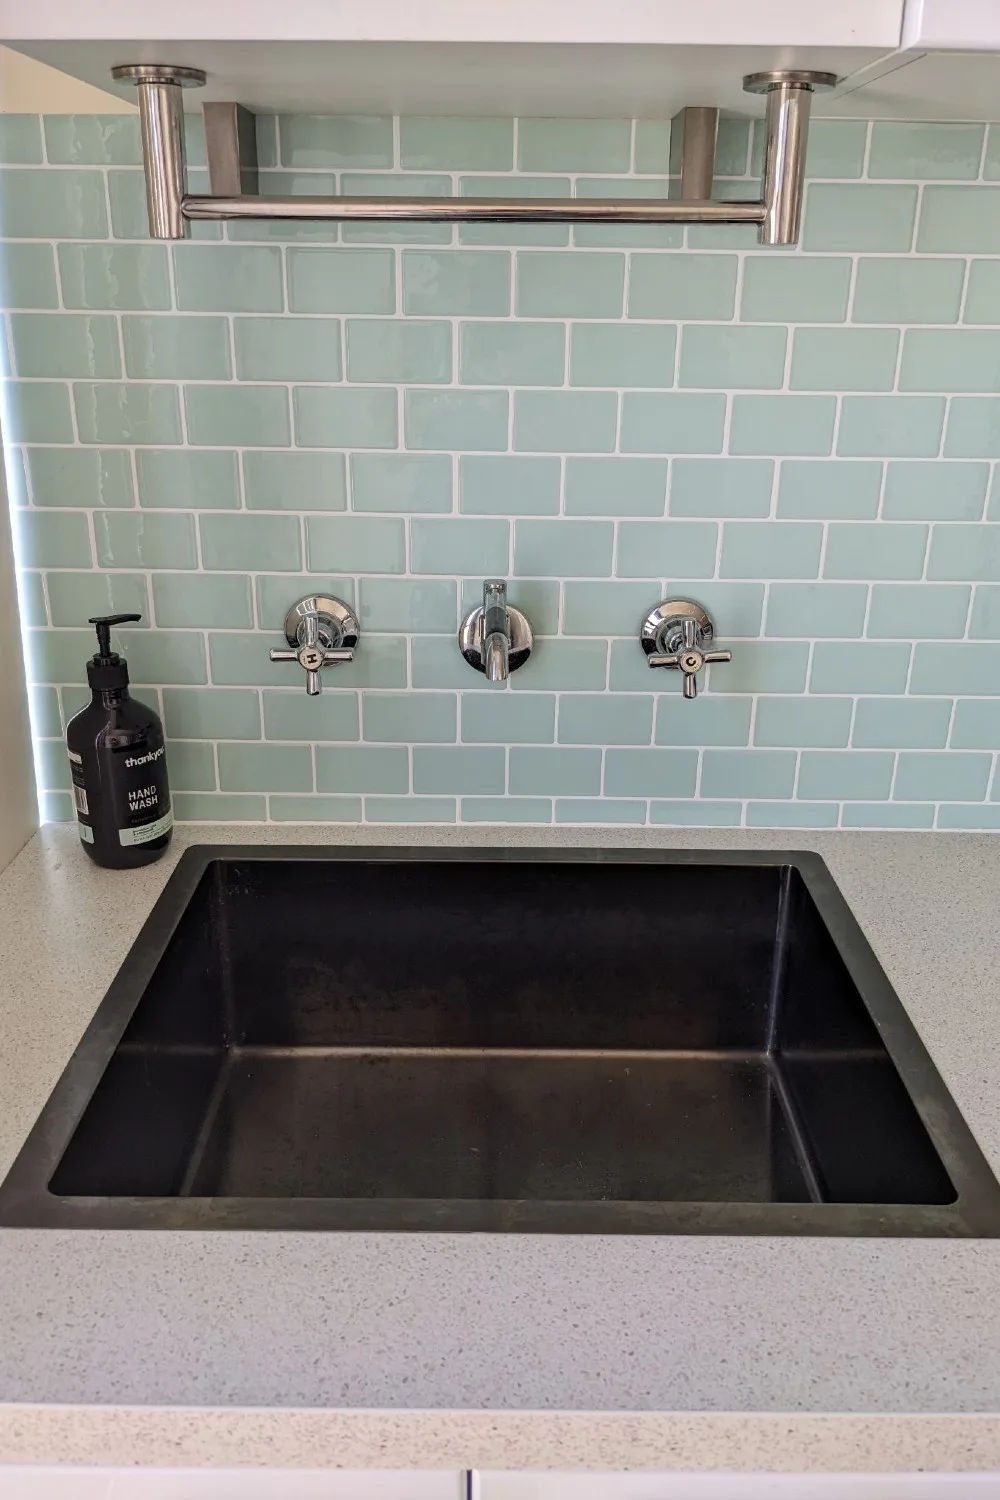
It cost just under $2500. I also added a hanging rail under my shelf and above my sink as I use my laundry a lot and often have a wet cloth or hand-washed clothes I can hang easily. This isn’t in the original photos, as it was still coming in the mail. I had to order it from eBay as I needed the rail to hang from my shelf. (Pic below)
What motivated you, and where did you draw your inspiration from?
Ever since we moved into this house, I’ve always wanted an updated laundry. I drew inspiration from others who had done similar laundries and also on Pinterest to find tile inspiration.
Do you have any tips or tricks for anyone wanting to attempt a similar project?
Definitely buy new blades to cut the benchtops so you can cut accurately and quickly. And also, have either good quality drill bits or purchase new ones for drilling the overhead cabinets.
I also asked my Buy Nothing Project Group if anyone had any cabinet stands. Luckily someone did, and I borrowed them to put the cabinets up. They were a godsend as putting the overhead cabinets was so easy with them. I also recommend putting the cabinets on the cabinet stands, then drilling pilot holes before taking them down again and drilling the correct size drill holes.
If buying a Kaboodle flatpack, you might need extra screws for putting the overhead cabinets onto your wall and brackets for your benchtop if you have a long space between the cabinets.
Oh, and triple-check everything before you cut. I triple-checked any holes I drilled and anything I cut. Especially the stick-on tiles (from stick-on luxury). I cut a template for each sheet and made sure it fit perfectly.
You might also like:
5 ways to make over your laundry
15 best laundry hacks of all time
9 ways to freshen up any laundry
