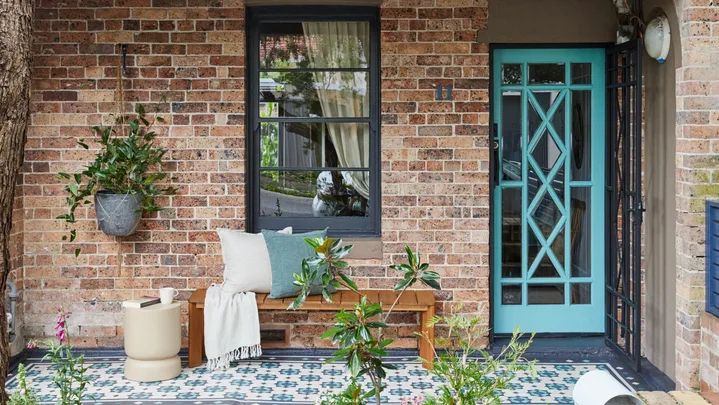
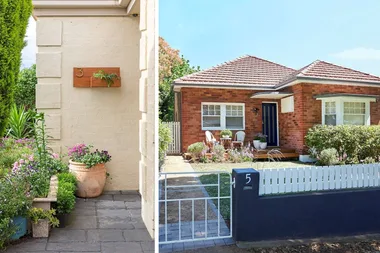
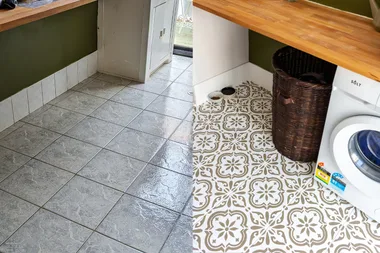
I recently moved to a Federation-era terrace with a front porch that was crying out for some light, colour and love. The tired concrete slab was cracked, had flaking paint, and was in need of a serious overhaul. The garden was overgrown and the entire front felt dark and dreary and a bit sad. I knew that with creative thinking I could get this rough diamond to shine bright. I wanted it to offer the warmest of welcomes and step up its kerb appeal a notch.
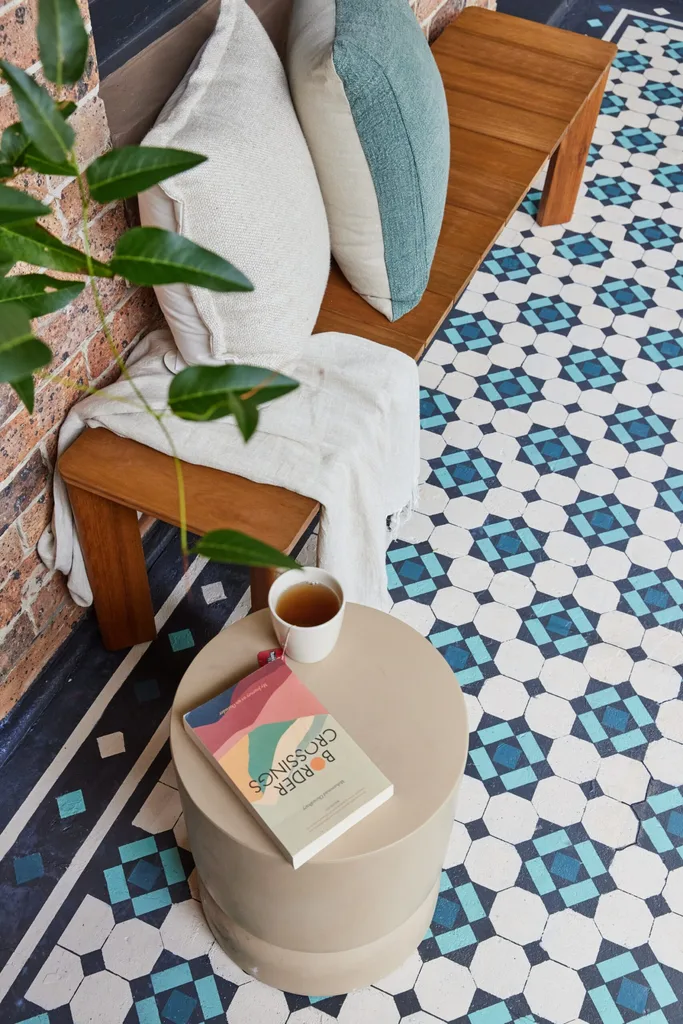
It took about two months of dog walks and sticky-beaking into my neighbours’ front yards to settle on the ‘vision’. I wanted my front porch to feel welcoming, warm and colourful, with a nod to the house’s early 20th-century era. With so many gorgeous tessellated tiled porches in my neighbourhood, I was inspired to try replicating the look.
My budget didn’t allow me to buy new tiles or carry out a full paint job. That meant I needed to salvage what I could and focus on the really ugly stuff. I also needed a colour palette that would balance the warmth of the brick colours.
The plan for stencilling my front porch
- Repair and paint the concrete slab with a Federation-style stencil.
- Paint the front door and metal screen to go with the stencilled floor and existing window trim.
- Remove the overgrown plants and let the light in!
- Use a creamy blue paint to marry the colour palette and provide a cool contrast to the warmth.
How to stencil a concrete patio


Gather your supplies
- Concrete and stone cleaner
- Water-based primer
- Paver and concrete paint in 2-3 colours
- Cricut stencil paper
- Cricut transfer paper
- Sealant topcoat
You’ll also need
- Bucket
- Stiff broom
- Pressure washer
- Scraper
- Leaf blower or soft brush
- Concrete
- Patching compound
- 40-grit sandpaper
- Tape measure
- Straight edge
- Pencil
- Nap rollers and trays
- Cricut Maker 3
- Cricut burnishing tool and weeder tool
- Scissors
- Stencil brushes
- Painter’s tape
- Artist’s paintbrushes
If you’re painting bare concrete, etch with an acid solution before priming to give the primer a solid base to adhere to.
Use a leaf blower or soft brush to keep areas dust-free as you work.
Project notes
Step 1
Dilute concrete and stone cleaner in a bucket of water according to the product instructions. Use a stiff broom to apply and scrub the concrete to remove mildew, grease and dirt. Use a pressure washer to clean and rinse the patio and allow to dry.
Step 2
Use a scraper to remove loose paint on the concrete. Use a leaf blower or brush to remove debris.
Take care when handling old painted surfaces. Wear gloves, a mask and safety glasses when scraping
Safety note
Step 3
Check for any cracks or damaged areas in the concrete. Fill in small cracks or chips with concrete patching compound and a scraper. Allow to cure, then use 40-grit sandpaper to smooth any rough areas.
Step 4
With a nap roller and tray, apply one coat of primer to the concrete surface. Allow to dry overnight (or according to the instructions).
Step 5
Apply 2 coats of paver and concrete paint (in your base colour) with a nap roller. Cut in along the edges with a paintbrush. Allow to dry between coats, then leave overnight before the next step.
Step 6
Use a tape measure, straight edge and pencil to mark along the centre of the concrete slab.
Step 7
Use a Cricut maker to cut your stencil onto stencil paper. Apply transfer tape onto the stencil paper, then rub with a Cricut burnishing tool (or plastic scraper). Carefully remove the transfer paper and stencil from the stencil backing, then stick the stencil’s edge along one side of the marked line. Rub the stencil onto the concrete, then peel off the transfer tape.
Step 8
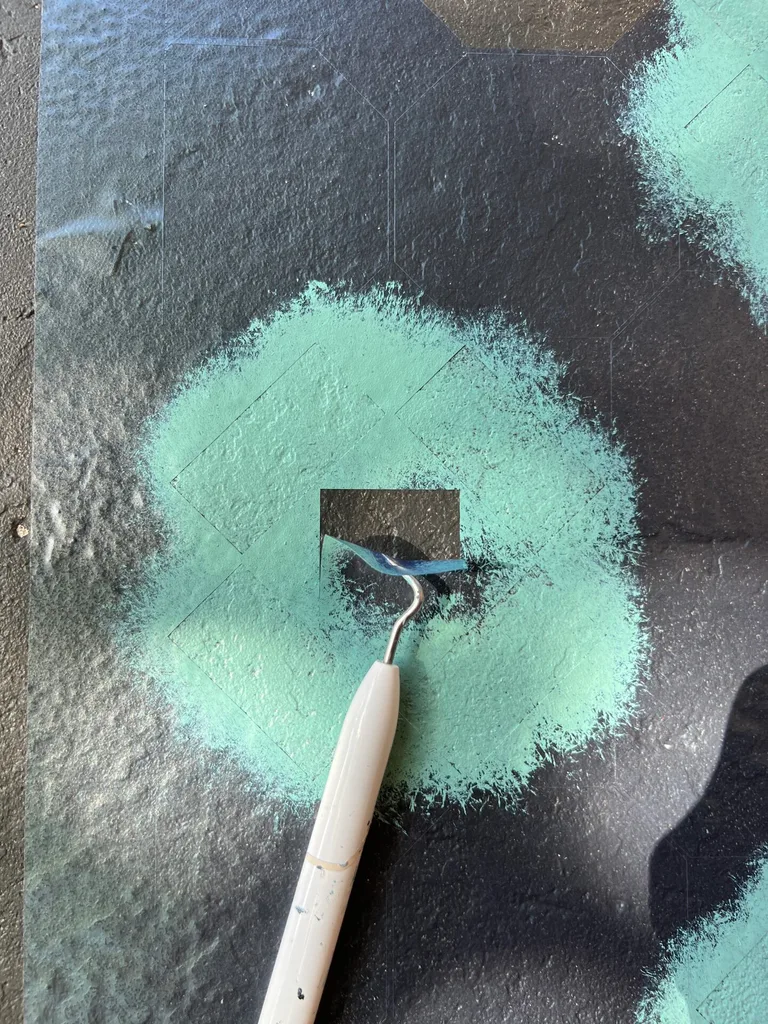
Use a Cricut weeder tool to remove the stencil paper shapes around the design to expose the concrete. Weed the shapes to reveal all the areas for a given colour.
Step 9
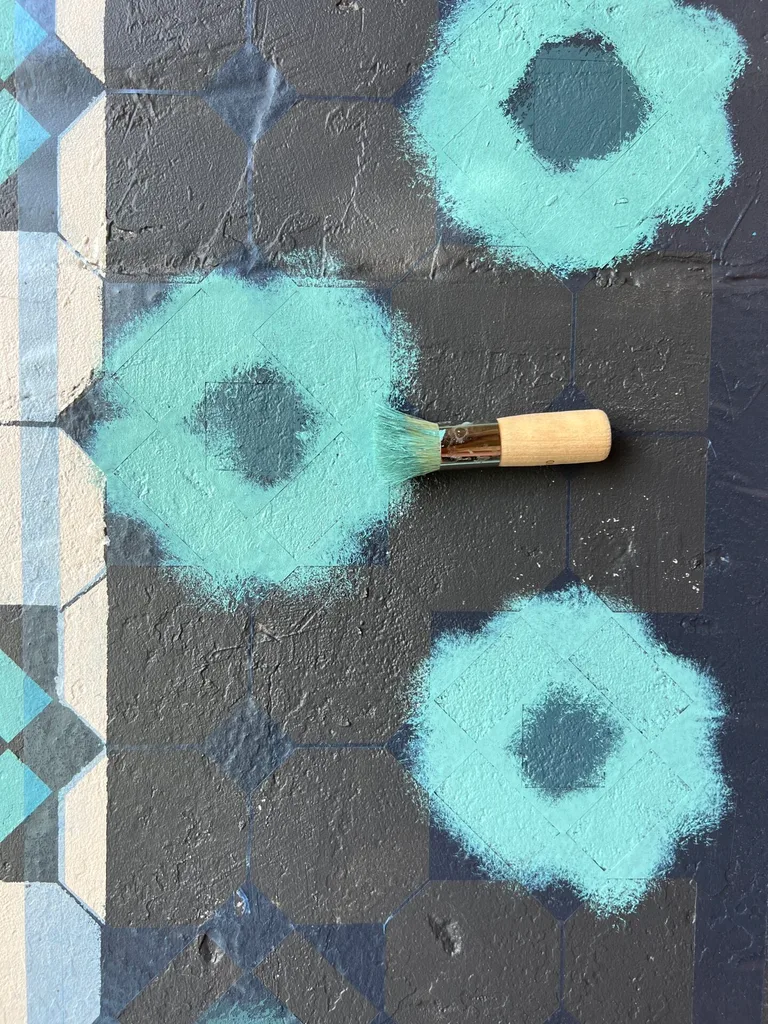
Load a stencil brush with a paint colour according to your design, then dab off excess paint onto a paper towel. With an up-and-down motion, apply paint to the weeded stencil areas. Allow to dry, then repeat with a second coat of paint.
Step 10
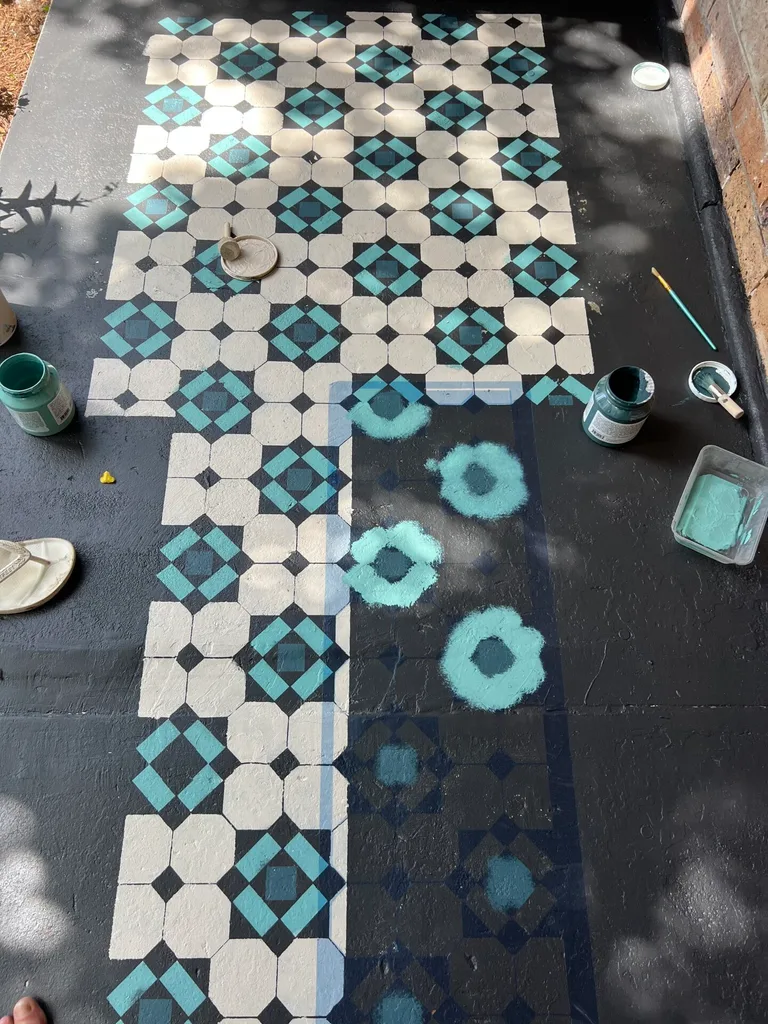
Repeat Steps 8 and 9 to remove and paint shapes in the next colour, according to your design. Once dry, apply transfer tape onto the stencil, burnish then gently peel and lift the stencil paper.
Reapply the stencil to line up with the marked line and painted area. Continue to colour in the stencil until your concrete porch area is complete.
Step 11
Use painter’s tape to mask around areas that need a touch-up from bled paint. Use artist’s paintbrushes to touch up any smudges. Allow to dry.
Step 12
Apply two coats of sealant with a nap roller and tray. Ensure the area is thoroughly covered and allow to dry after each coat.
Step 13
Do not walk on your porch or place furniture in the area for 72 hours to allow all the layers to fully cure.
Step 14
Maintain your stencilled concrete by keeping it clean and free of organic matter. Apply new sealant every 12 months for maximum protection.
Tips for successful stencilling
I’ve stencilled concrete before and brought those lessons with me, and I’ve discovered new ones while working on this project.
- Never skip or skimp on the prep, always prime, and always use a sealant to protect your masterpiece.
- Stencilling takes longer than you think, so take your time, listen to a great podcast on a sunny weekend, or invite a friend over to help.
- To save time, choose a less elaborate stencil design, use fewer colours or choose less contrasting hues so any paint smudges are less obvious.
I’m not expecting this to last forever, but the two long days of detailed work will give me a few years of joy, then I may buy tiles or switch up the vibe entirely!
