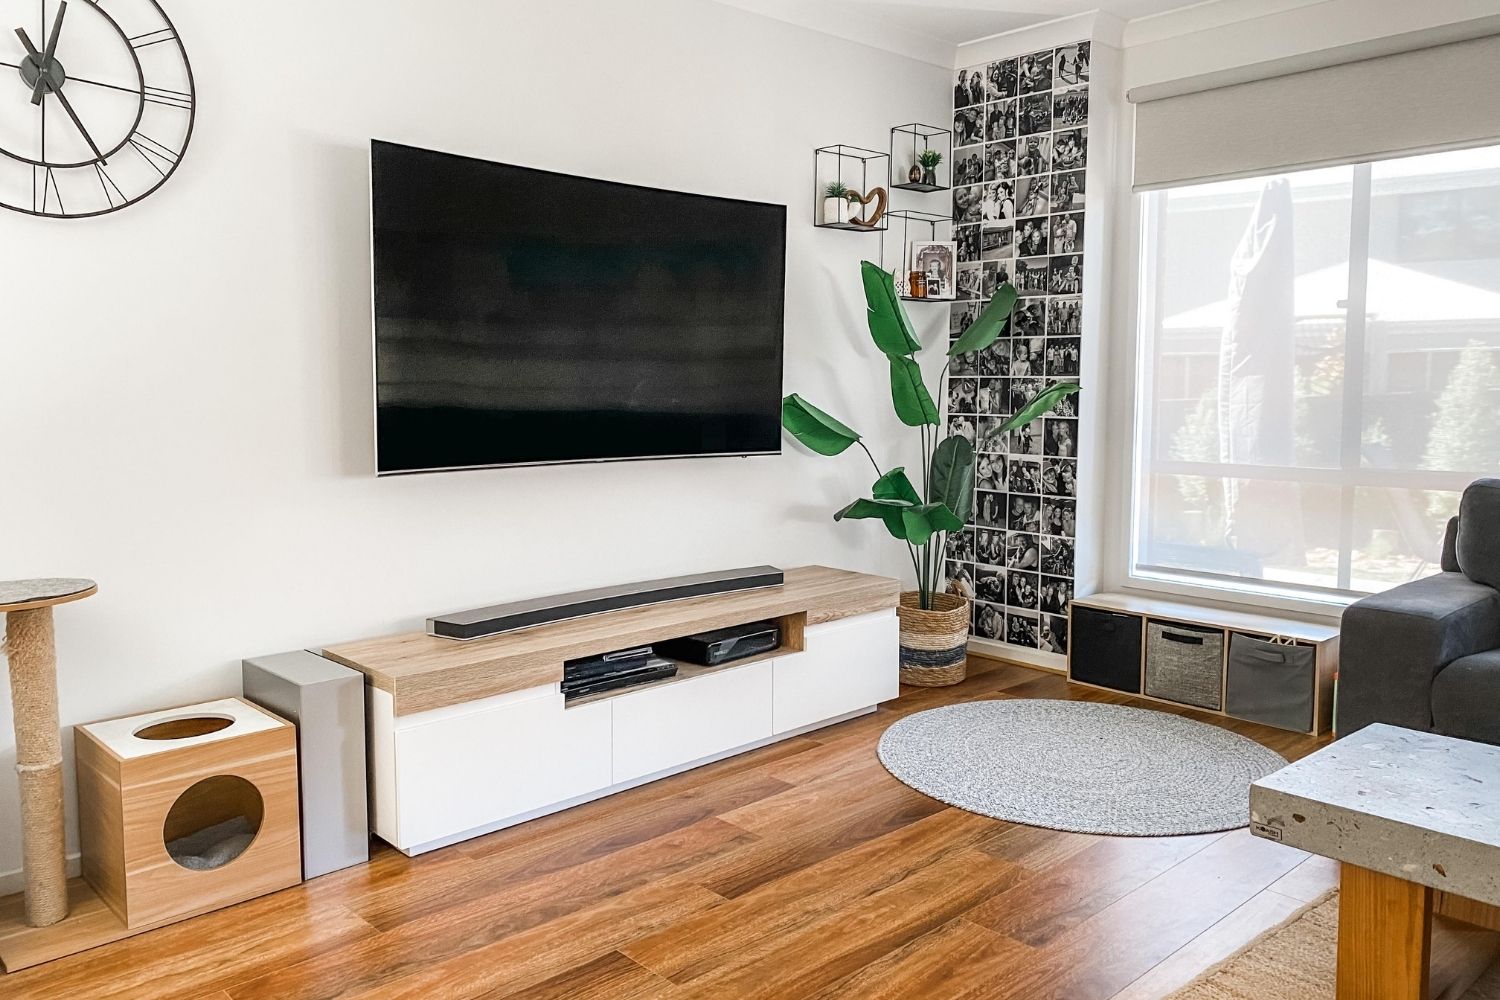
Combine the clean lines of Palm Springs desert style with the texture and patterns of the boho aesthetic. Natural textures and colours will achieve a boho-desert alfresco haven while structural plants, a breeze block wall, and outdoor oven creates a laidback and contemporary haven.
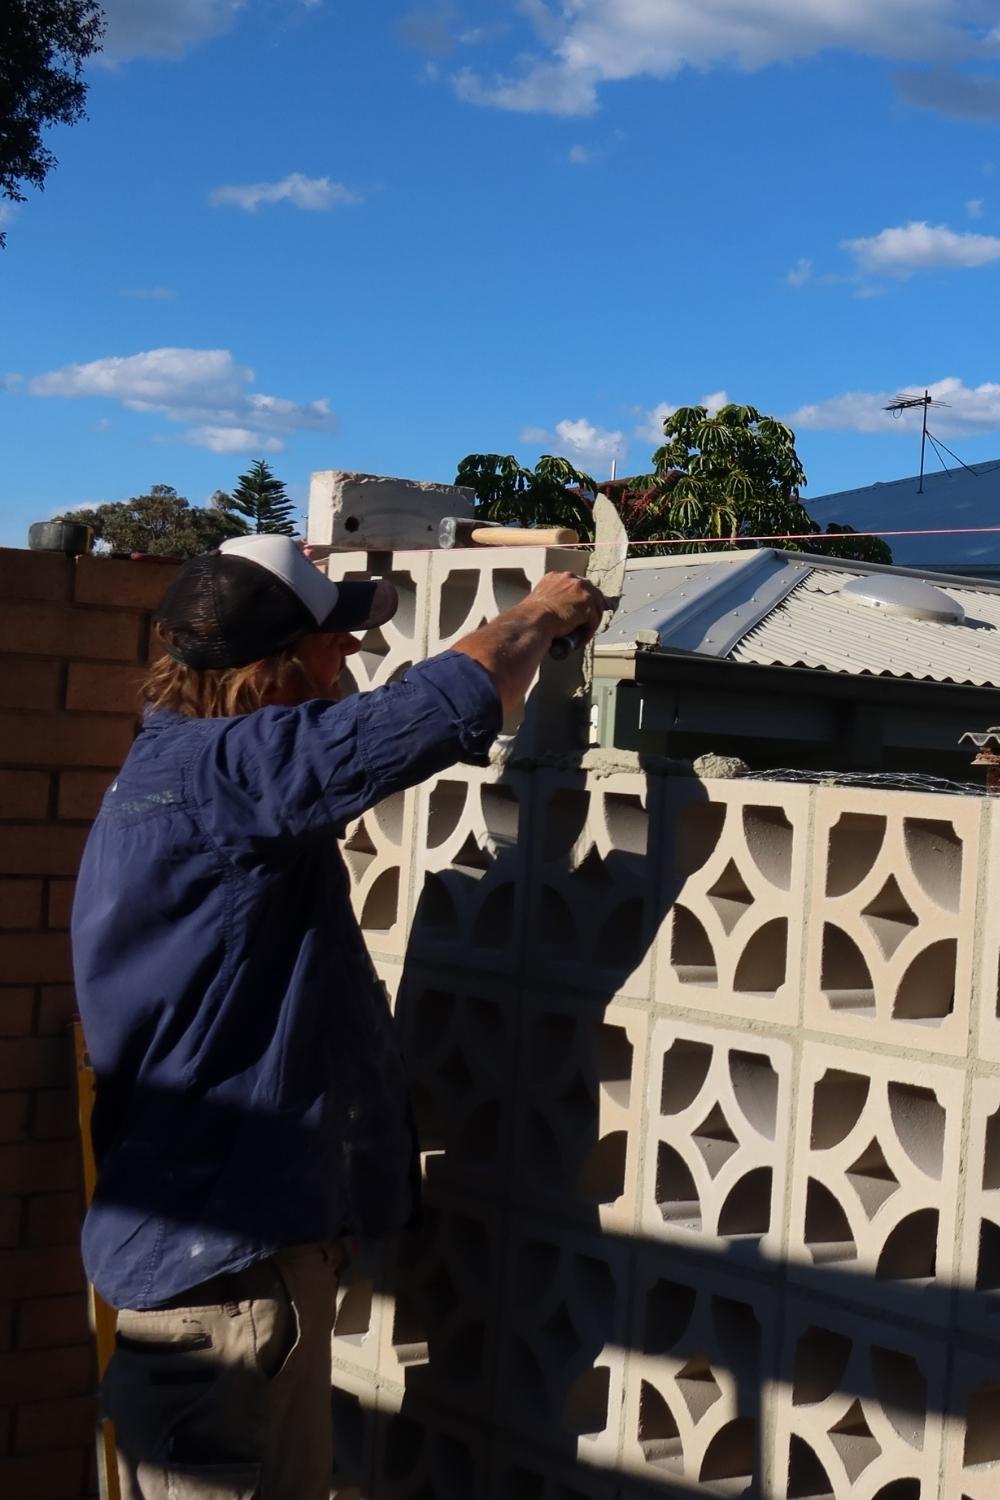
A breeze block wall gives you the best of both worlds – privacy, light, and airflow, plus visual interest through pattern. Laying blocks may seem like a job best left to pros, but you can get the hang of it by going slow and continually checking your work as you turn existing brickwork into a feature wall.
Materials:
- White brickie’s sand
- Off-white cement
- Starlight breeze blocks
- Brick tor
You’ll also need
- Spirit level
- Marker
- Hired demolition saw
- Lump hammer
- Bolster
- Drill
- 5mm masonry bit
- Red wall plugs
- Brick ties
- 50mm screws
- Wheelbarrow
- Shovel
- Mortar plasticiser
- Brickie’s trowel
- Stringline
- Line blocks
- Line pins
- Brick jointer
- 10mm dowel
- Brush
- Sponge

Step 1
Mark out extent of your block wall on existing brickwork. Try to make dimensions a multiple of the number of blocks, allowing for a 10mm gap between them. Mark a plumb line at the end of the wall with a spirit level.
Step 2
Using a hired demolition saw, cut the brickwork down marked line. Use a lump hammer and bolster to remove the existing bricks.


Step 3
Mark out the vertical and horizontal courses of the block wall on the existing bricks. Where the top of each course of blocks meets the bricks, drill a hole using a 5mm masonry drill bit, insert red wall plug then screw a brick tie to the existing wall with 50mm screws. This will help join the new wall to the old and make it stable.
Step 4
Mix sand and cement in a wheelbarrow in the ratio of 4:1. Add water and mix to create mortar that will hold its shape and the weight of the block, but can easily be pressed down when a block is pushed into it. Try to get the mix right by adding more water, not creating a runny mortar which you need to fix by adding more sand and cement. Also add mortar plasticiser as per product
instructions. This will make your mix easier to work.

Step 5
Lay a bed of mortar on existing bricks for one block. Create furrow down the centre using point of your trowel.
Step 6
Butter the edges of one side of a block with mortar. Start with a lump of mortar on the end of your trowel and run it along the block from one side to another. This can take some practice to get right.

Step 7
Lay the first block in the mortar and press down so the block meets the line of courses drawn on the bricks. Scrape off excess mortar that has squeezed out. Repeat to lay another block at the other end of your wall, ensuring the top of that block is level with the first.
Step 8
Run a taut stringline between the 2 blocks so it meets the top corner of them. A set of line blocks holds the line at the open end of the wall. Use line pins at the other with the pins going into the freshly laid mortar.
Step 9
Continue laying a bed of mortar, buttering the blocks and placing them down so they meet the horizontal marks. Tap the top of the locks with your trowel so the top edge meets the stringline.

Step 10
Build up the ends of your wall, making sure they are plumb and meet the marked line of your courses. Take care that the blocks at each end are level with each other. Mark the courses on a stick or the side of your spirit level to make this easier. In the mortar for each course, embed a length of brick tor. This is a metal mesh that will reinforce the mortar and stabilise the wall.
Step 11
Continue laying courses of blocks, ensuring brick tor is embedded in the mortar of each course. After each course, move the stringline up to the top of the next course to act as your guide. Frequently check for plumb as you go to ensure your wall is not
bowing out in the centre.
Step 12
Fill any gaps in lines of mortar. Leave until firm, then scrape out using a brick jointer or length of dowel to give neat concave shape. Before mortar sets too much, brush down the blocks to remove any large dags of mortar and use a damp sponge to get rid of any mortar smeared on blocks. Leave for a week to let mortar fully set before painting.