If there’s one thing our DIY Editor, Tiff Bancroft, is an expert at, it’s taking something in dire need of a makeover and transforming it into something that doesn’t only look fabulous, but is also A) extremely affordable and B) easy enough for the average person to accomplish in a weekend. The latest project that had Tiff rolling up her sleeves was this quaint bathroom DIY reno.
With white tiling on the walls and a simple grey tile on the floor, the foundations of the small bathroom was strong. All it needed was a sprinkle of Tiff’s creativity in the form of DIY vinyl, shelving and accessorising.
In the November issue of BHG, Tiff wrote: “Renovating a bathroom can have you singing in the shower once it’s done. But it’s the sort of project that can quickly drain your wallet. So, get clever. Use creative ideas to achieve your dream bathroom without blowing the budget. Second-hand or reclaimed items could save you thousands and you can pick up bargain beauties online, too. With elbow grease and a lick of paint, you’ll have designer style for a song.”
What are these creative, budget-friendly ideas, you may wonder? Well, keep reading to find out!


5 affordable tips for a thrifty bathroom renovation
The easy tweaks
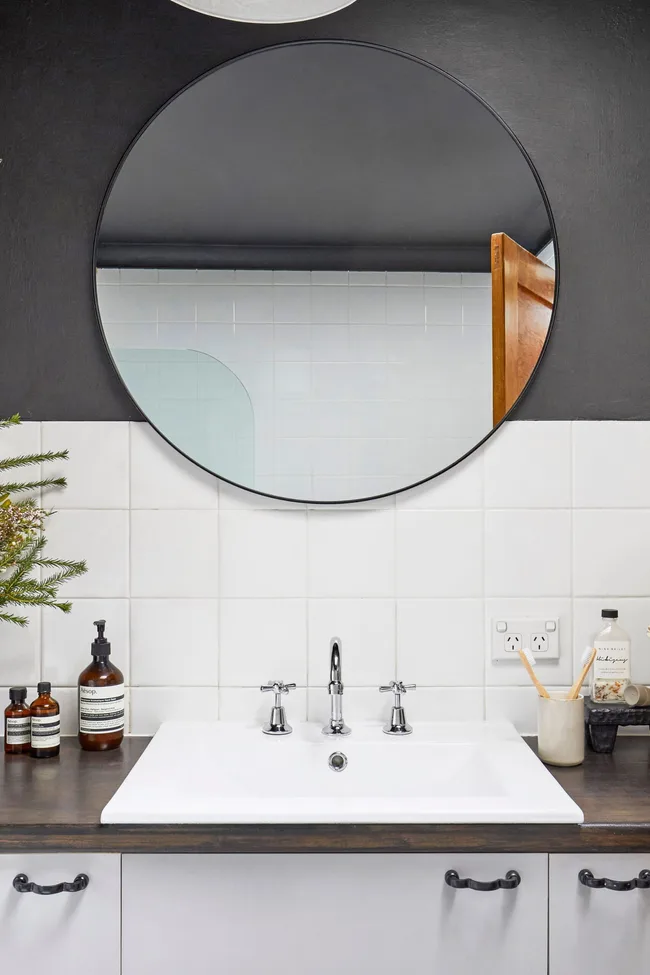
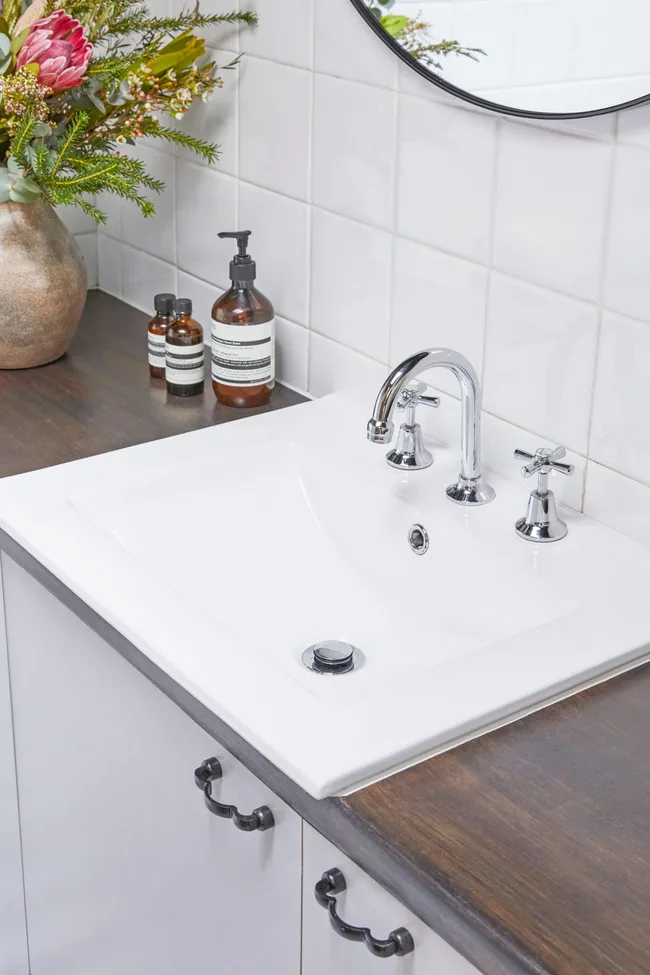
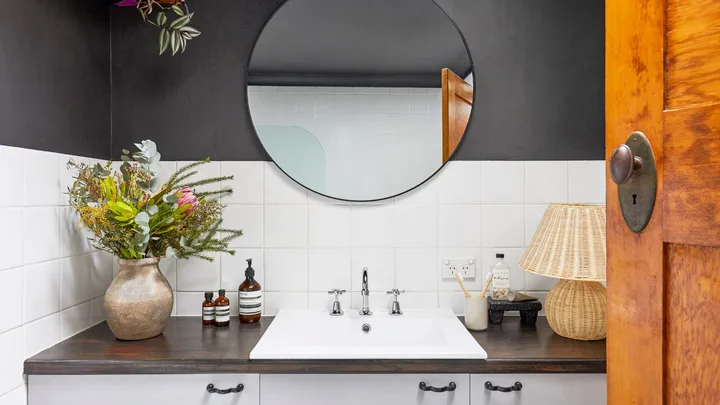
It’s the small things that make the biggest impact. Here, Tiff bought a second-hand sleek geometric sink with a silver gooseneck tap and including the plumbing which Tiff connected herself, it only cost $30 – what a bargain! She also updated the mirror to something that’s modern and trendy. The circular shape adds interest to the space and contrasts nicely with white tiles and black paint.
An eye for thrifting
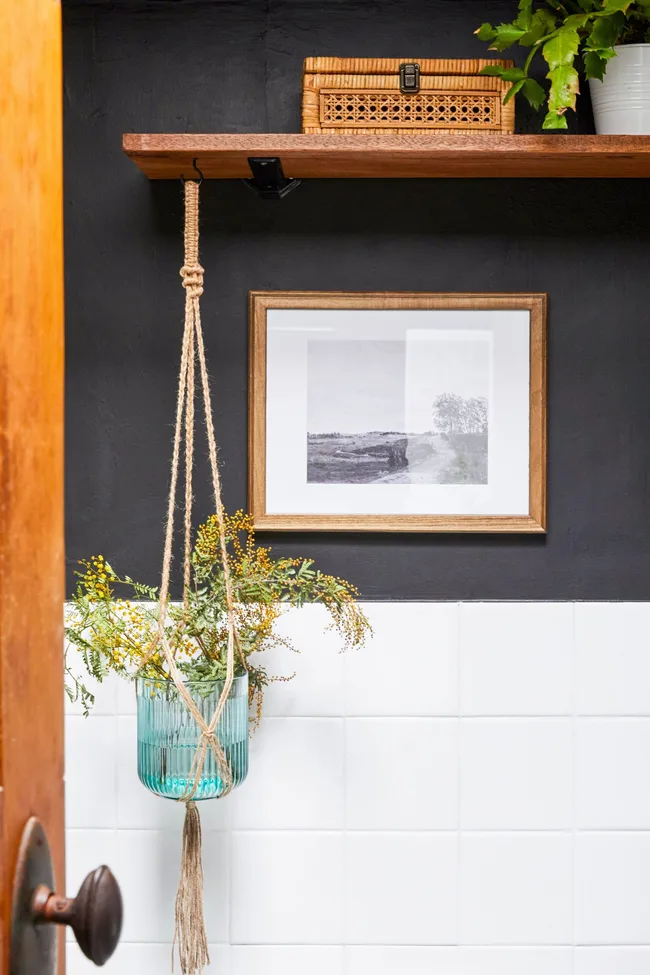
Give Tiff anything and she will find a way to make it work in any space. A prime example is this gorgeous hardwood shelf which was originally a part of a 1960s bed base. It’s been sanded and sealed with a benchtop sealant to protect it from bathroom moisture. Now there’s more space for storage and visual appeal – look at that stunning hanging plant!
“You can find items to reuse among street bounty on kerbs and at council clean-ups. Facebook Marketplace and ‘Pay it forward’ Facebook groups are also great sources.”
– Tiff Bancroft
Clean it up
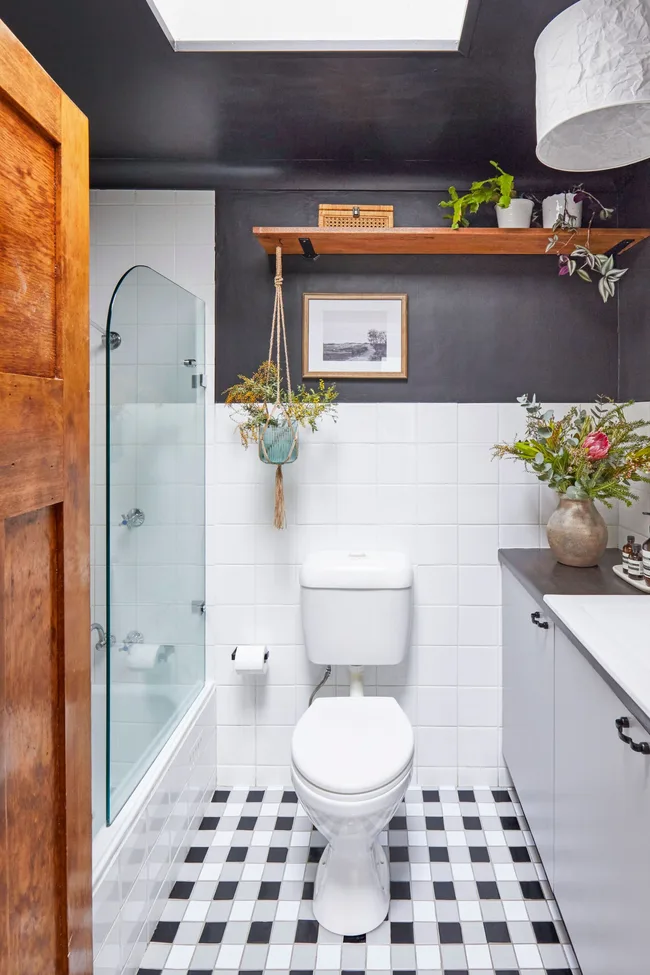
Tiff has proven that renovations aren’t all about buying new things. A big player is cleaning what you have and giving it a second chance at life. Like Tiff, patch walls and restore any missing tiles if needed. She found some tiles in council pick-up and swapped a shower curtain for a free, second-hand glass shower screen. She used a glass scraper to remove old silicone, then cleaned it with methylated spirits.
“Use what you’ve got. Go second-hand. You can still be fussy. You’d be amazed what people throw out.”
– Tiff Bancroft
Be smart with where you’re spending
Renovating a bathroom on a tight budget may seem daunting, but it can be done. This whole bathroom renovation only cost Tiff $100 because she used what she had in her home and bought second-hand. This bathroom vanity, for example, was tired and old, but instead of buying a new one, Tiff gave it new life. She sanded and refurbished the old timber benchtop with a dark stain and sealant. She found stylish handles from an unused cabinet in her garage and used leftover paint to colour-drench the bathroom, which is painting both the walls and ceiling black. It’s bang on trend and makes the room feel cohesive and cosy!
Vinyl it up
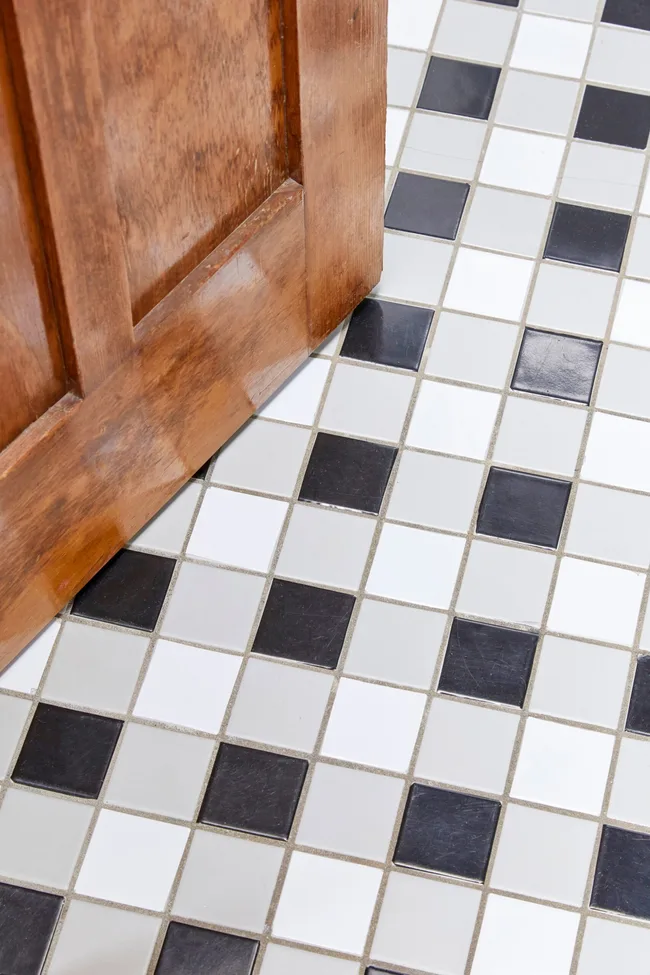
This is a dupe that needs to be remembered. Tiff used permanent white and black self-adhesive vinyl to revamp this old tiled floor with a check pattern. Select colours that look good with your existing floor tiles. She used gloss black and white to lift the original mid-grey tiles.
How to prep your tiles
For a professional finish that lasts, thoroughly scrub the tiles and grout lines before you start. Mix a paste of bicarbonate of soda and dish detergent, then apply to the tiles with a scrubbing brush. Spray white vinegar over the floor, then scrub. Wipe with a clean damp cloth and allow to dry.
How to apply vinyl
Measure an individual tile, then cut self-adhesive vinyl squares 2mm smaller than your tiles, so the grout is not covered. Before attaching, vacuum any residual lint, then stick vinyl to the tile and smooth out.
 (Photography: Alan Jensen, Tiff Bancroft)

