With our wonderful climate, we love living on our decks and balconies. But sometimes that means we are in full view of the neighbours. There’s no need to become paranoid and hide inside – if you would like a little privacy, simply install a screen.
WATCH: Cleaning your deck, its not that hard
Not only does a screen stop prying eyes, it can also be used for heat control and to filter sunlight. A screen is easy to install if you use an inexpensive kit that includes side channels and spacers, and uses standard decking timber. Give it a go!
Gather your supplies
90 x 42mm H3 LOSP pine upright (if needed); galvanised metal bracket; Screen Up screening kits to suit; 16 or 19mm decking for screening (here, 64 x 19mm hardwood); drill and bits; buttonhead screws; exterior decking oil
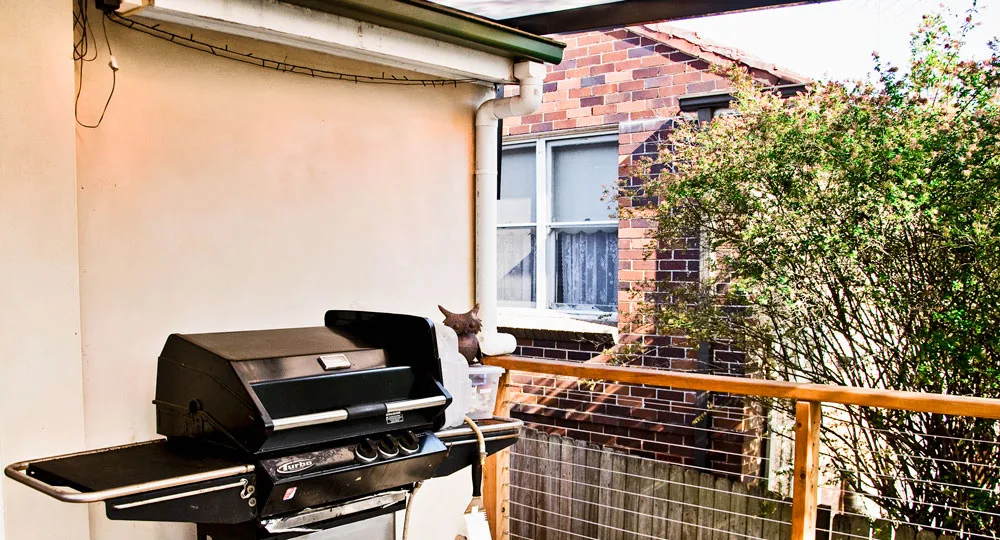
Here’s how
Step 1
If you don’t want to go full width between verandah posts, install an intermediate post. This may also be a good option if your screen length is much more than 1200mm, as screening timber may twist when out in weather. Use H3 treated or durable timber. Measure and cut to length then test-fit between handrail and verandah beam, locating it over a balustrade post if possible.
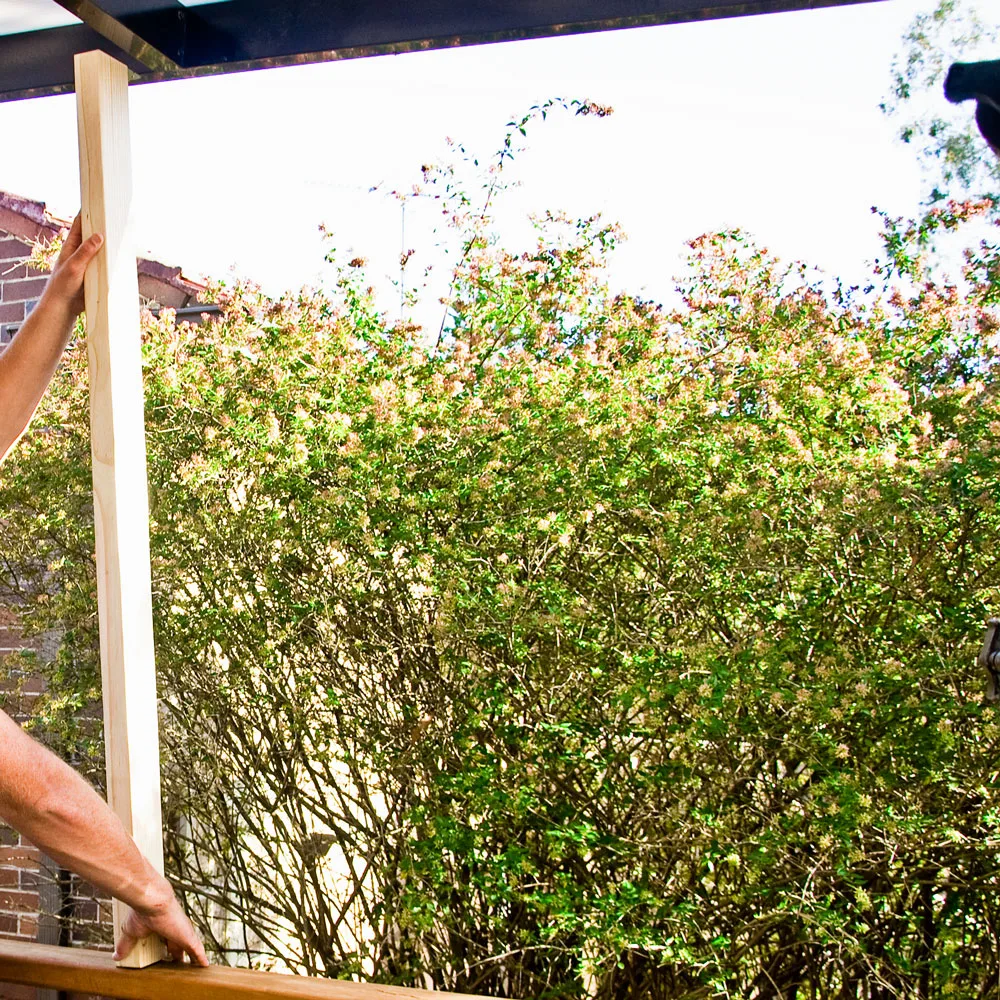
Step 2
Screw down post to handrail by skew screwing. Check post is plumb, then screw to verandah beam or rafter using a small gal metal or aluminium bracket.

Step 3
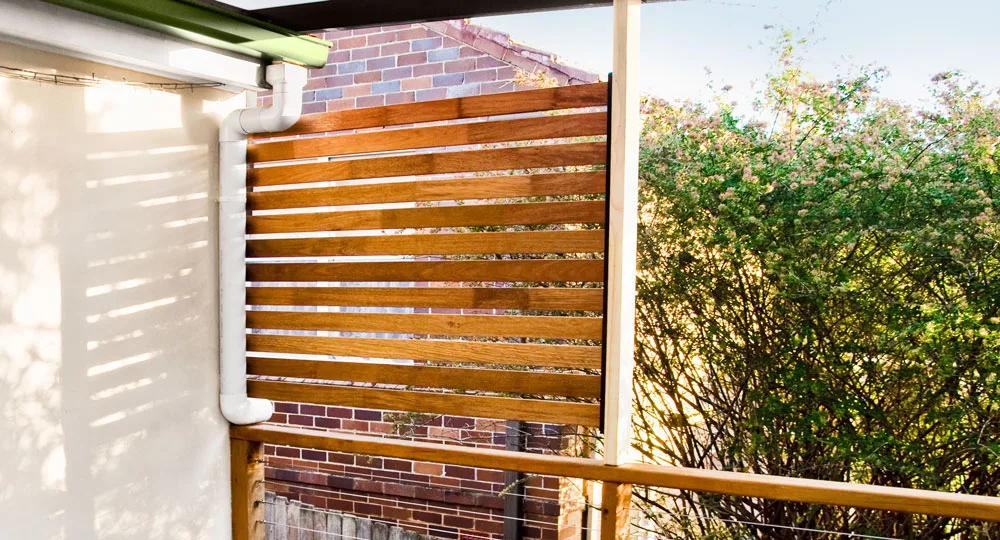
Screw channels to uprights using button-head screws, making sure bottoms are level with each other. Here, screen is fitted above a downpipe to avoid a more complicated installation. It can also be screwed through its sides if you want to face fix channel. Check tops and bottoms of channels are aligned.
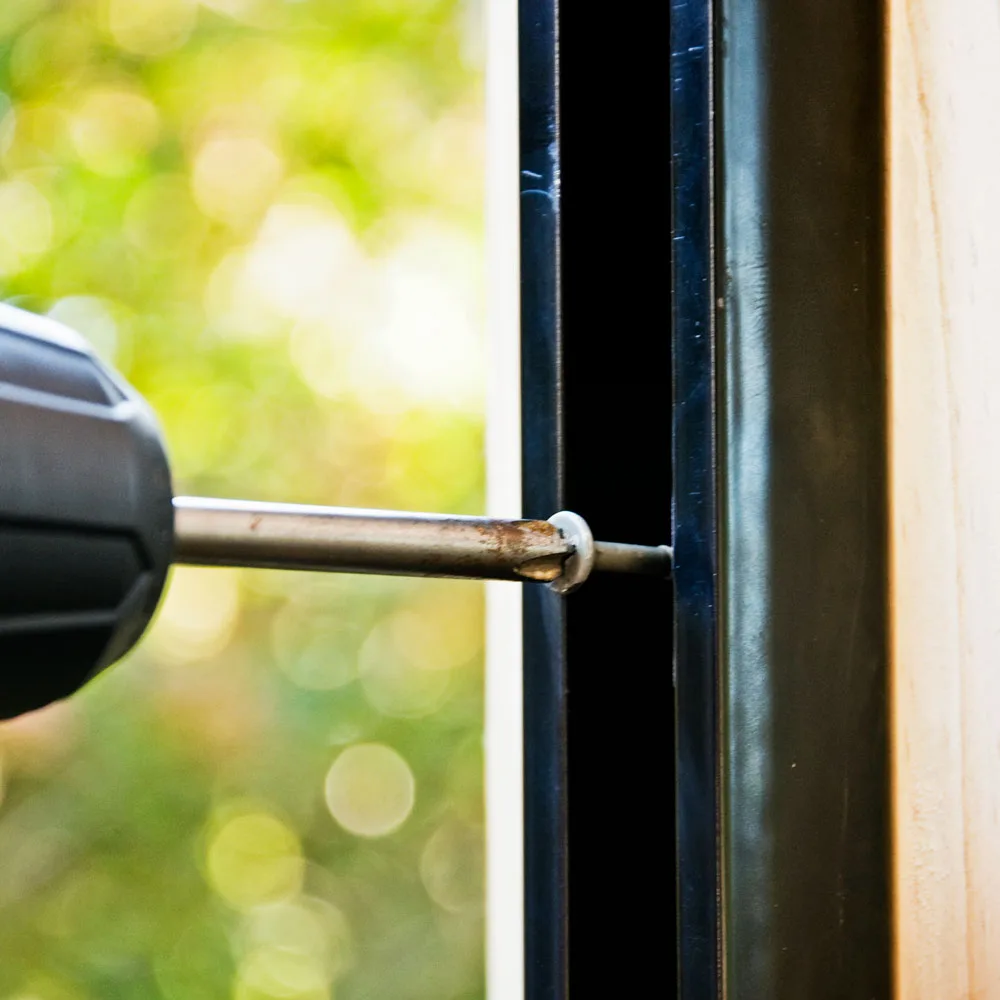
Step 4
Cut screening slats to length and pre-coat with exterior decking oil as it is easiest at this stage. Install bottom end-cap and L bracket provided, then install slats. If you want to totally screen out neighbours, set slats 1 on top of the other, otherwise use supplied spacers for gaps. For a 1.1m screen you need 12 slats when using spacers. When complete, install top end-cap.
