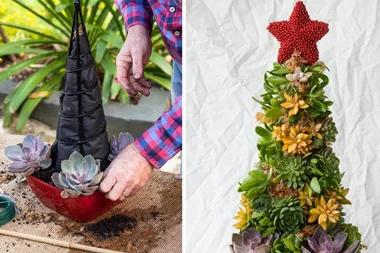
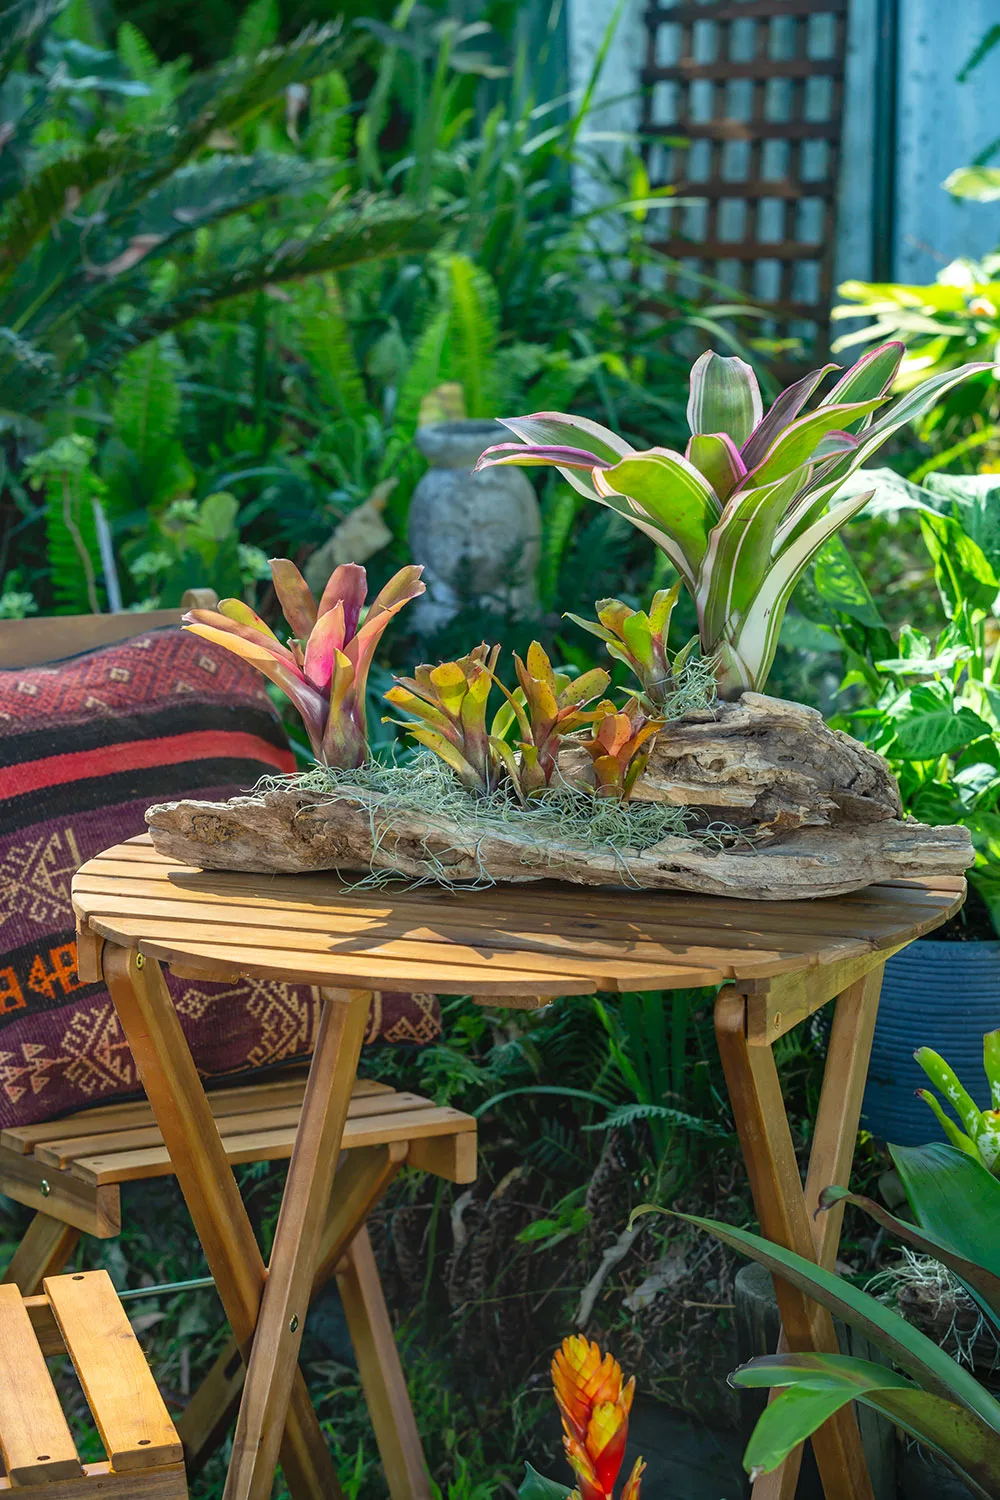
Recently, Charlie saw a bromeliad display that caught his eye. They were stuck to some wood and made a great alternative to the usual plant pot. Not only do they make a lovely centrepiece, but they’re super easy to create and you can stick bromeliads to almost anything you want.
WATCH: Charlie mounts bromeliads on driftwood
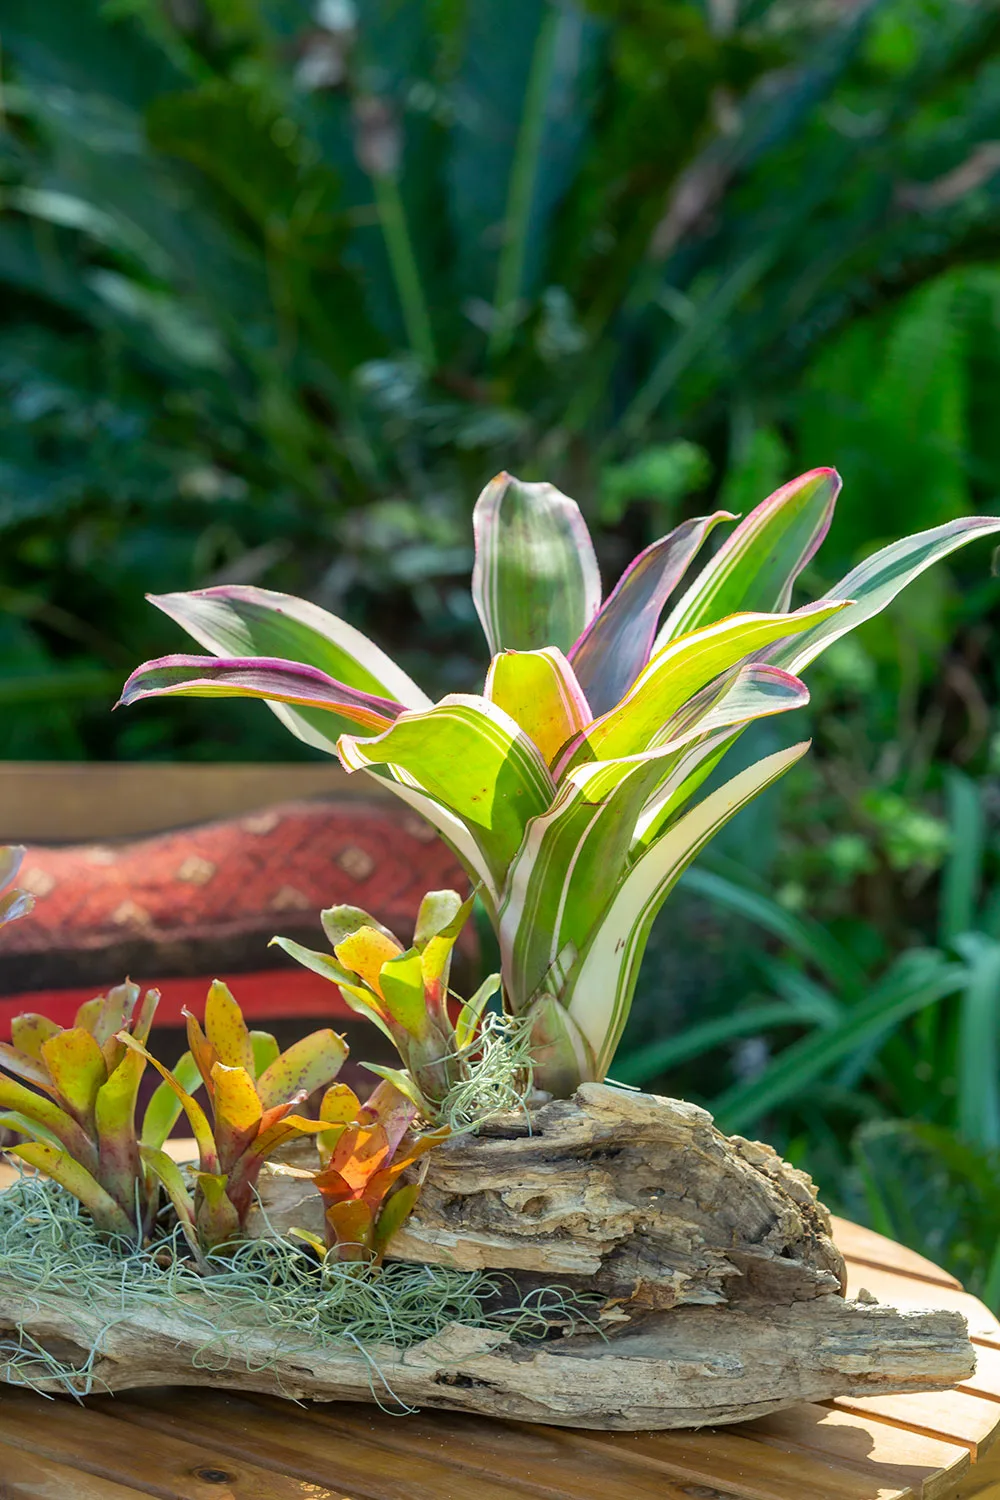
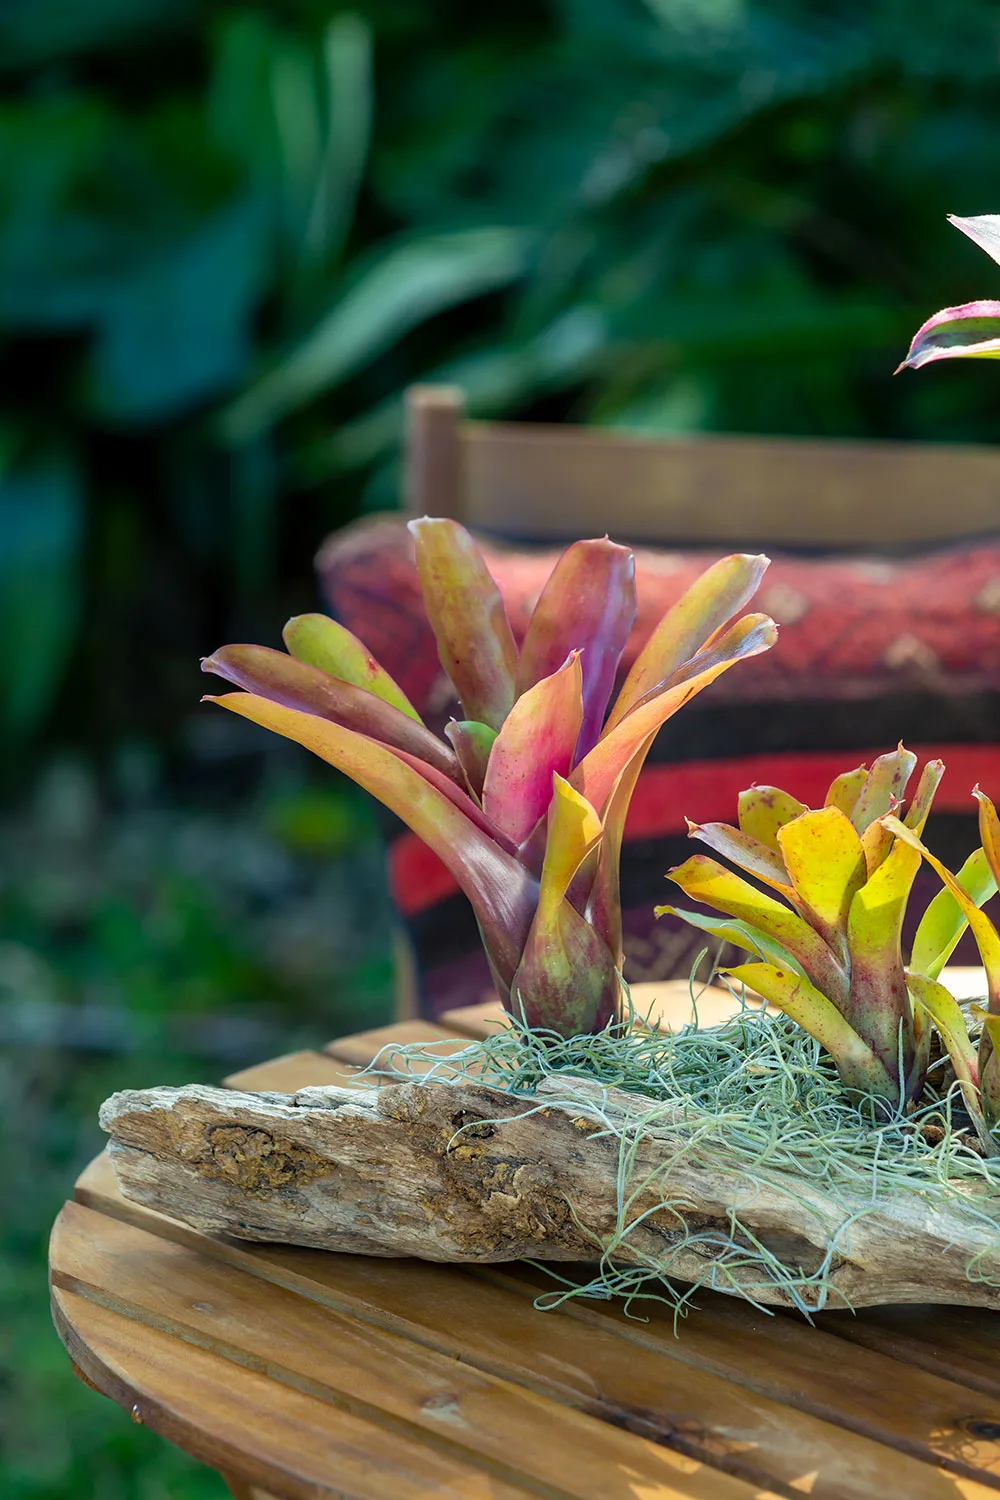
When your beautiful bromeliad starts to produce its magnificent flowers, it’s often a sign death is on the horizon. But not before producing a collection of clones around its base. These are called pups, and it’s the way the mother brom continues its legacy. It’s also your chance to lift your broms to a new level – attaching some of the pups to a piece of driftwood that can become the highlight of a garden table. Finish off your craft work with Spanish moss, a wispy member of the brom family also known delightfully as grandpa’s beard.
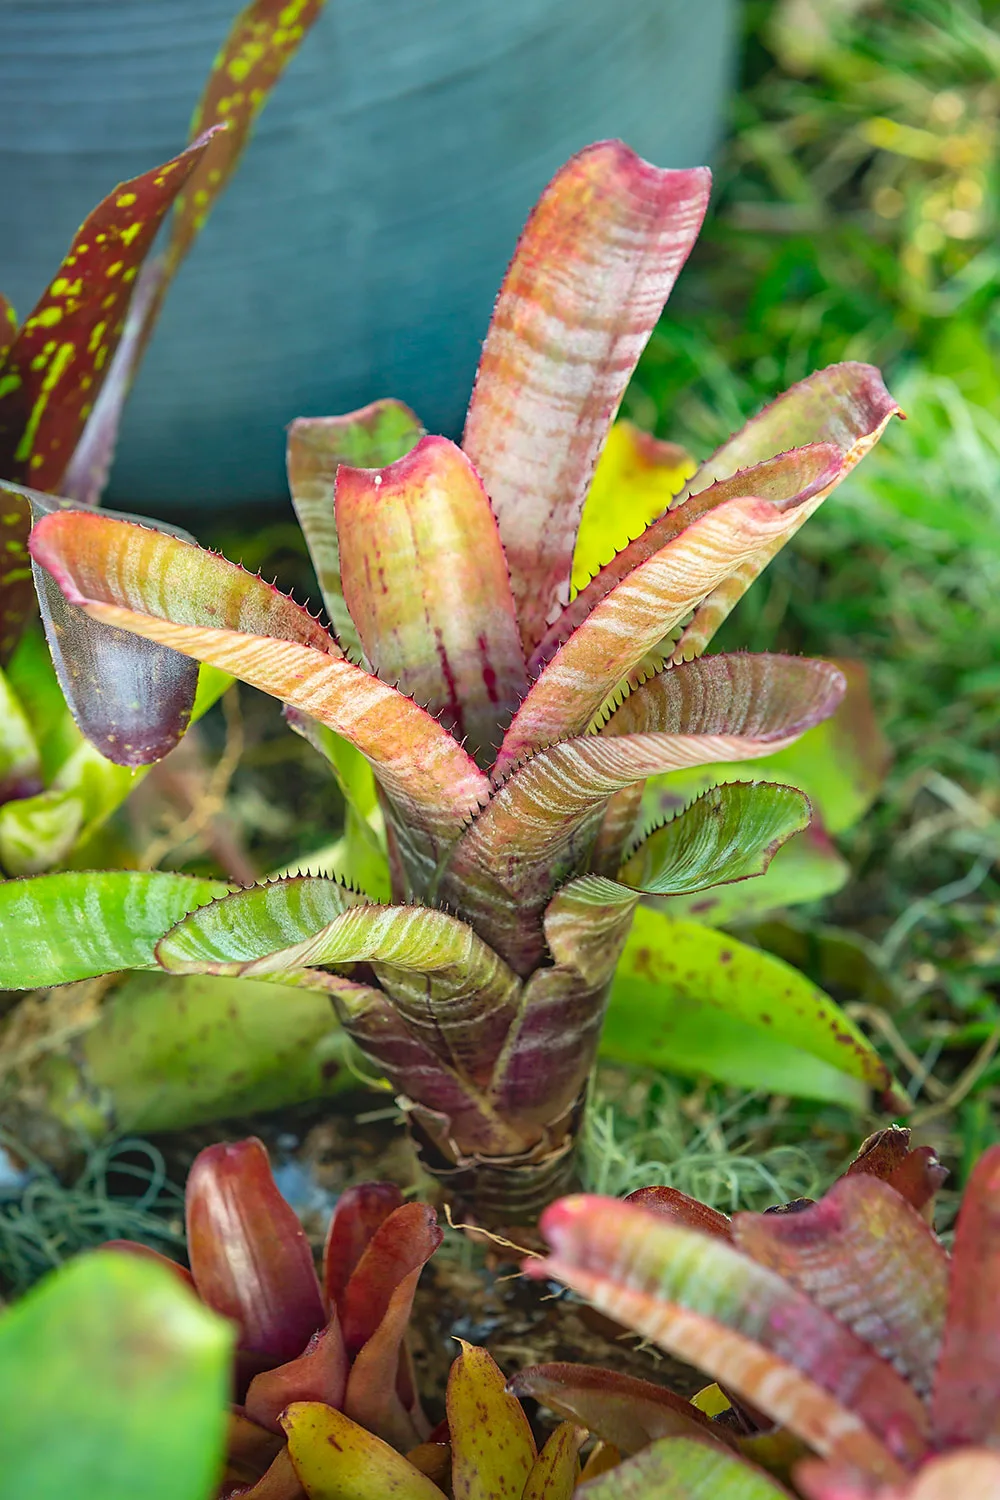
It can take two to three years before a pup is mature enough to produce flowers, but it’s absolutely worth the wait as the dramatic blooms will last for weeks, maybe six months. Meanwhile, enjoy the gorgeous coloured and patterned foliage.
How to mount your bromeliads on wood
Gather your supplies
- Driftwood (or any scrap of old timber)
- Bromeliad pups
- Construction adhesive
- Caulking gun
- Spanish moss
You’ll also need
- Clean cloths
- Fishing line or garden wire
For you to know
Use driftwood or timber with natural holes or cracks you can use as anchor points.
Here’s how
Step 1
Dust off any debris from driftwood with a cloth.
Step 2
Position one large and several smaller pups in driftwood hollows or cracks in the wood.
Step 3
Put adhesive cartridge in caulking gun and gently squeeze a small amount onto driftwood in desired positions, pressing base of pups into it. Wipe away excess with a cloth.
Step 4
Hold bromeliads firm while adhesive sets – it can take up to 4 hours – by winding fishing line or garden wire around driftwood, covering base of plants at root system.
Step 5
When adhesive is set, remove line or wire and drape moss around base of broms.
How to remove pups
You can remove bromeliad pups when they are one third to one half the size of the mother plant. First, remove soil around the pups you want. Then, using a sharp, clean knife, cut as close to the mother as possible, pull the pups away and mount them elsewhere. Replace soil around the mother so it can keep producing pups.
How to care for bromeliads
Most bromeliads are epiphytes, or air plants, so they don’t draw nutrients or water from the soil. Instead, this job has been taken on by the leaves, with the roots only as anchorage or a support mechanism. Put plants under, or in, trees so they can collect leaf litter and get gentle morning sun. Ensure the air around them is humid for moisture and don’t overwater as they’ll rot.
After more information on how to grow bromeliads?
You might also like:
How to hang bromeliads in a tree
How to make a bromeliad bauble
Turn your living bromeliad tree into beautiful artwork
Related stories
Native ad body.
Native ad body.

Native ad body.