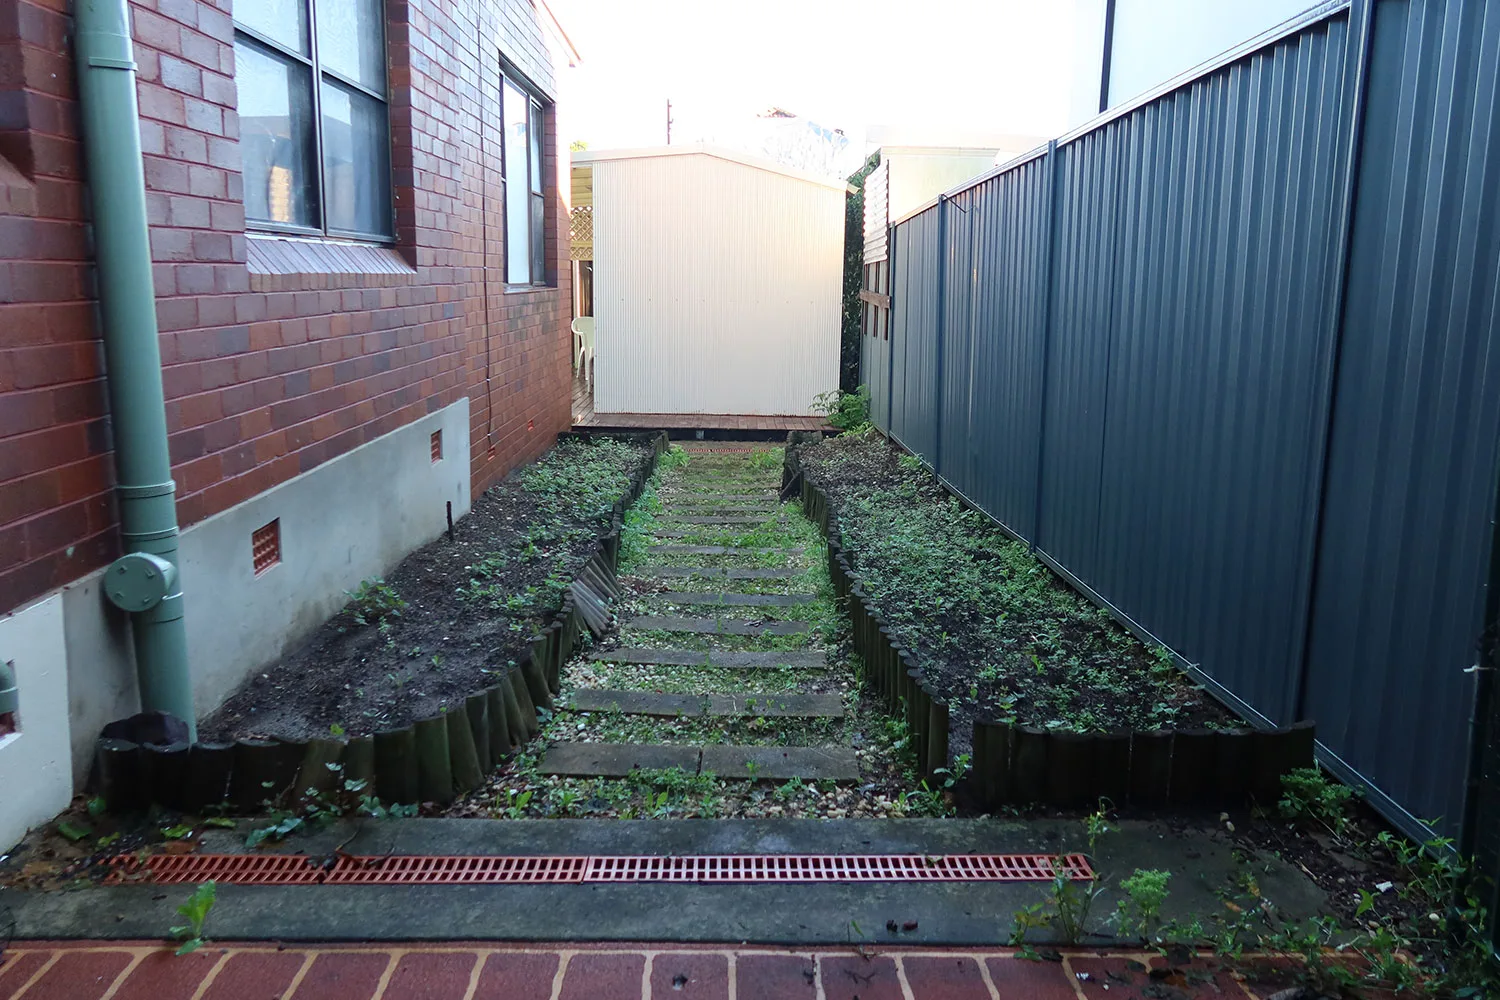
That narrow passage that runs along the side of your home serves its purpose by taking you from A to B – perhaps from the kitchen to the fuse box or bins. There can be up to 40sqm of pavers and a bit of dirt on the side here, but not much else. Wasted space!
WATCH: Charlie shows you how to landscape a narrow passage
So turn it into a destination where you can stop, take time out from life’s hassles, be alone with your thoughts and even create a private book nook if there’s room. Then look around at other unused spaces and see what you can reclaim! Be inspired by Charlie’s stunning garden ideas in this clever makeover.
Before
After

Step-by-step: how to lay a garden path
Gather your supplies
- 400 x 400mm Euro Stone concrete pavers
- Plants
- Mulch
- River pebbles
- Garden lighting
You’ll also need
- Shovel
- Stringline
- Tape measure
- Wheelbarrow
- Brickie’s sand
- Cement
- Spirit level
- Rubber mallet
- Trowel
- Drop cloth
Step 1
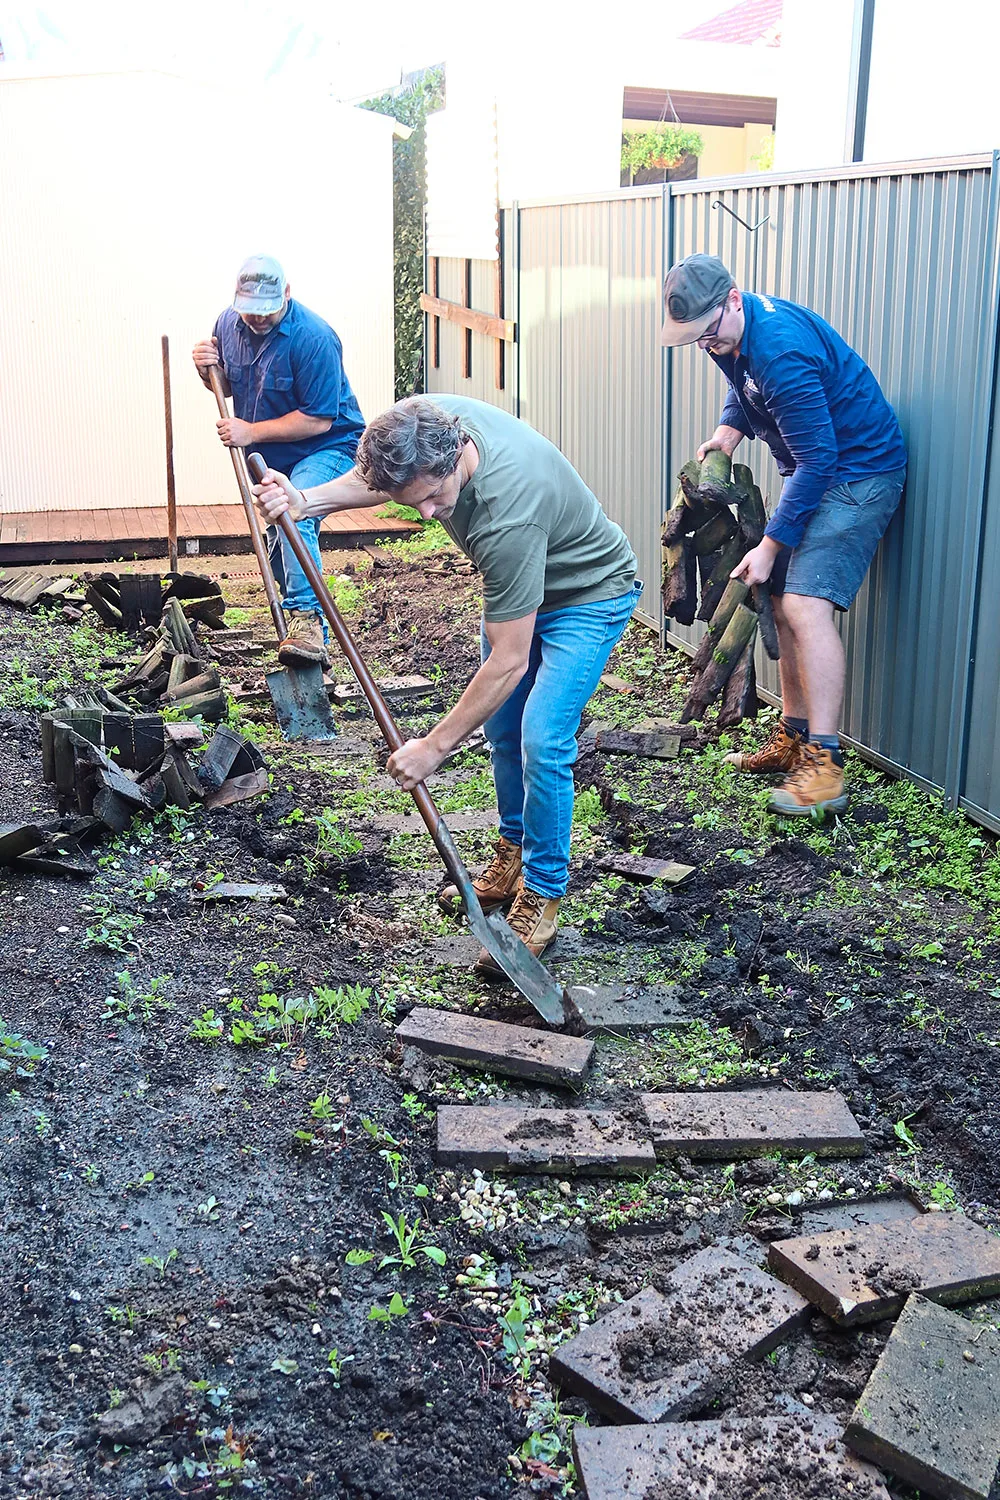
Remove the existing stepping stones and any garden edging.
Step 2

Set up stringline which will mark the outside line and level of your path. Measure off an existing feature, such as the fence, so the path seems straight in relation to it.
Step 3
Using the stringline as a guide, excavate to suit the level of the new stepping stones. Make the ground the thickness of a paver plus 40mm below the stringline.
Step 4
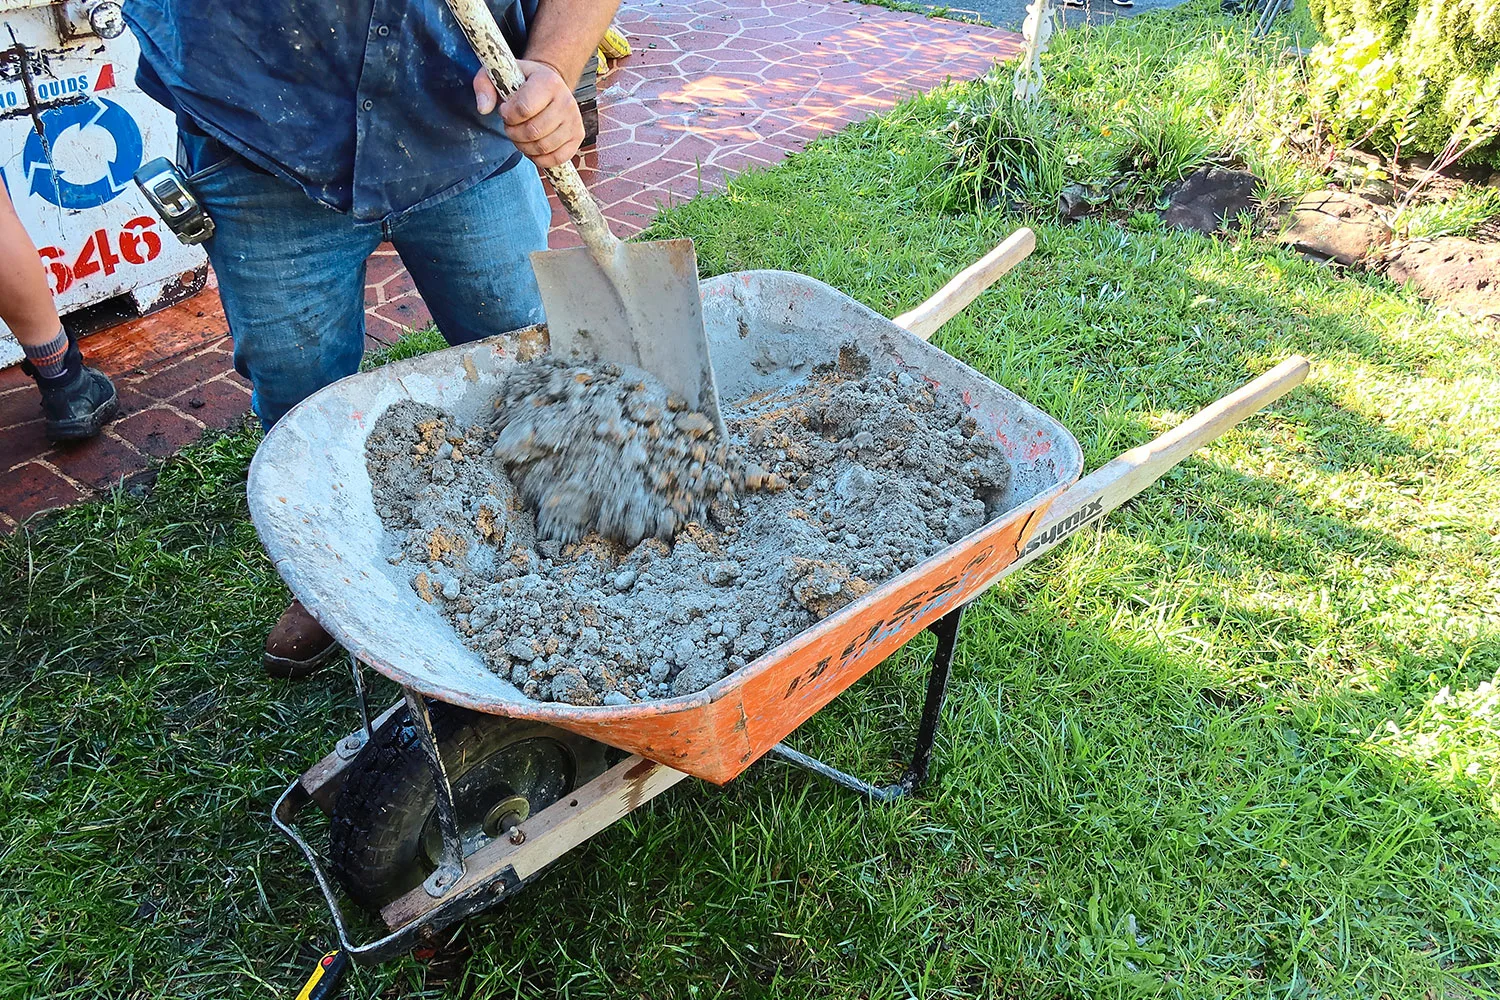
In a wheelbarrow, mix up brickie’s sand and cement in a ratio of 6:1. Add water to make a mortar mix. Make the mix on the stiff side rather than runny so the mortar will hold the weight of the pavers.
Step 5
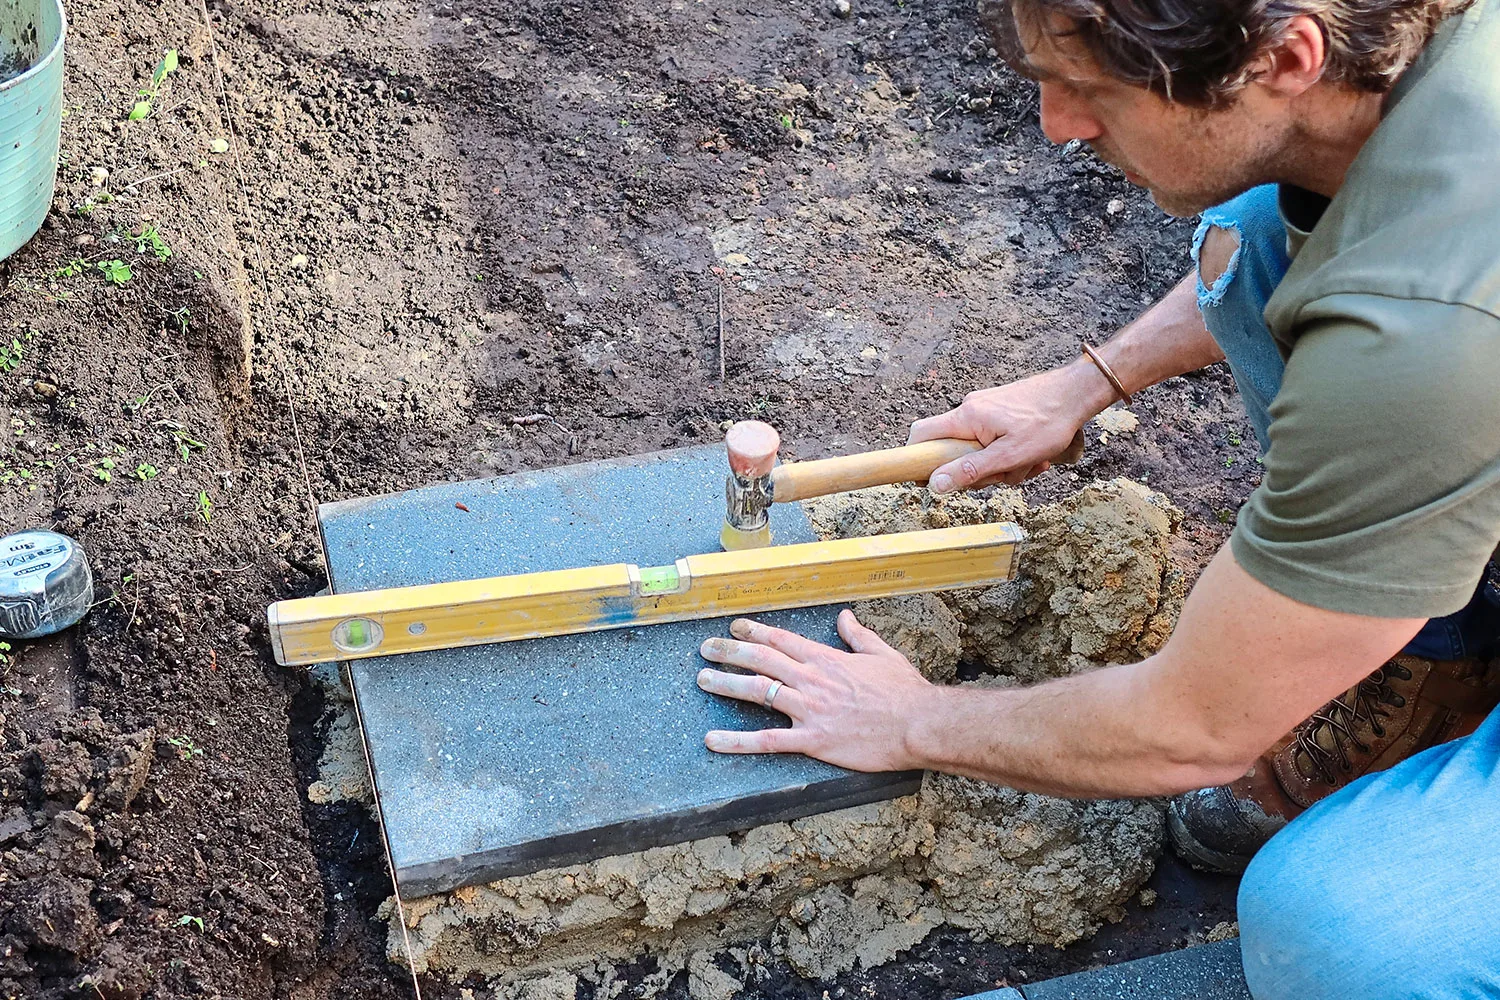
Lay a bed of mortar about 50mm thick for a pair of pavers. Lay your first paver in the bed so the top corner meets the stringline. Use a spirit level and rubber mallet to make sure the paver is level. Lay a second paver next to the first, using spirit level to check they’re level with each other.
Step 6
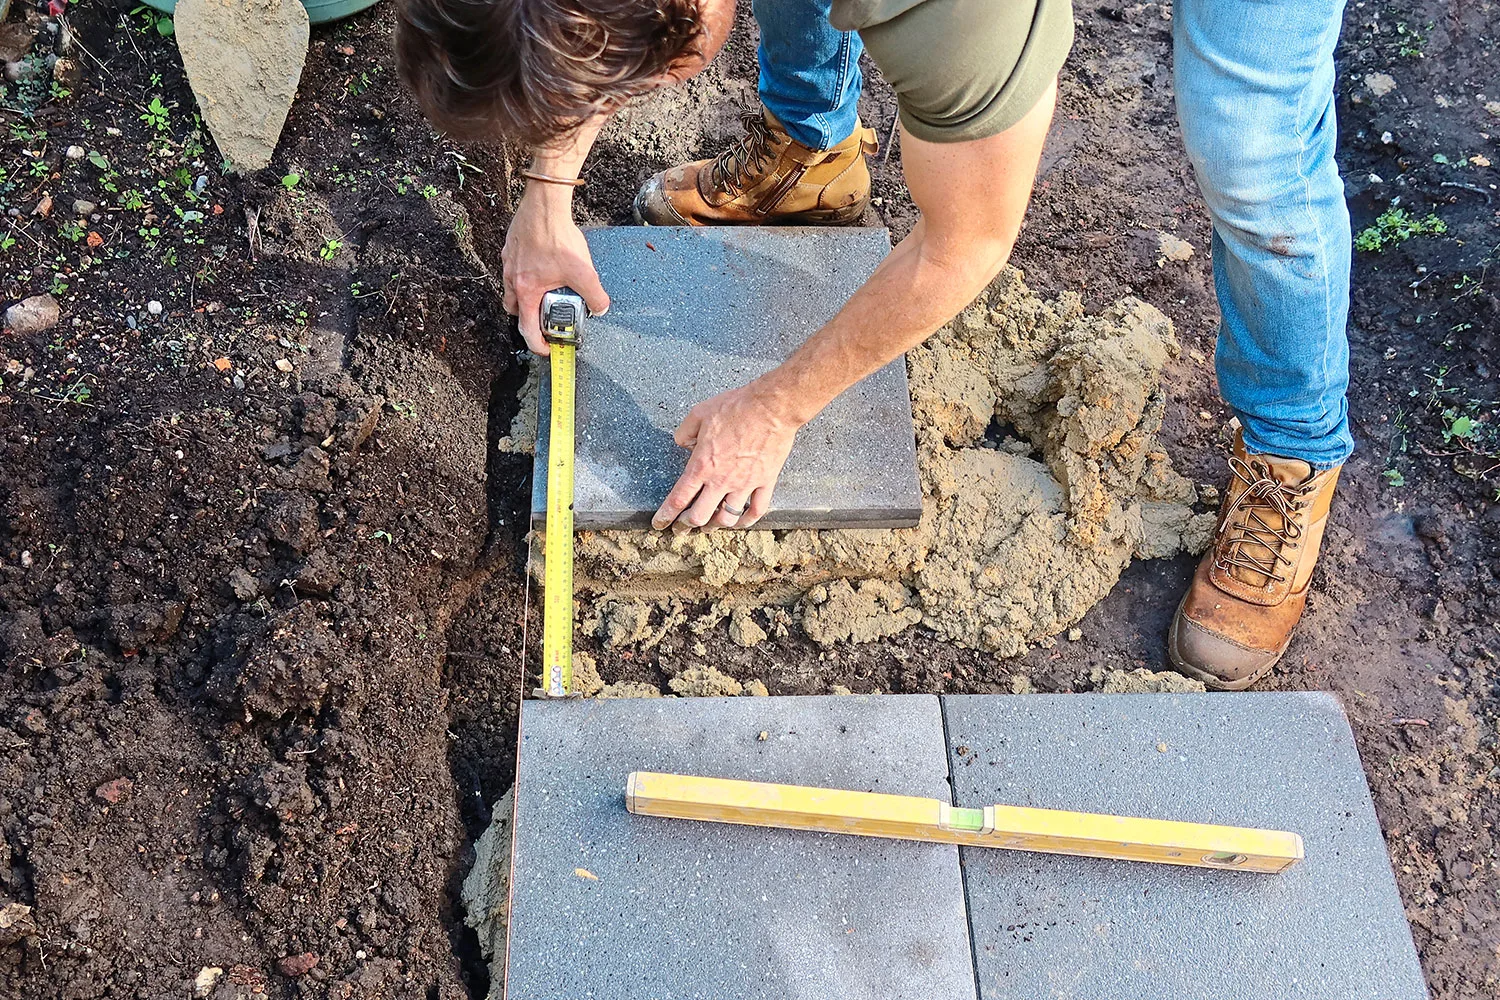
Lay another bed of mortar for the next row of pavers, then lay the first paver. Measure the distance so second row is 200mm from the first. Lay second paver next to this, maintaining the distance.
Step 7

Use a trowel to haunch around the pavers, splaying the mortar on an angle away from the pavers.
Step 8

Continue laying rows of pavers to create your stepping stone path. If space permits, extend the rows of pavers to create room for a bench seat. Leave for at least 24 hours for mortar to set.
Step 9
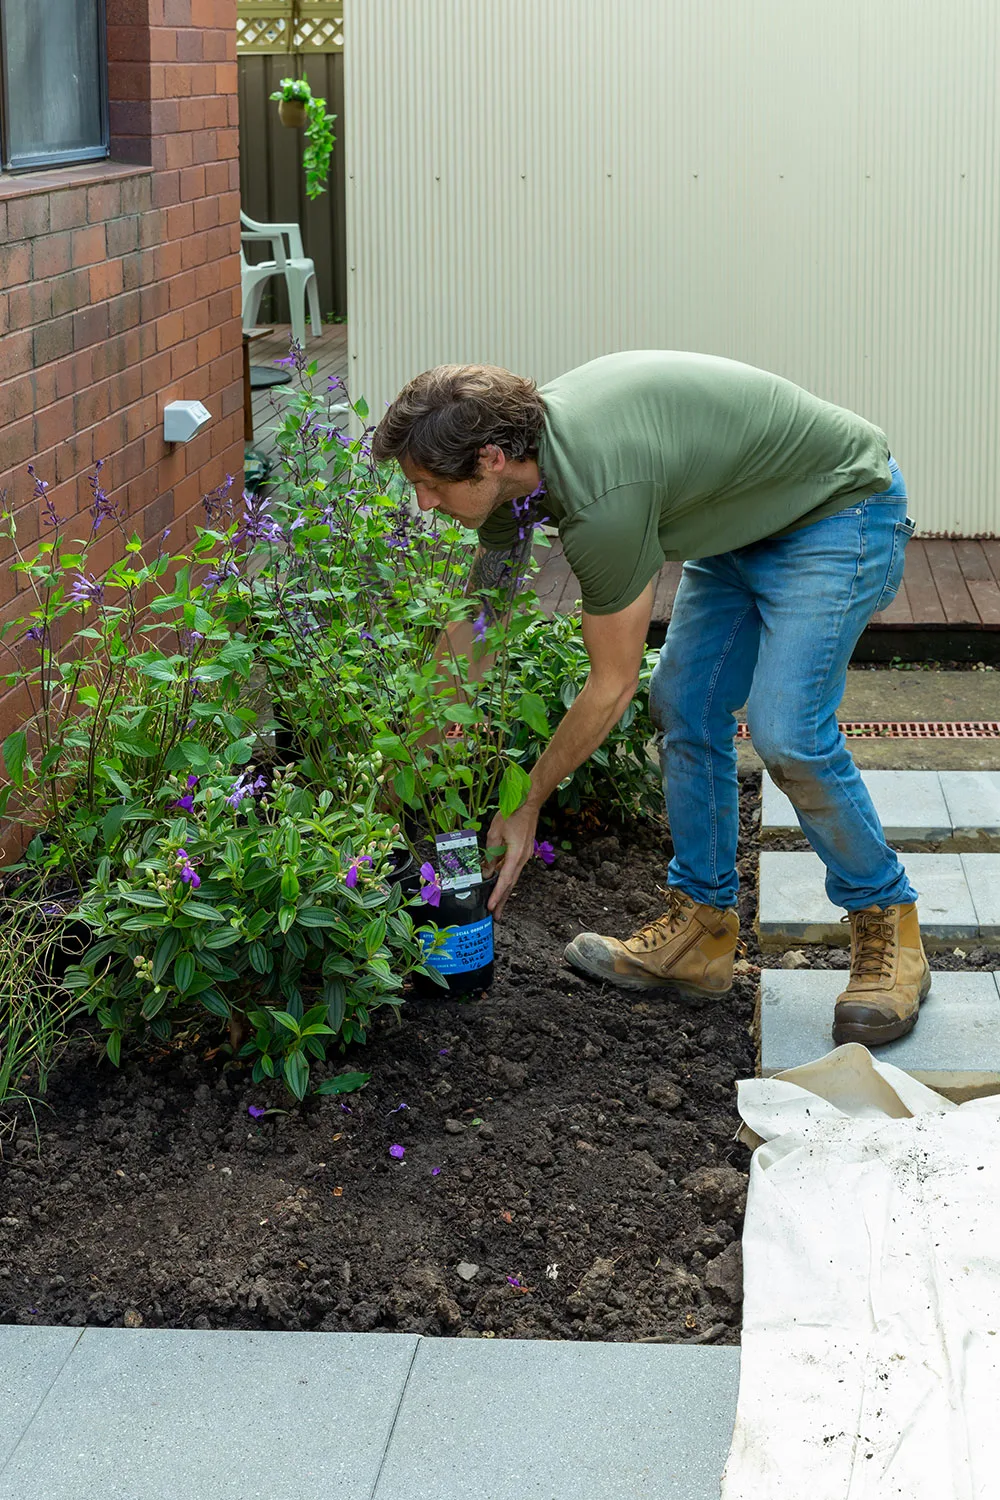
Cover path with a drop cloth to protect it while you put plants in garden in garden beds.
Step 10
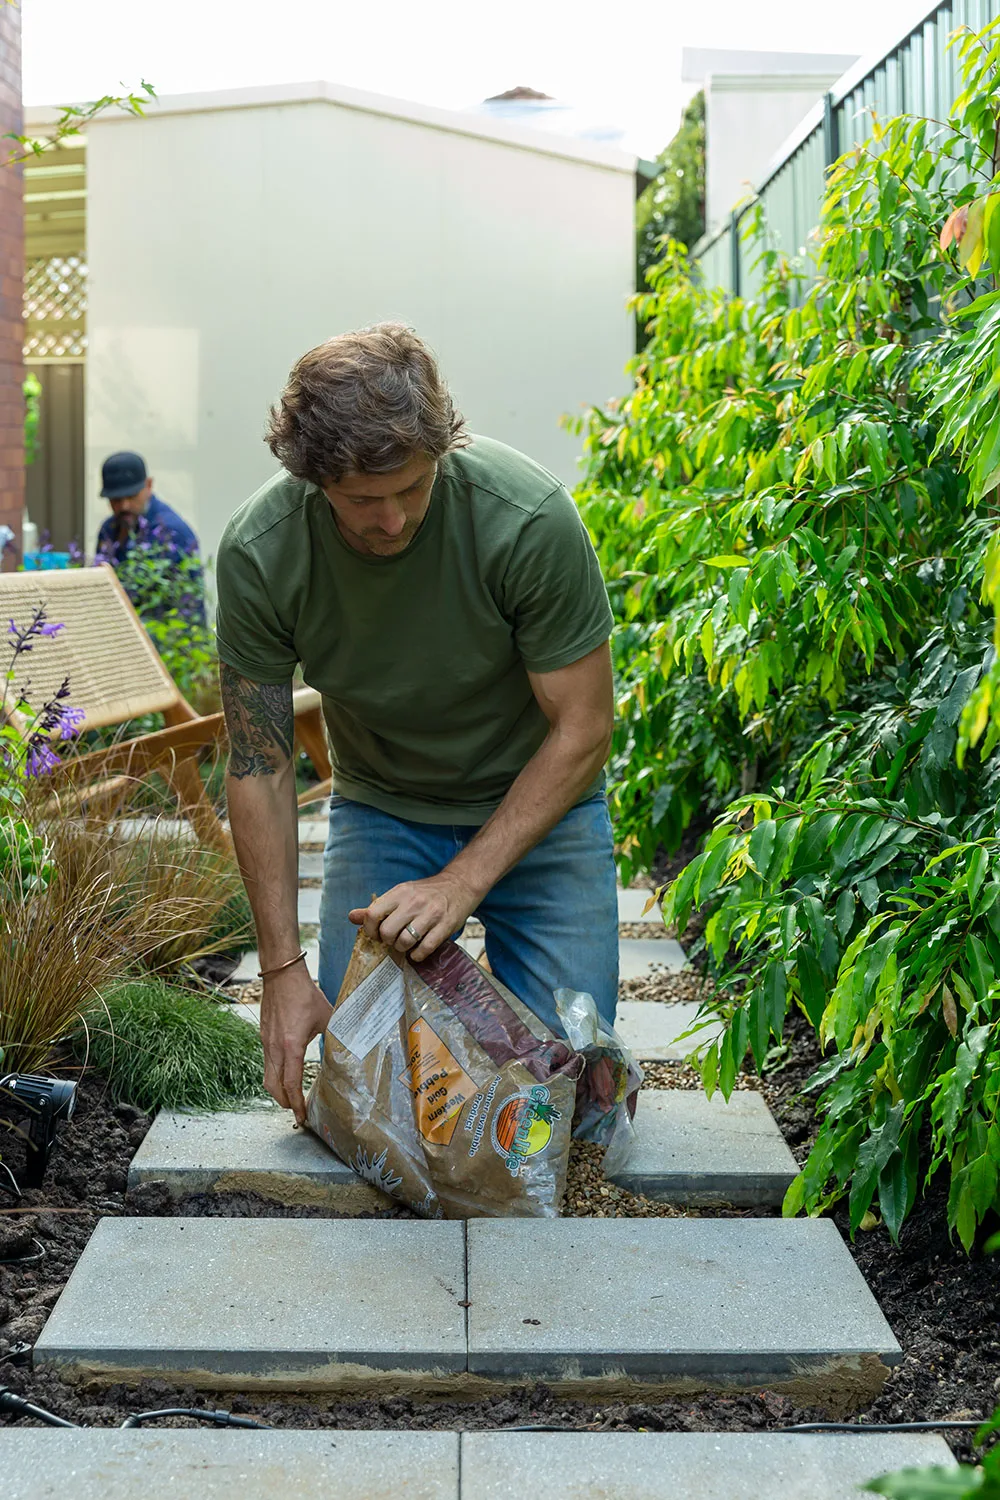
Fill the gaps between stepping stones with river pebbles.
Step 11

Install garden lighting according to the instructions or employ an electrician.
Step 12

Spread mulch on soil around plants.
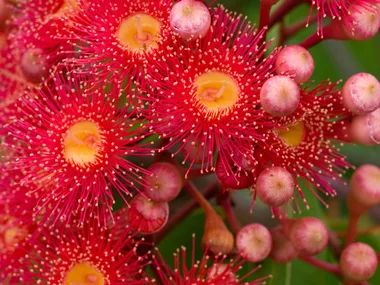
Plants for your side garden

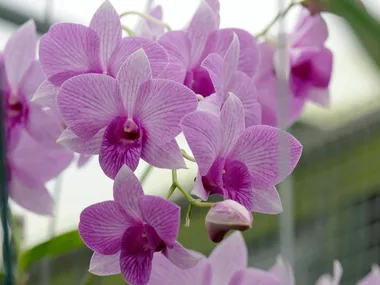
Make the Japanese maple (Acer palmatum ‘Senkai’) your centrepiece and delight in its seasonal changes.
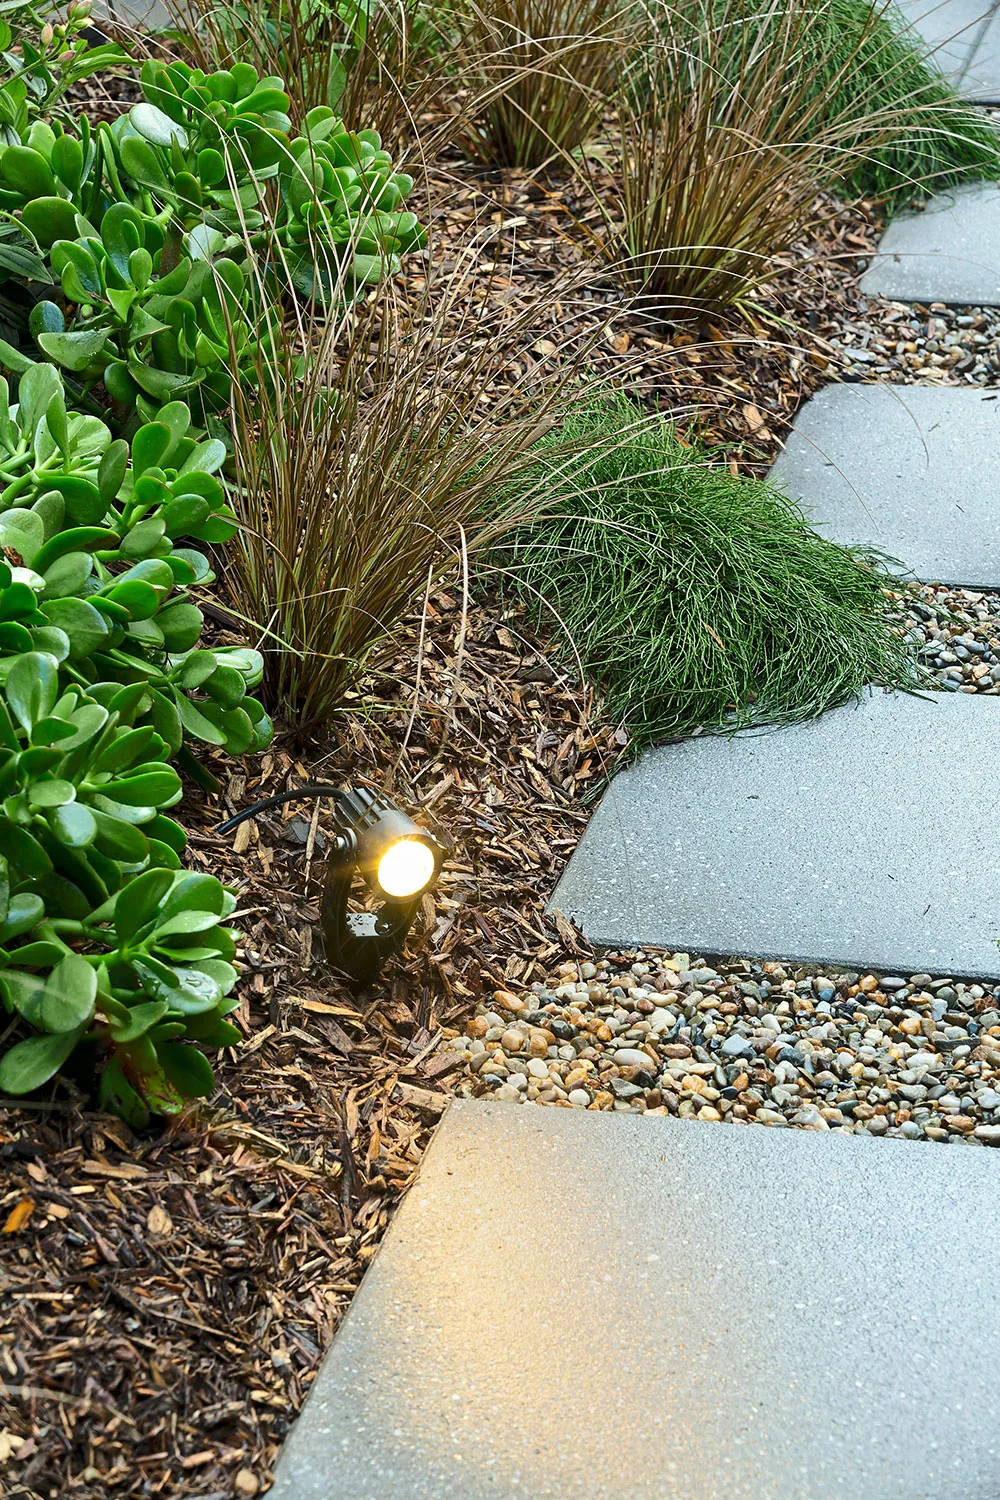
Shine a light on the pebbles to highlight their colour and texture. Pretty!
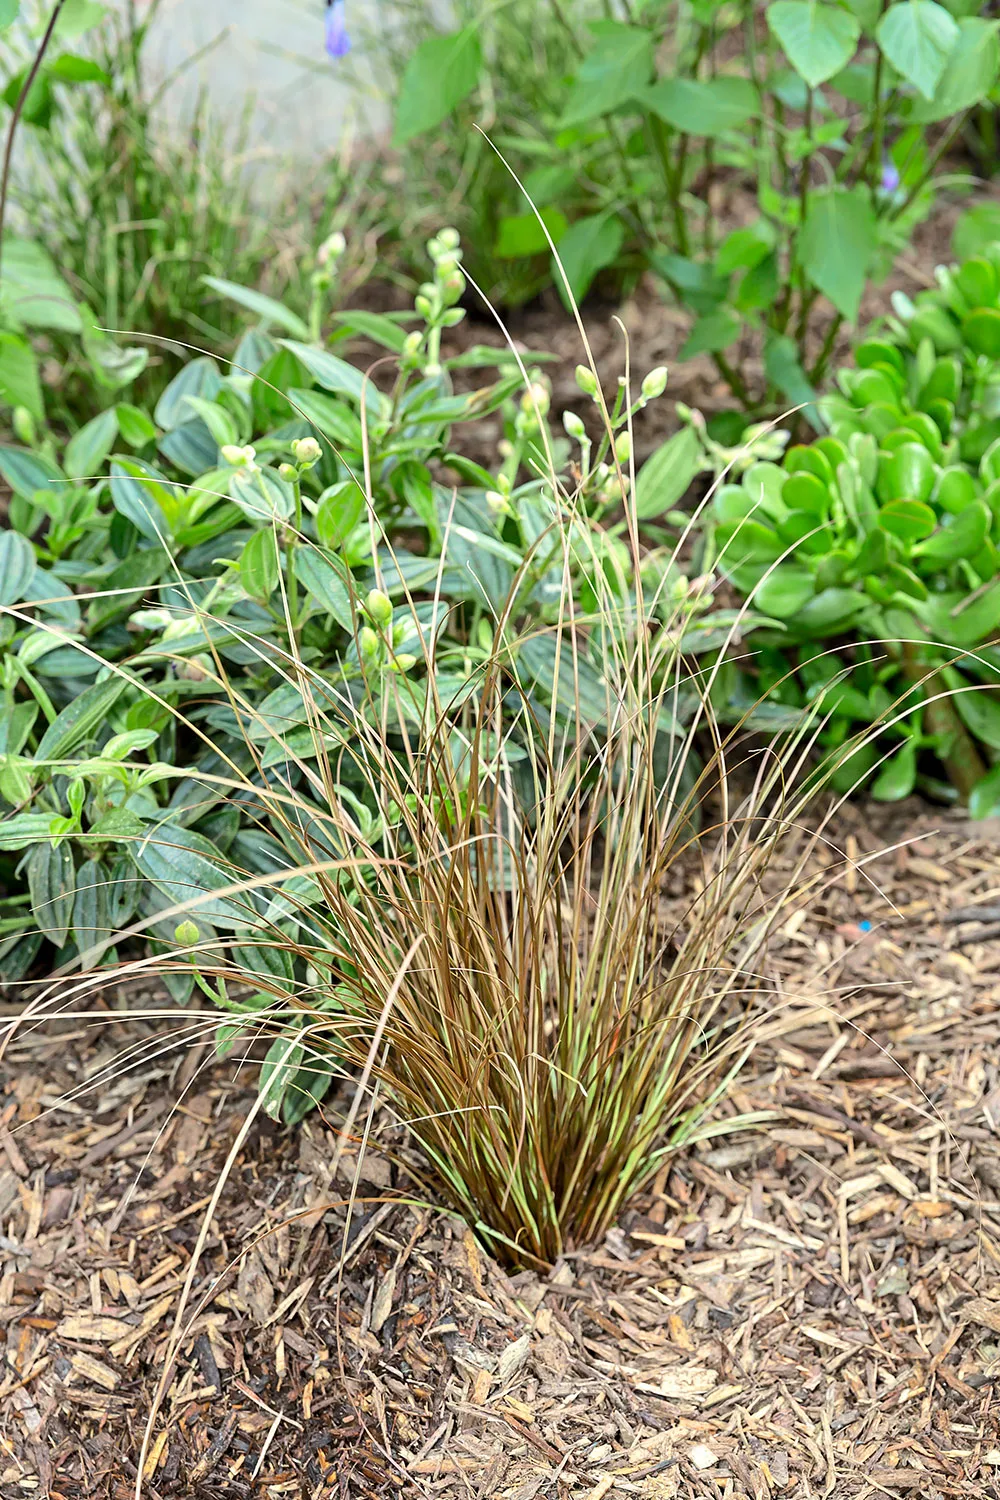
Contrast the textures of Carex ‘Dusky Fountain’ and the dwarf Tibouchina ‘Jules’.
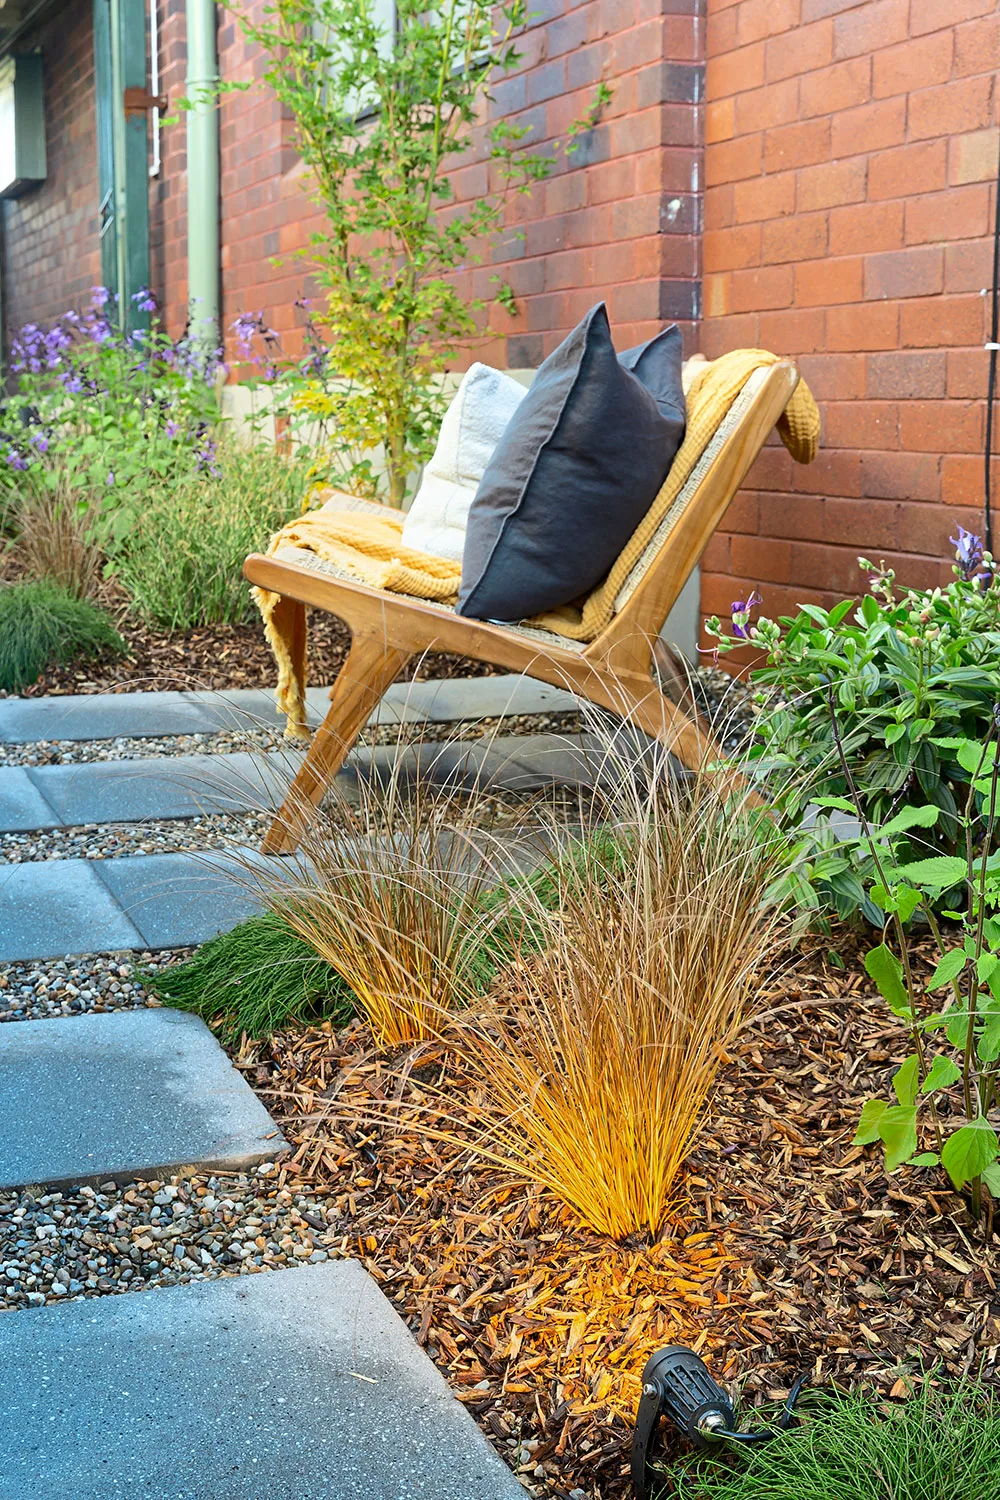
Vary the height and textures of your plants, but keep them low around your reading nook. The two-seater Keta Jute lounge is from Inartisan.
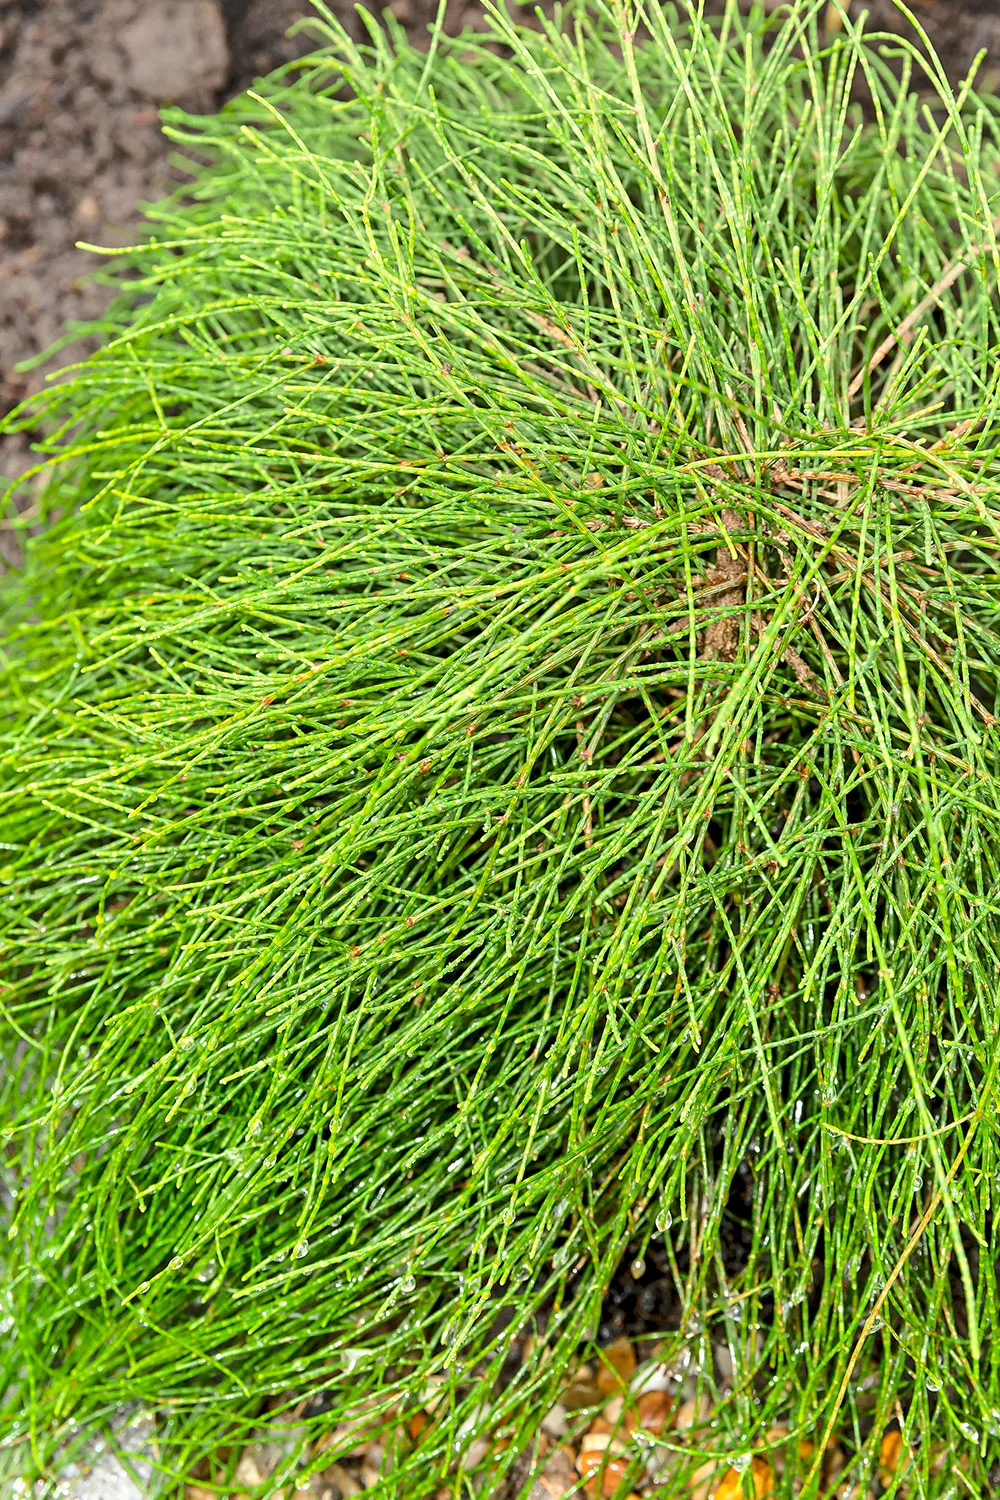
The fascinating Casurina glauca ‘Cousin It’ adds personality plus to your garden.
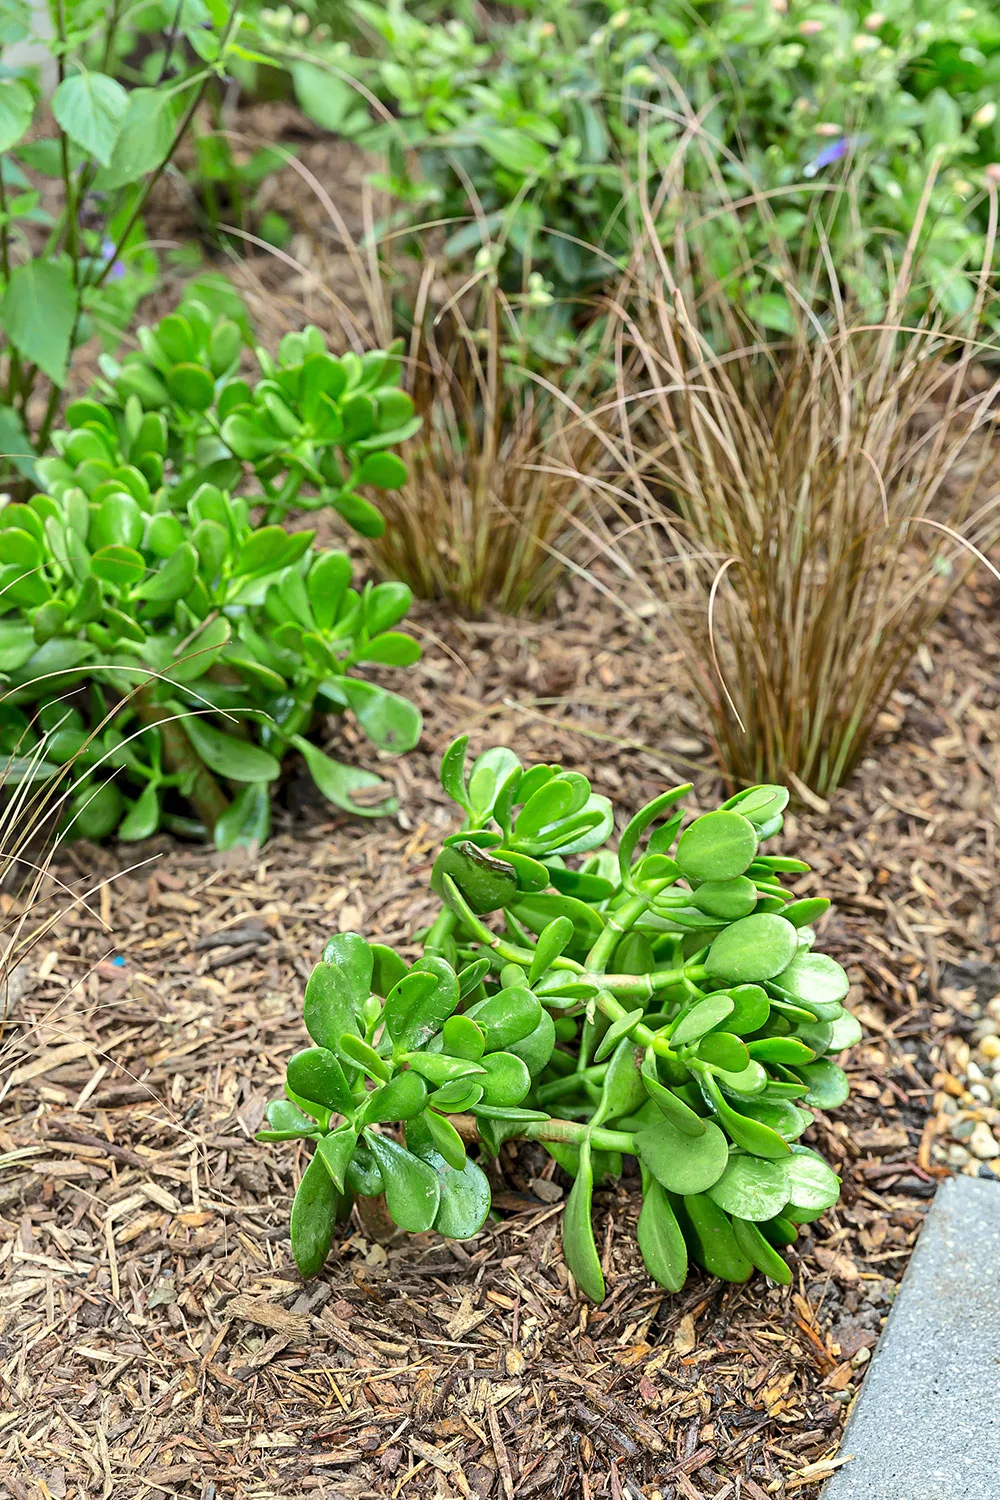
The rich, glossy leaves of the jade plant (Crassula ovata) are versatile and no-fuss!
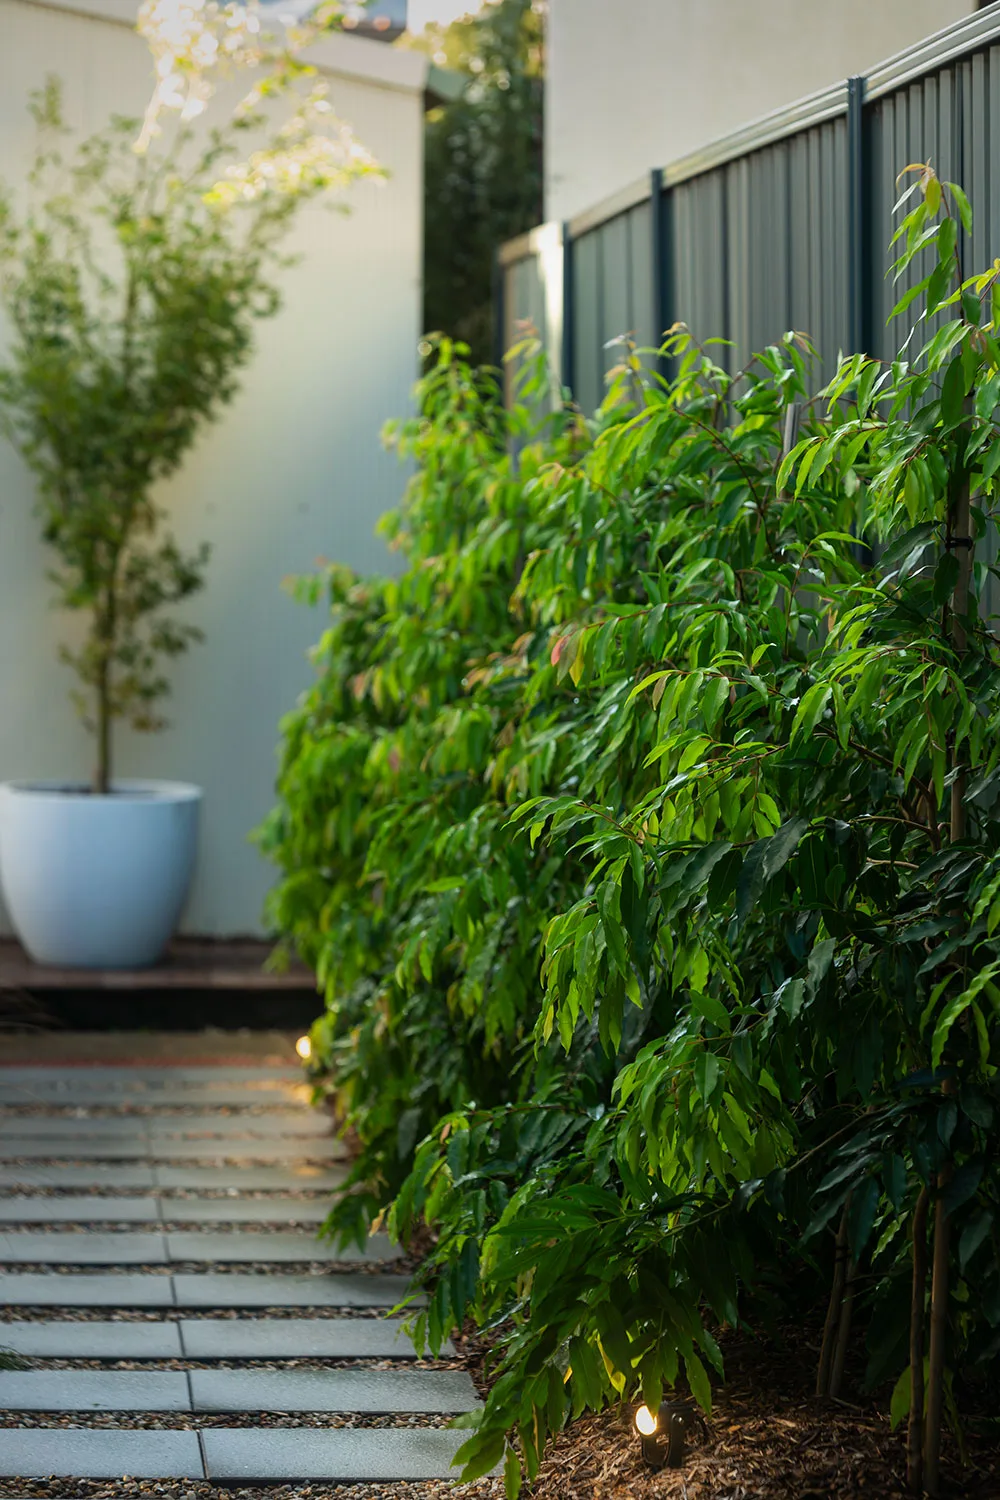

Plant a row of weeping lily pillies (Waterhousea floribunda) to create a soft, gentle screen).
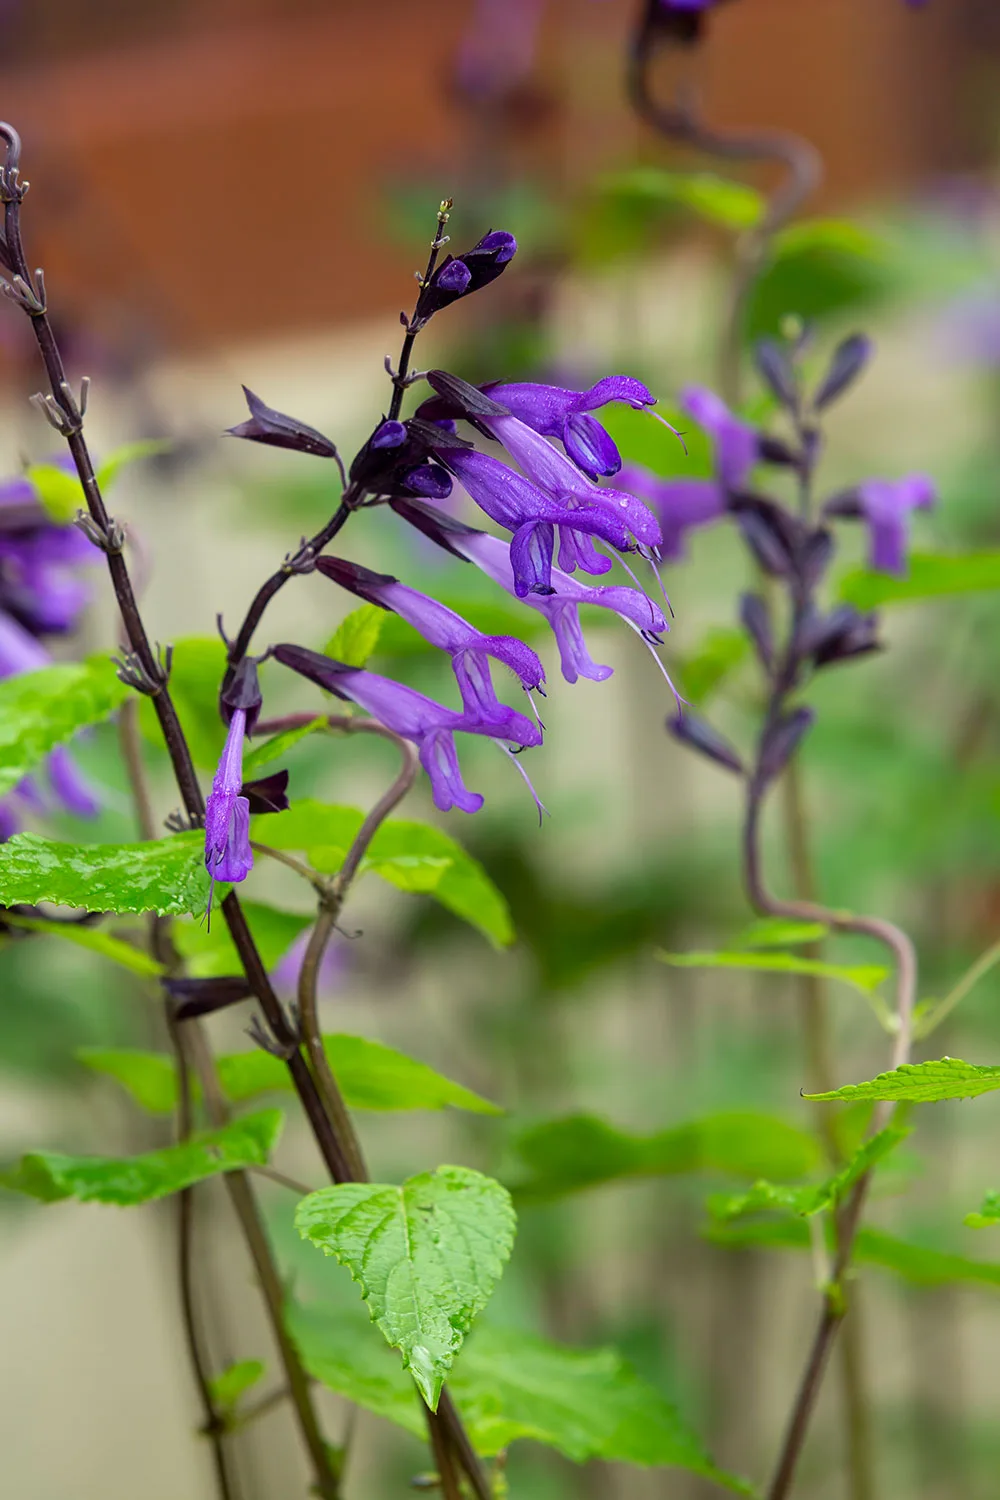
The vibrant purple flowers of Salvia ‘Amistad’ emerge from black bracts from January to April. Dramatic but easy-care and a good grower, it’s an ideal edging plant for your path.
Related stories

Native ad body.
Native ad body.


Native ad body.