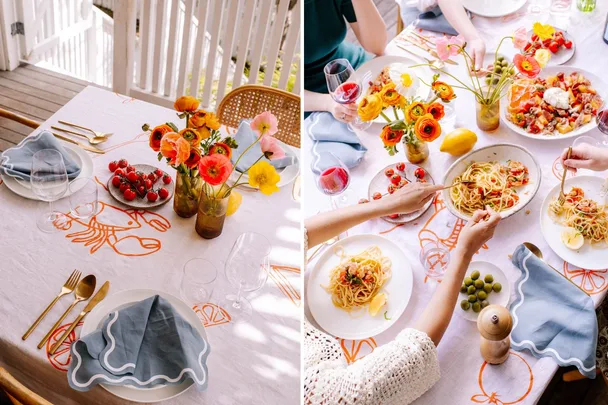
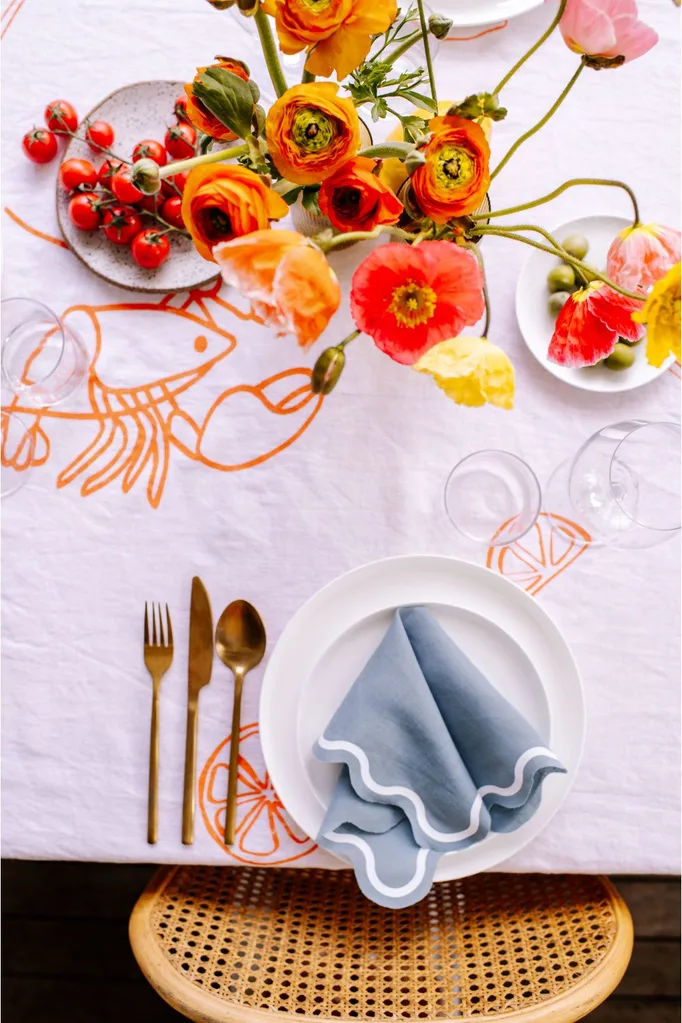
Whether you’re new to Cricut or looking for your next cute DIY project, this lobster-themed tablecloth is oh-so-cute and easy to make.
In this step-by-step tutorial, we’ll show you how to transform a plain linen or cotton piece of material into a stunning tablecloth that’s sure to impress your guests.
Additionally, we think this stenciled tablecloth would make a perfect gift. You can even customise the stencil to whatever design you want (it doesn’t have to be a lobster).
RELATED: What is a Cricut machine? Why it’s a must-have tool for crafters
Gather your supplies
- Linen or cotton tablecloth
- Cricut Maker 3 smart cutting machine
- Cricut Smart Stencil material
- Weeding tool and scraper
- Transfer tape
- Fabric paint
- Paint brush
DIY lobster tablecloth with Cricut
Choosing and cutting out the design
Step. 1
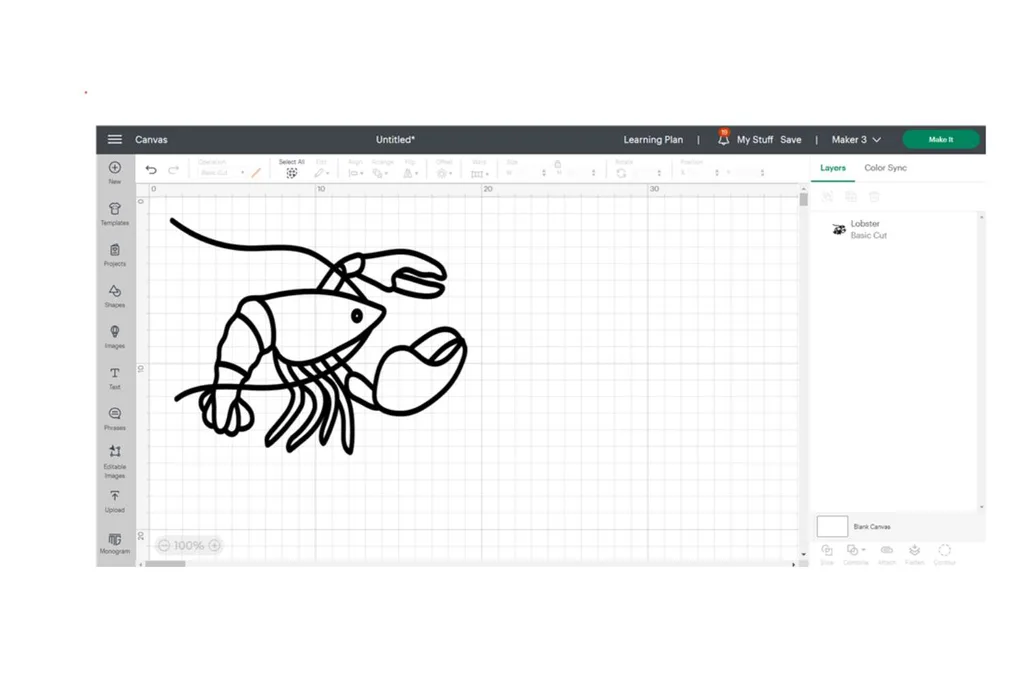
Download Cricut Design Space to your computer or connected device. Use Geneva’s design here or create your own by choosing from thousands of images and designs on the Cricut Design Space platform or upload your own.
Step. 2
Measure your tablecloth and use the arrows on the images to resize the lobsters and other images to your preferred size. If you are making a pattern, you can copy and paste the images so they are the same size.
Step. 3
Once you are happy with your design, select ‘Make It’ on the Cricut Design Space platform.
Step. 4
Follow the prompts on the Cricut Design Space app and adjust machine settings accordingly (e.g. select ‘smart stencil’ for material and select ‘without mat’ for how you will load all your materials for this project). Load the Smart Stencil into your Cricut smart cutting machine and follow the prompts.
Transferring your design

Step. 5
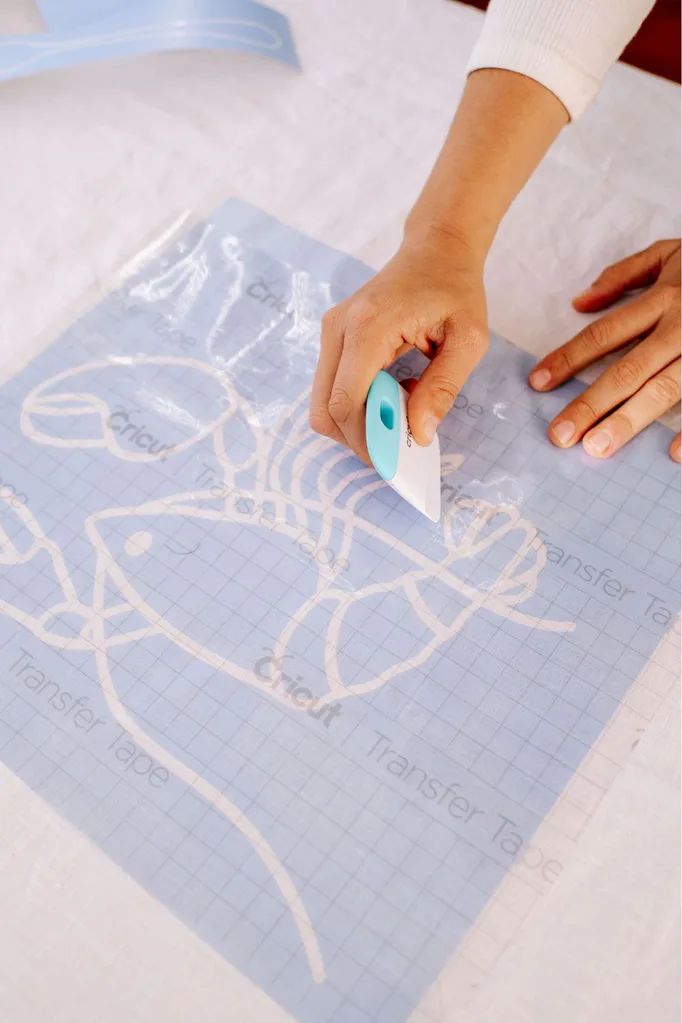
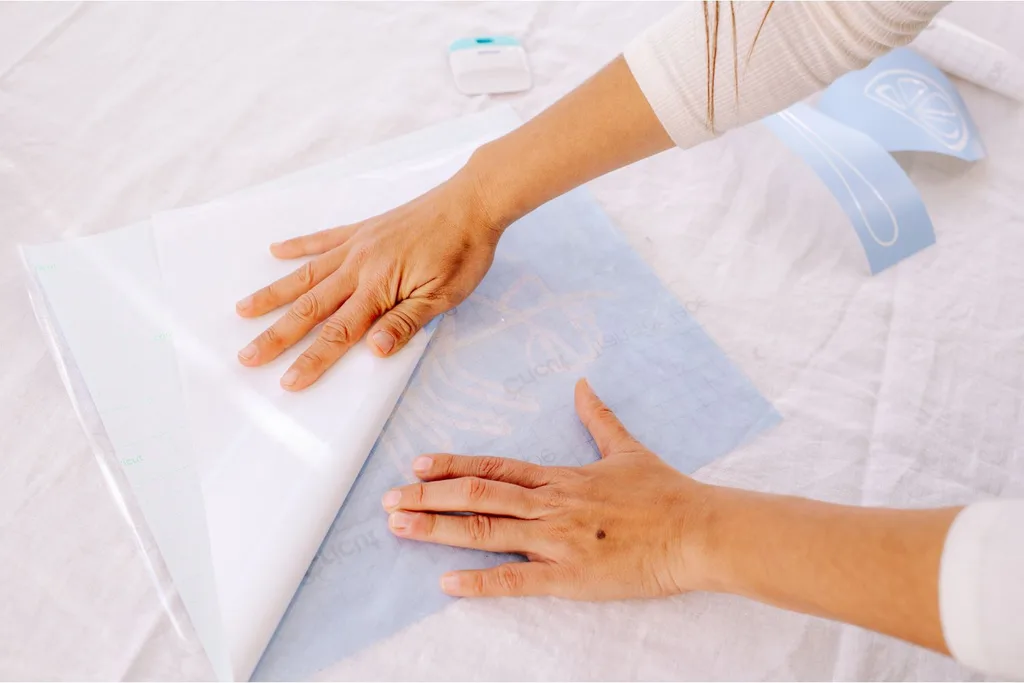
Use your weeding tool to remove the negative pieces of the design that you would like to paint from the Smart Stencil, leaving a cut-out of the design you want intact. Apply transfer tape over the stencil to ensure all the pieces stay together as one design, using the scraper to ensure no air bubbles.
Applying the design to tablecloth
Step. 6
Lay the transfer tape adhered to the stencil on the tablecloth, ensuring it’s centred, straight, and has no creases. Use scraper to apply and carefully peel back the transfer tape on an angle to reveal design leaving the smart stencil behind.
Step. 7
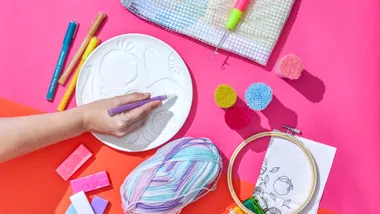
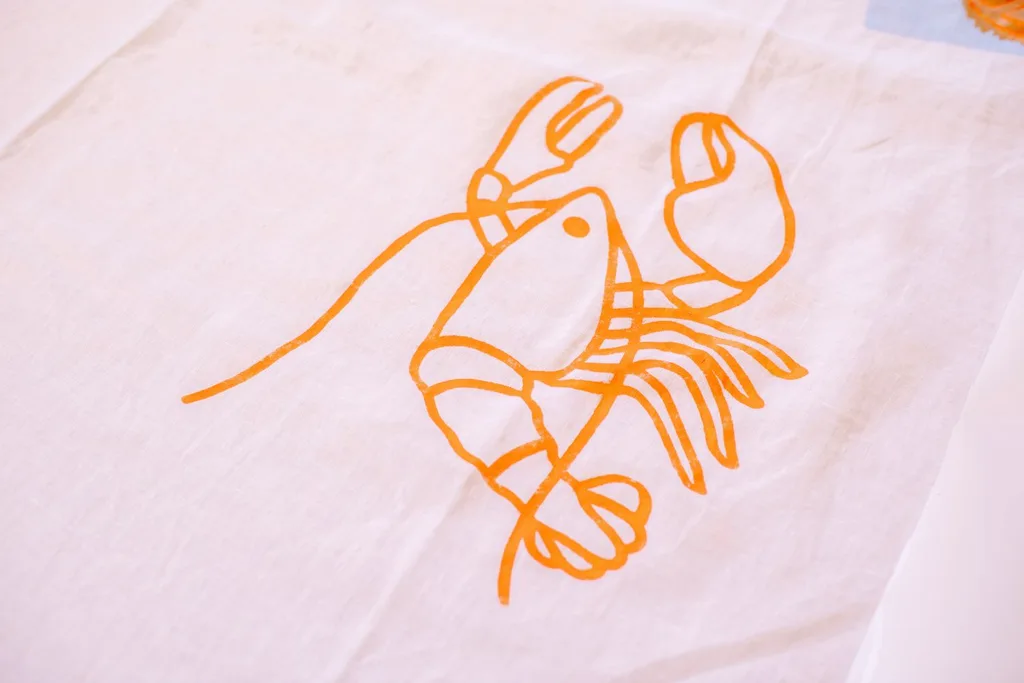
Apply the fabric paint to your design following the instructions on the bottle outside and in a well-ventilated area.
Step. 8
Let dry for a few minutes before carefully peeling the smart stencil away. Leave to dry, and voila! Your stunning tablecloth is done and ready to impress!
You might also like:
6 mind-blowing Cricut craft projects you had no idea you could make at home
How to make a personalised mug with Cricut
How to make an acrylic wall planner with Cricut
