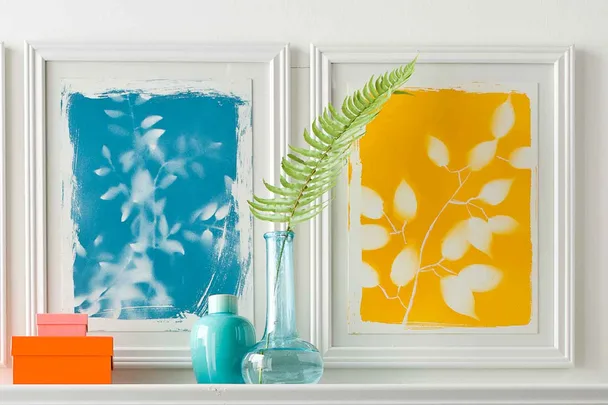
If you love the look of botanical artwork, check out this simple project. It won’t be long before you have several prints on display as we don’t think you’ll be able to stop at making one! Although this project calls for faux greenery, you can use the fresh variety as long as the shape is bold and graphic and will lie flat.
Gather your supplies
- Newspaper or large sheet of kraft paper
- Cold pressed watercolour paper or board (from art supply stores)
- Scissors
- Art masking fluid (from art supply stores)
- Paintbrush
- Silk or faux greenery
- Low-tack painter’s tape
- Spray paint in desired colours
- Eraser
- White mount for backing, cut to fit frame
- Frame, size to suit
Here’s how
Step 1 Create border

Cover your work surface with newspaper or kraft paper. Cut paper (or board) to measure 2.5cm smaller on all sides than the inside measurement of your frame. Tape paper (or board) to your work surface. Create an irregular white border by imperfectly brushing masking fluid along the edges of the paper (or board). The fluid will prevent spray paint from colouring the paper (or board) wherever it is applied.
Step 2 Secure greenery
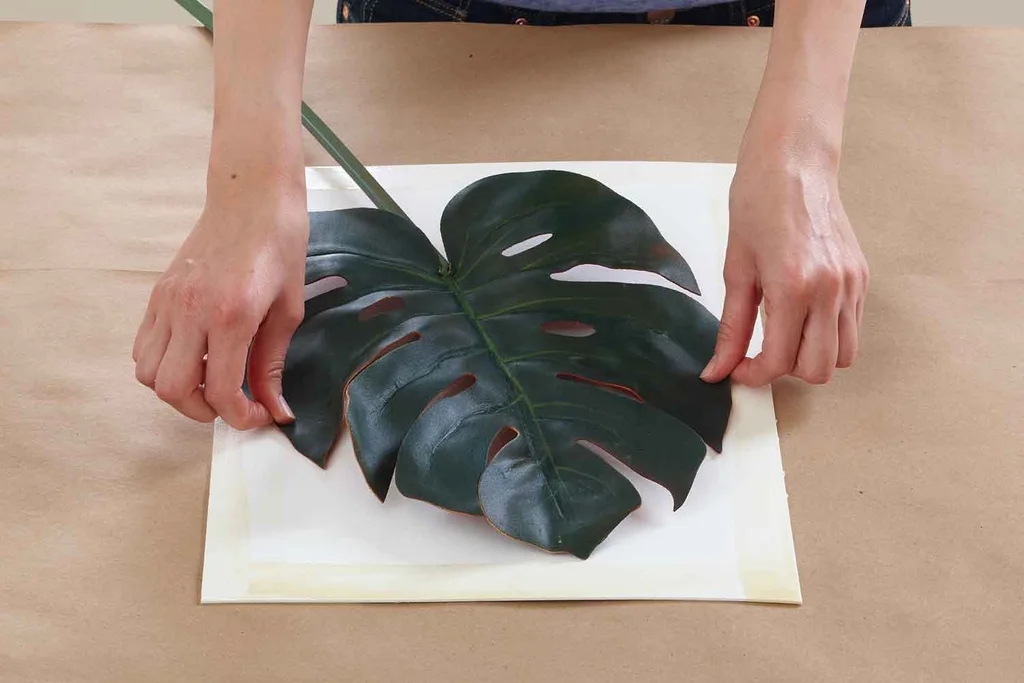
Place the greenery on the paper. It’s okay if it extends past the paper’s edges. The greenery should lay as flat as possible. You may need to manipulate the greenery by bending it so it lays flat. Secure with folded pieces of tape, if necessary.
Step 3 Spray paint
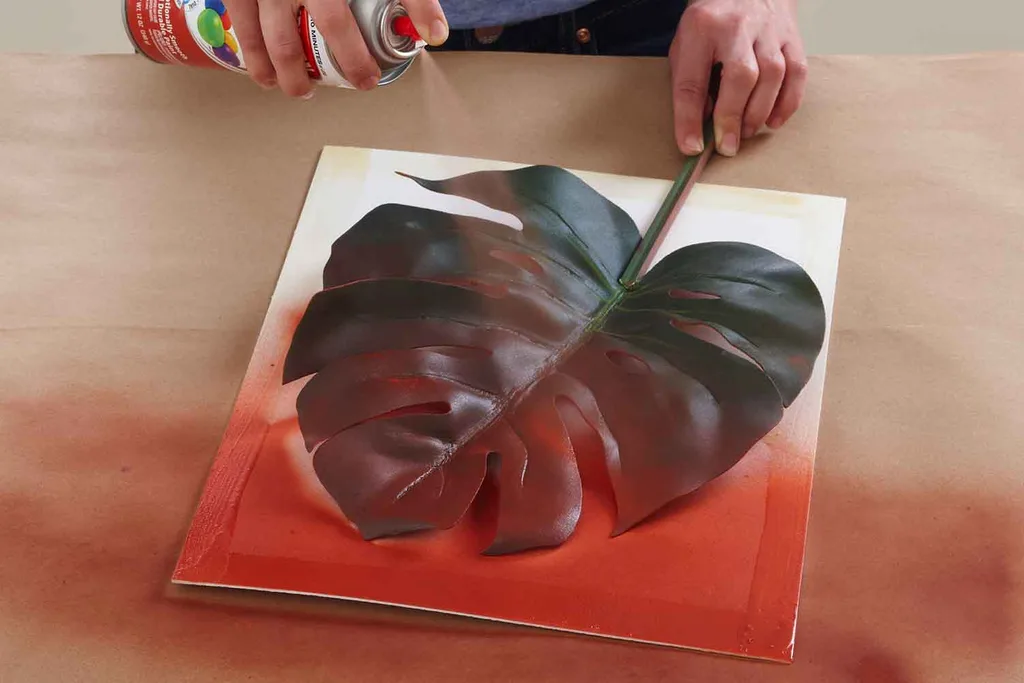
Spray paper with a single even coat of paint. Start spraying beyond one edge of the paper, across and beyond it. If hesitant, practice on a scrap piece of paper first.
Step 4 Let dry
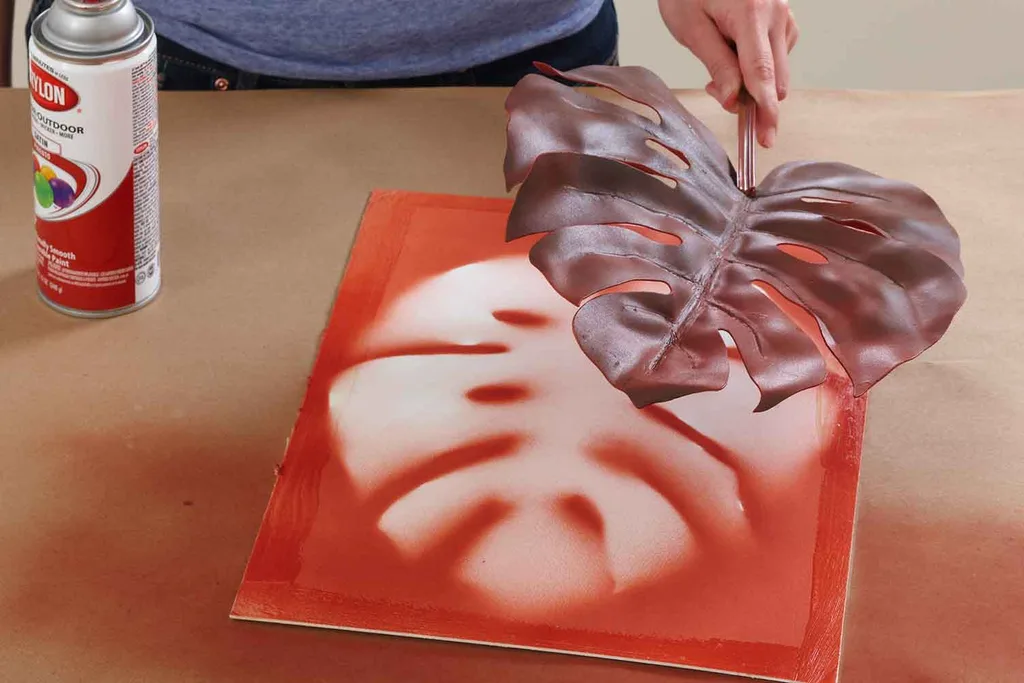
Remove the greenery and, following manufacturer’s directions, allow paint to dry.
Step 5 Remove masking fluid
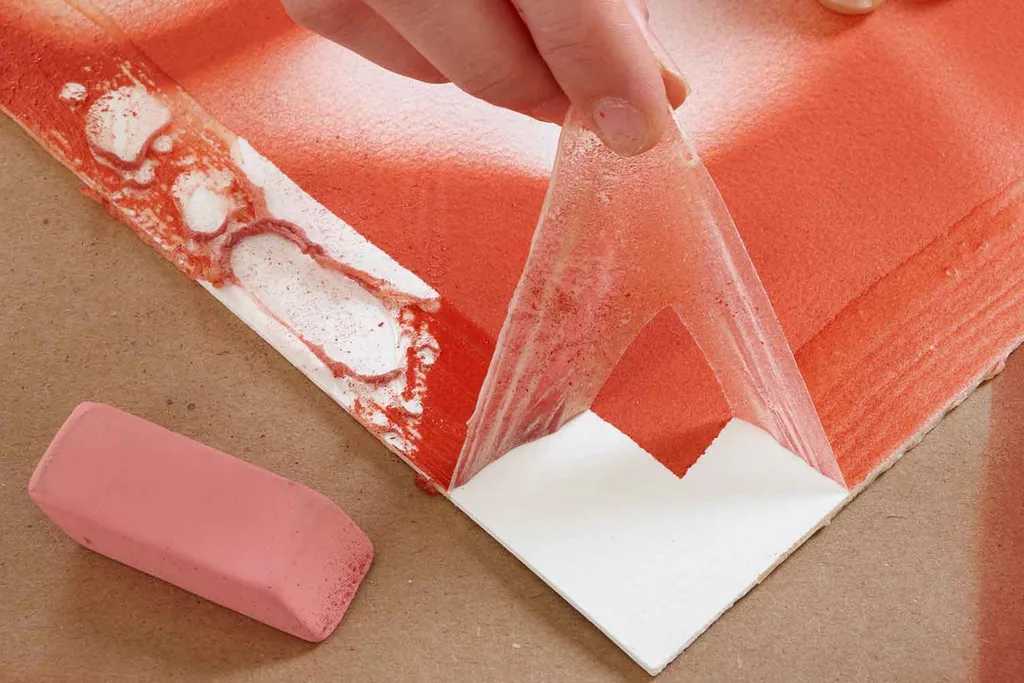
When thoroughly dry, carefully remove masking fluid by starting at the corners and using your fingers to begin lifting it off the paper (or board). Gently peel until all the masking fluid has been removed.
Step 6 Touch up the edges
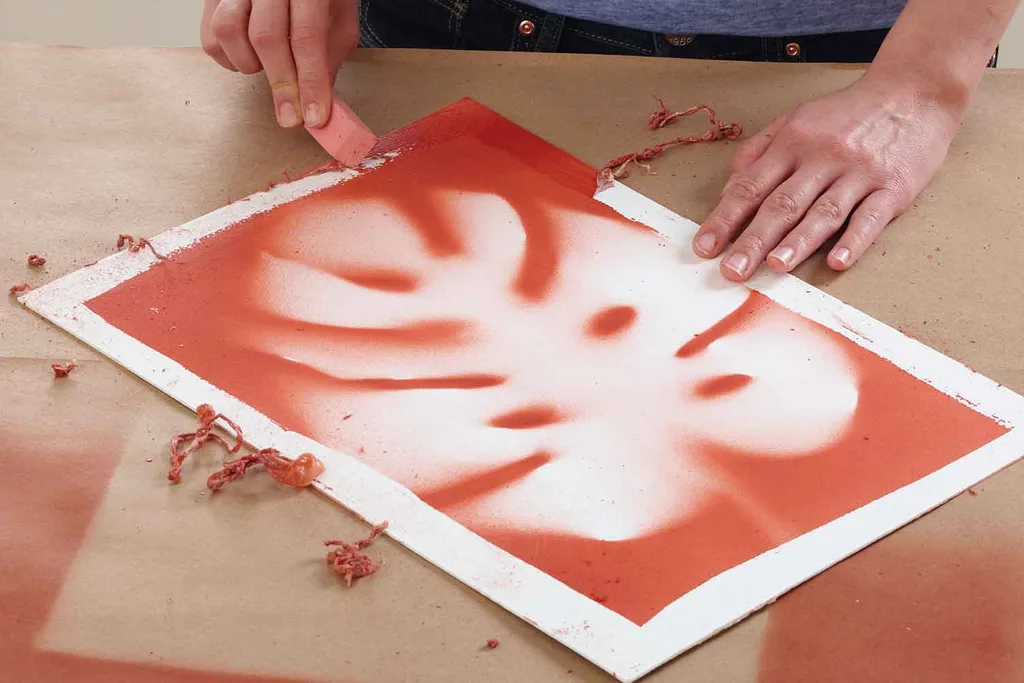
Use eraser to remove portion of the masking fluid you cannot lift off with your fingers. Start at one edge and work your way around until all the edges are cleaned up.
Step 7 Mount and frame
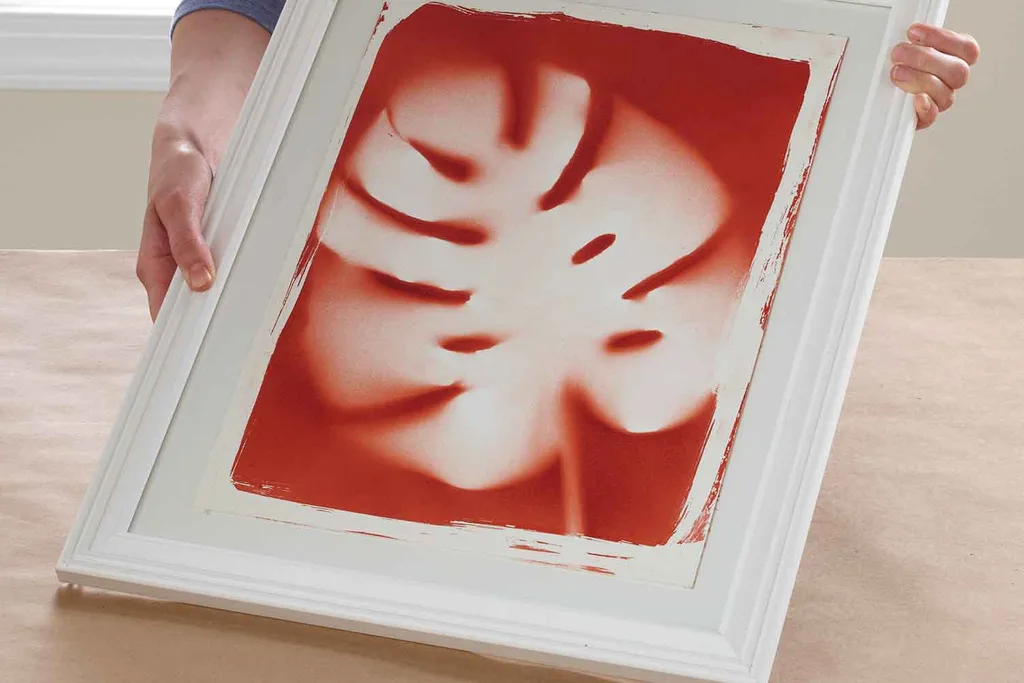
Centre and your print to white backing mount and place in frame. Repeat Steps 1-7 with a variety of botanical pieces and spray paint colours and arrange grid-like on your wall.
