Using VJ panels to create a feature wall can transform any space, introducing texture, colour and a sense of heritage.
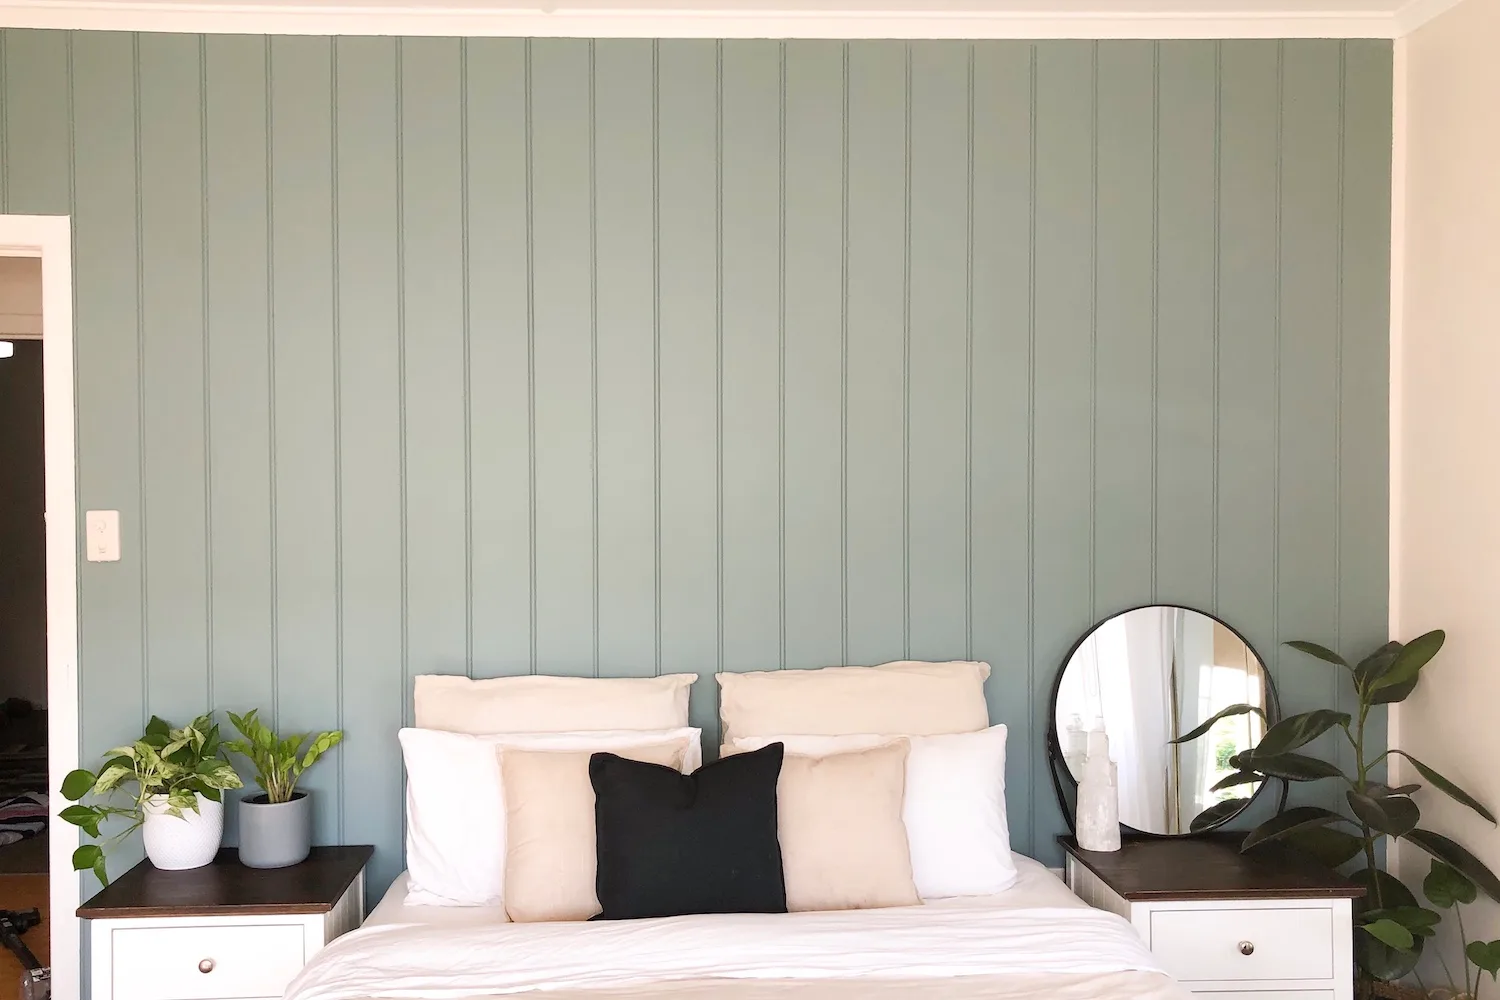
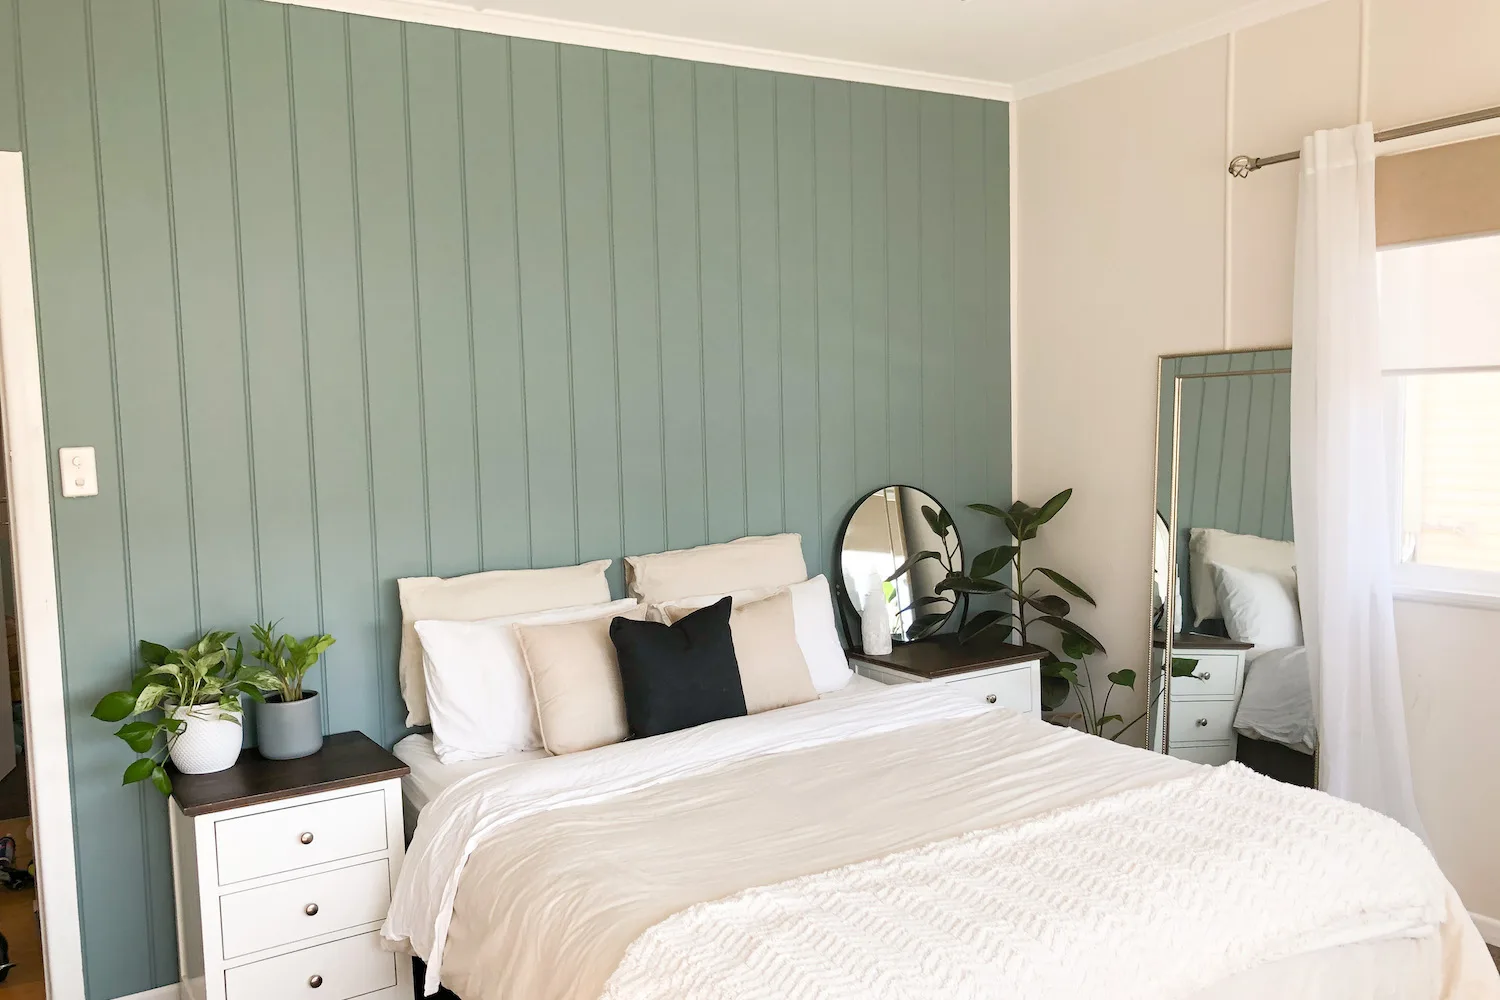
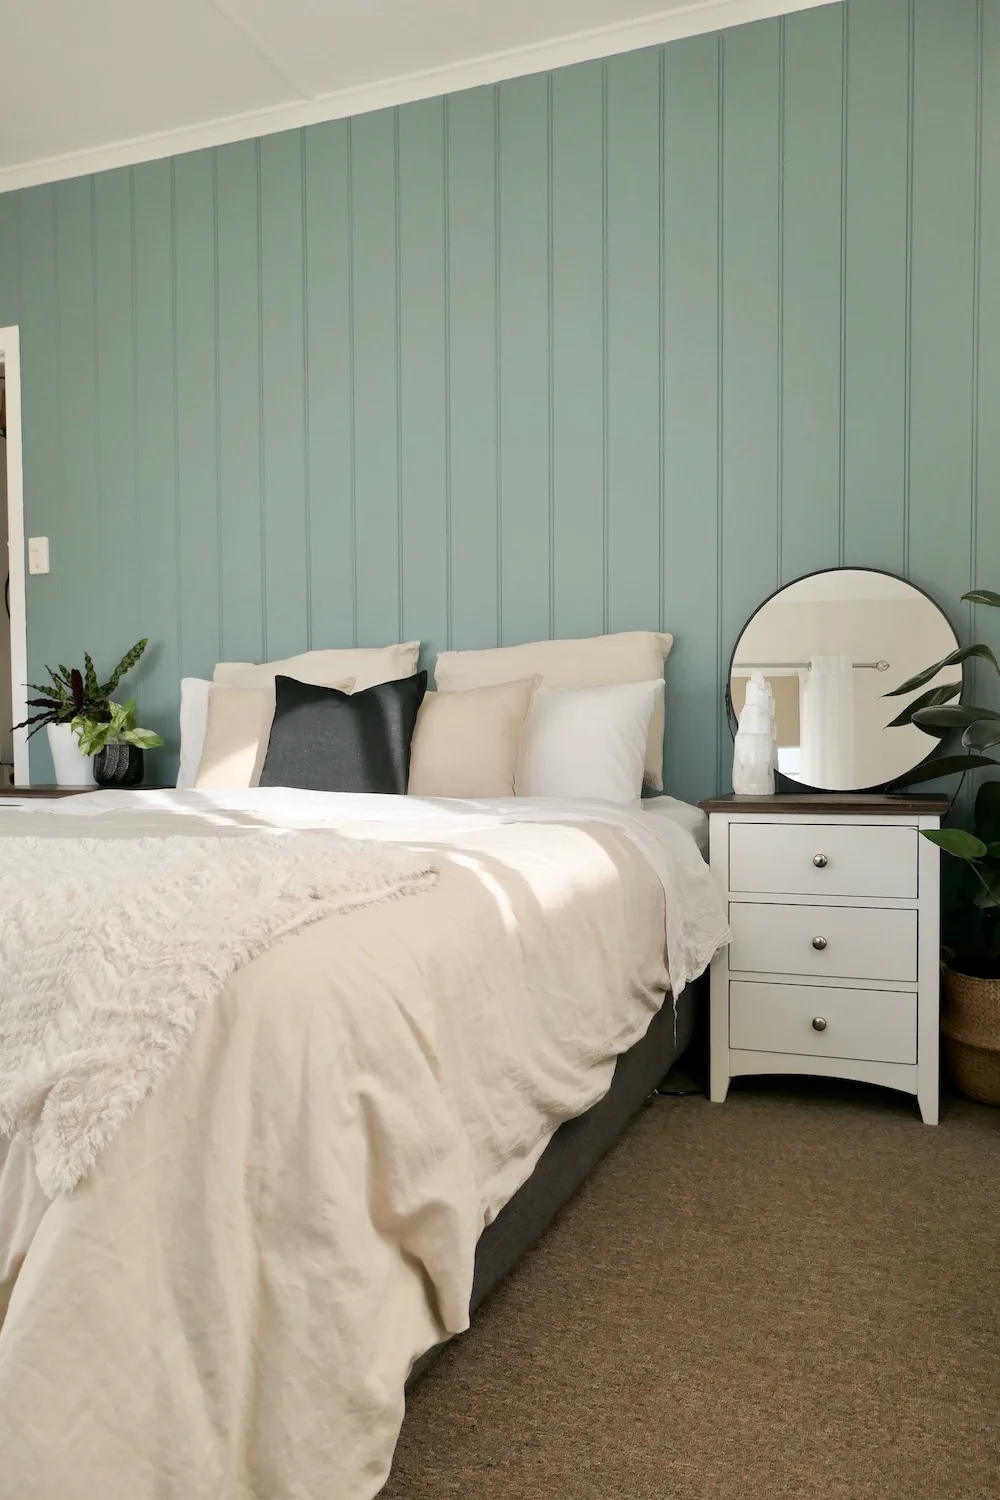
Over the course of one weekend, Maddalyn Ewin created a sage green feature wall in her bedroom. From hanging panels to filling and painting, the Brisbane mother of two completed the stunning makeover for $600.
Better Homes and Gardens Online caught up with Maddy to get the lowdown on her sensational project.
Tell us about your feature wall makeover
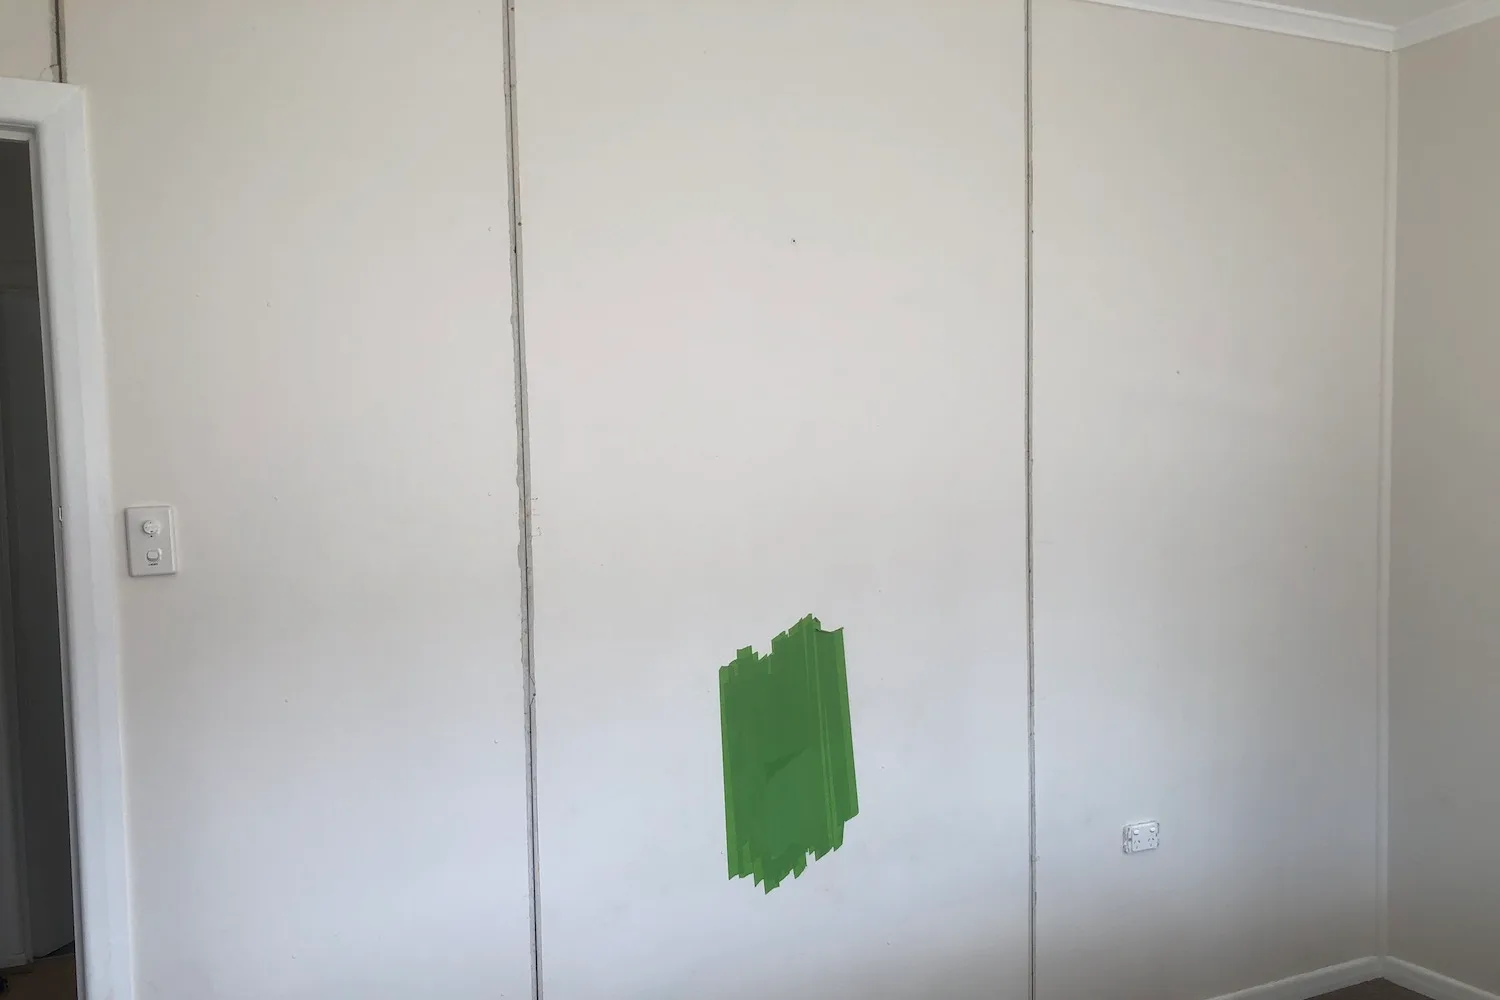
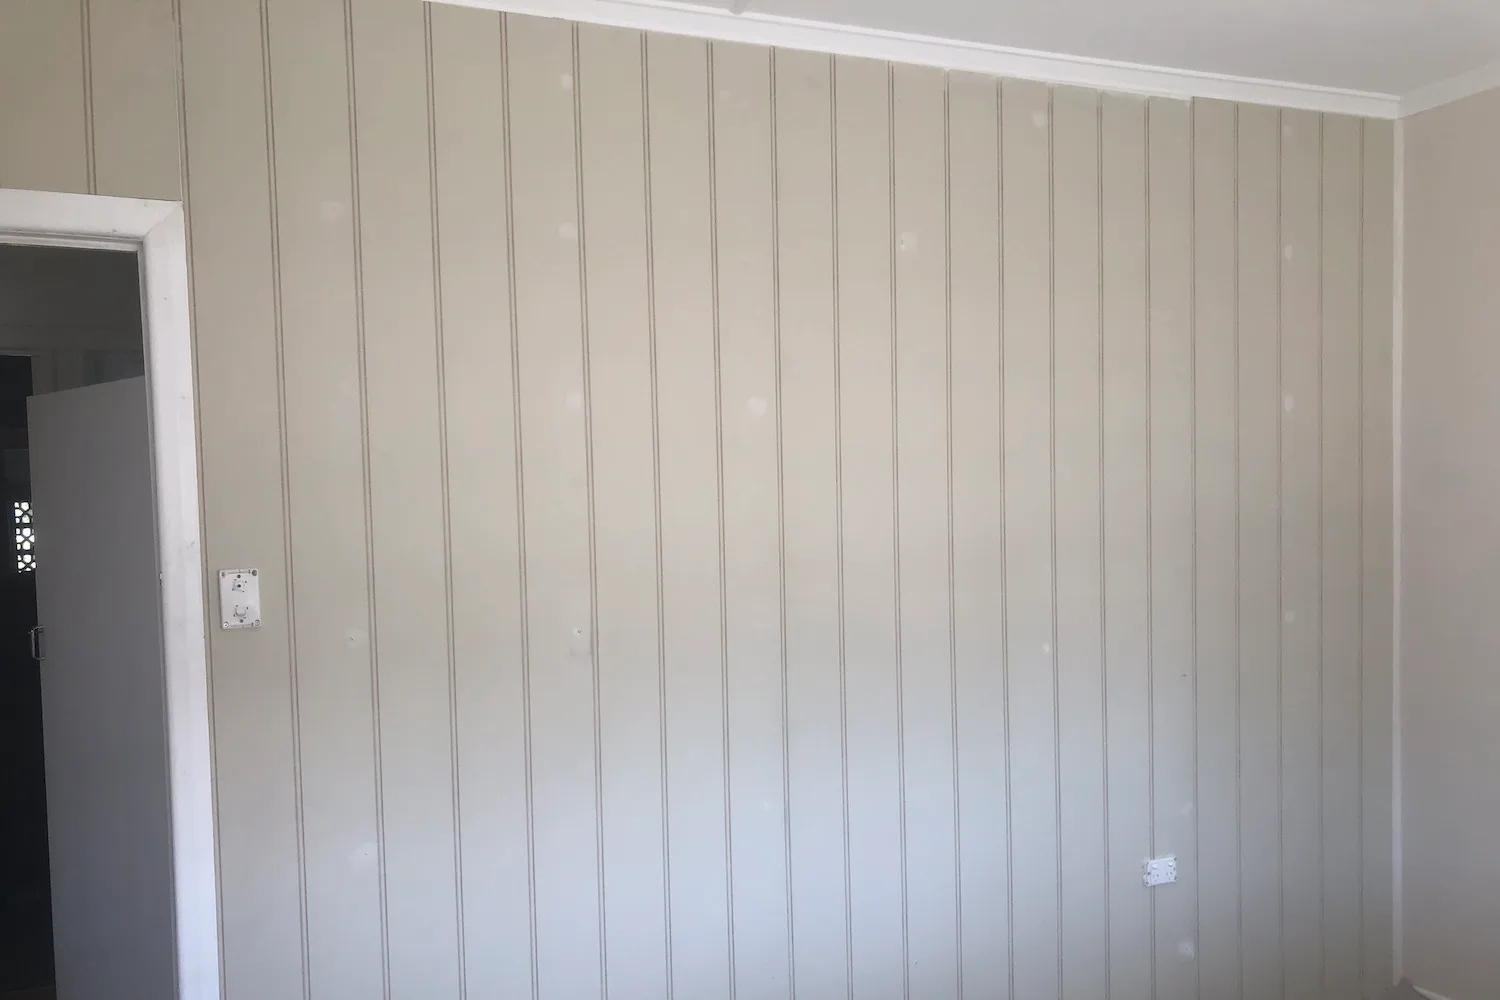
We have a post-war home, so the walls throughout the house are old fibro, which isn’t ideal. Paired with the curved beading down the walls, it’s a little less than glamorous. It has been a daunting issue to tackle cost-effectively and safely.
What inspired your makeover?
Practicality inspired the conception of this project. We had a decent-sized hole in the wall and so after a little brainstorm, we decided to cover it with the VJ panels as they are designed to go straight over the wall anyway.
I am also a huge lover of feature walls and had always intended to do one in this space, but life happens, and it becomes just another project on the to-do list. I don’t think I have ever been so grateful for a hole in a wall!
When choosing the panels, we went with ‘EasyCraft EasyRegency’ design versus a traditional VJ design as we loved the little extra detailing and wider paneling for the overall finish.
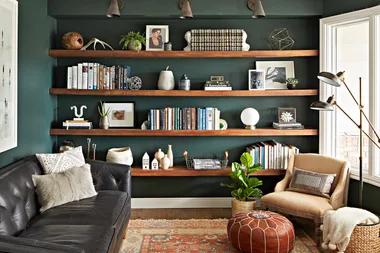
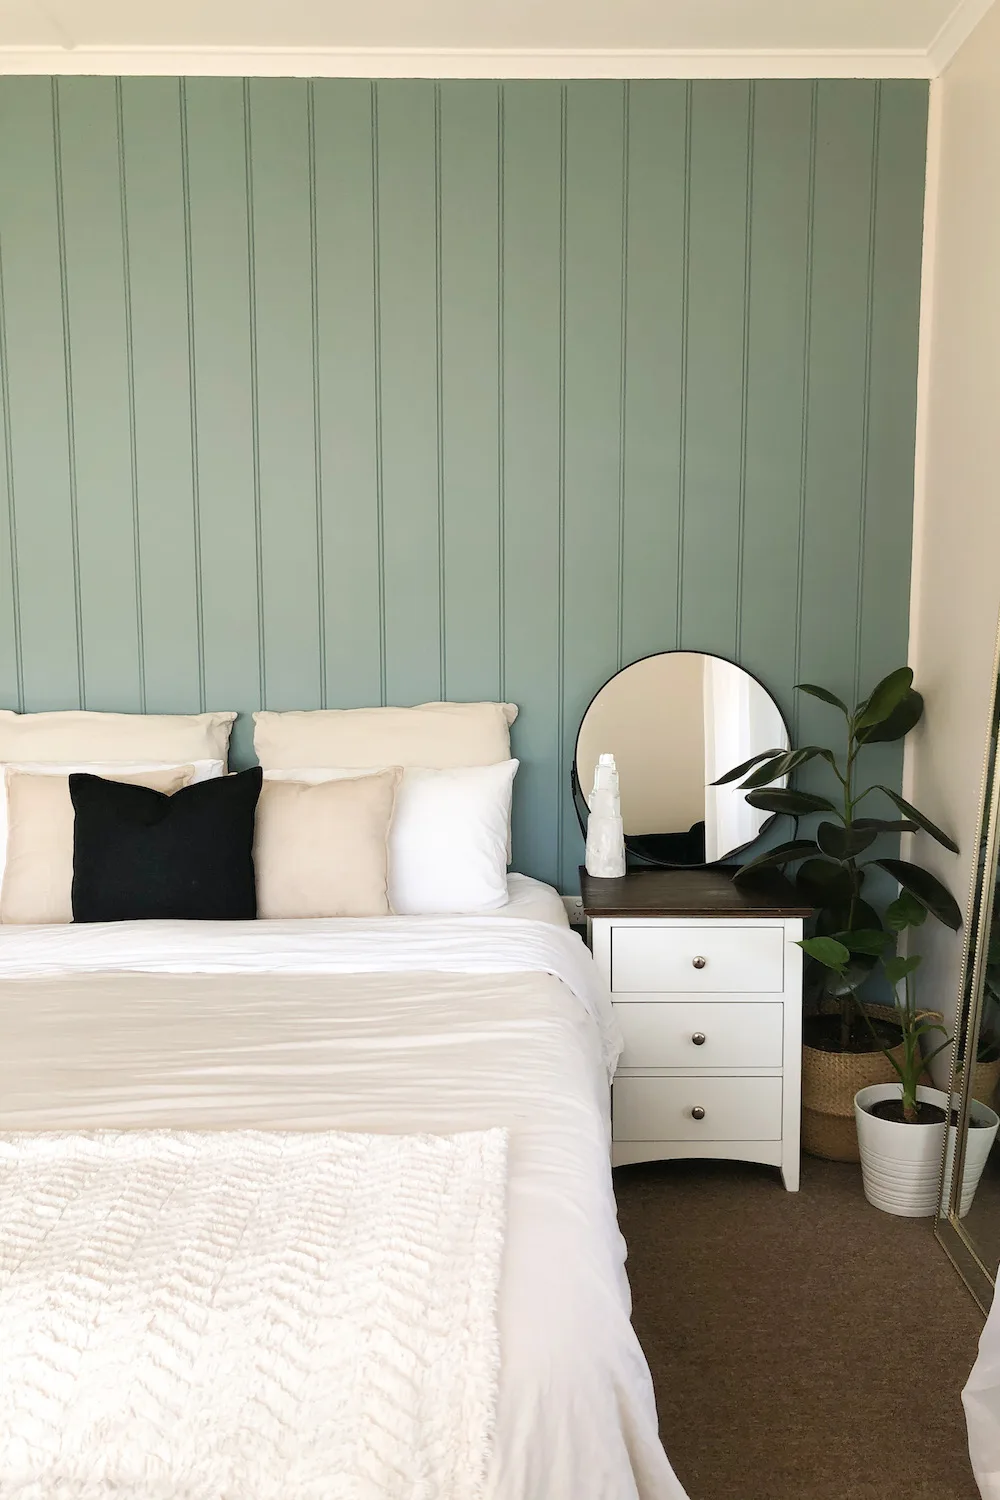
For colours I turned straight to Porters Paints as I love their dusty, earthy tones. I chose Hailstorm which is a delicious blend of blue, grey, and green. The colour adds a cool, relaxing vibe to the space without being cold, plus it perfectly complements the wall colour – Cotton Cream by Taubmans. These colours are then set off by the white on the cornice, skirting board and trims.
Have you done any makeovers before?
I have some experience with previous makeovers and projects both within my home and opportunities with my work. Out of all that, this was my first time cutting and hanging sheets and panels. So, I was a little daunted to start, but excited by the end with how much I learnt along the way and confidence in what I’d accomplished.
Other projects include a lot of painting: this is my favourite way to lift, create and change the feel of any room before you even change any décor. I painted my old pine timber kitchen cabinets giving the entire kitchen a lift. I still plan to tile the splashback and paint the benchtop which I’ll be doing myself. I have also renovated my bathroom. I have worked on the Make It Yours series with Bunnings and been featured in the kid’s bedroom makeover. The opportunity taught me a lot and I was grateful for the experience.
What kind of look were you after?
My overall style goal was for a cosy, homey yet minimalist finish. The VJ panels allowed us to create some texture on the wall and, combined with the eggshell finish of the Porters Paint, creates a sense of luxury.
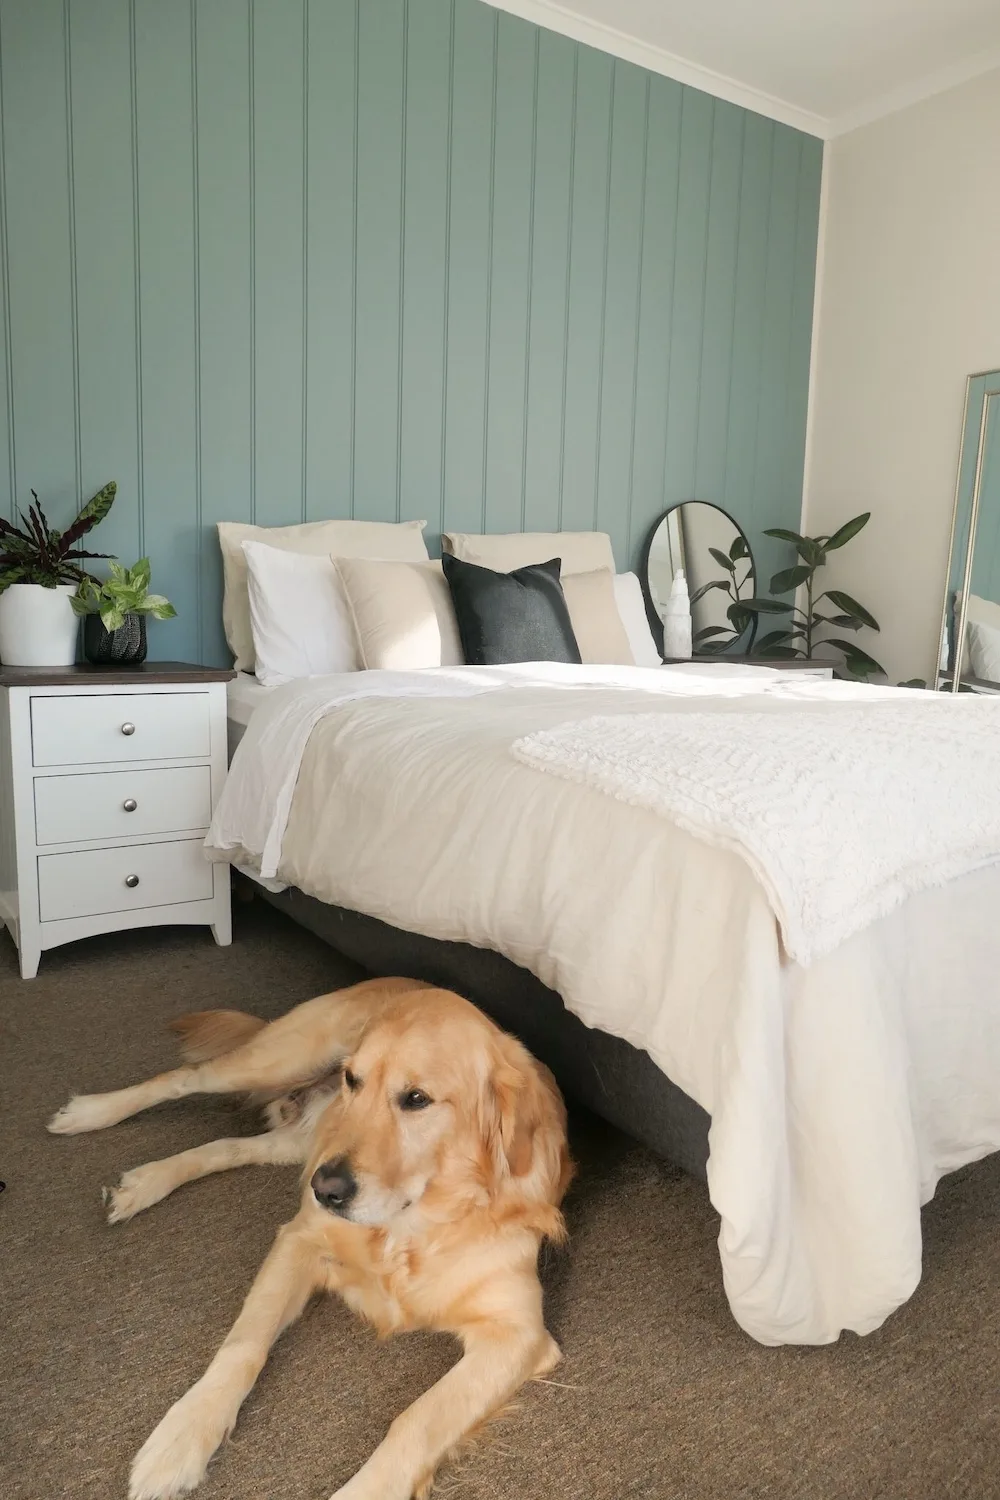
Indoor plants are a hobby of mine and I love incorporating them into all my spaces, usually in place of typical styling pieces. Life can get a little busy and even chaotic at times working, studying, and chasing two young children and a dog, so it is lovely to have a nice, calm zone to refresh and reset each day.
What were the biggest challenges?
The biggest challenge was actually getting started! I had ordered the panels and had them sitting in my shed for a couple of months, daunted by the task. I was most worried about cutting the sheets and hanging them square as it’s an old house. Getting the maths right was important too, which felt challenging at times.
But otherwise just some tedious things, like hammering the nails by hand and caulking in the gap filler is something I tend to find a little challenging. But this isn’t gap filler specific, siliconing is “hard” too.
Talk us through the process
- Measure walls and select correct measurement of panels.
- Cut panels to size using a circular saw. Also cut holes for switches and power points. For this I used a Dremel with a mix of a cutting disk and a drilling piece. Cut a hole just big enough to feed the PowerPoint straight through. A reciprocating saw or multitool could also be used.
- Remove skirting board (as well as beading strips).
- Clean walls and back of panels using Tricleanium (or sugar soap).
- Apply SikaBond Instant Nails to back of panels.
- Hang the panel in the correct position on the wall, butted up to the cornice (you will need two people for this part). While one person holds the panel against the wall, the other then nails a few nails into the studs, use a nail gun if you can. You may need a stud finder if you have smooth plastered walls. If they have visible nails in each of the studs, mark these out with tape on the floor.
- Continue along the wall, feeding through any switches and power points as you go. You don’t need to touch any wires but turn off the mains just to be safe.
- Recess all the nails into the panel using a nail punch, fill these over with Spakfilla.
- Fill any gaps along the cornice and edges using No More Gaps. Caulk the filler in and go back over using a paint scraper for excess and level over the caulk. Fix any mistakes with a damp rag as you go.
- Allow caulk and Spakfilla to dry, sand, and smooth off any excess from the nail holes.
- After sanding, clean your new wall using Tricleanium or sugar soap.
- Tape up and prep to paint.
- Undercoat/primer is needed to cover the Spakilla, otherwise, it can discolour the topcoat, or it can fail to adhere properly.
- After undercoat has dried, continue in with 2 top coats of Porters Paints eggshell finish. Work in vertical sections, 5 strips wide at a time, cutting in each strip in the VJ, along the cornice and the bottom then rolling over the top.
- Peel off tape while the second coat is still wet.
- Once paint has dried, attach skirting board using SikaBond Instant Nails again, with a few nails or screws to fasten until the glue grabs.
- Punch in nails, fill over with Spakfilla. Paint either before or after attaching. If you need to join two boards together, cut opposing 45° mitre cuts. Use a circular saw to do this or an actual mitre saw.
- Marvel at your incredible wall!
Budget breakdown
The total cost was just under $600. I had some tools and supplies on hand but had to buy a circular saw and some other bits and pieces.
WALL
Panels: $94.68 EasyCraft EasyREGENCY 3000 x 1200 x 9mm
Ryobi Circular Saw: $79 for cutting the sheets from Bunnings
Instant Nails Fast Construction Adhesive: $5.94 x 3 from Sika SikaBond
Selleys No More Gaps: $5.94 from Bunnings
Selleys Spakfilla Rapid: $10.98 from Bunnings
Nail Punch: $13.45 from Bunnings
Tricleanium: 1kg $16.60 from Bunnings
Dremel kit: $99 from Bunnings
Skirting board: $9 x 2 from Bunnings
(Already had Dremel, cleaning products, Spakfilla)
PAINT
Porters Paint in Hailstorm: 2L $83.90 from Bunnings
Portes Paint Undercoat: 1L $44.90 from Bunnings
Sanding Block: $1.80 from Bunnings
Tape Frog Tape: $16.49 from Bunnings
Brush Monarch 50mm Cutting/Framing brush: $11.98 from Bunnings
Paint Pot Unipro: $5.98 from Bunnings
Roller kit Monarch Razorback: $14.98 from Bunnings
Drop sheet Canvas Paint Partner: $16.80 from Bunnings
Opener Unipro: 54c from Bunnings
Flat stirrer Unipro Handheld: $3.08 from Bunnings
OTHER
Cloths for cleaning/prep
Rags
Tape Measure
Pencil
Paint scrapper – to level off No more Gaps
Hammer
Nails
*Stud finder (we have old walls so nails were visible where the studs are so we didn’t need this, but crucial otherwise)
Favourite part of your makeover?
Hard to choose! The finished product is incredible. Porters Paints is a standout, I’m a bit of a paint enthusiast and this product is amazing, the colour and the eggshell finish is incredible. But also, just the confidence gained from tackling something challenging and daunting with such a great outcome. It’s very rewarding, and I feel like I have learnt a lot!
You may also like
Reader project: A $300 magic staircase makeover
Reader project: A Hamptons-style dining table makeover
Reader reno: A gorgeous $700 laundry makeover
