Gather your supplies
A Front/back (2) 900 x 898 x 15mm CD plywood
B Sides (2) 900 x 868 x 15mm CD plywood
C Bottom 898 x 898 x 15mm CD plywood
D Feet (2) 90 x 35 x 800mm treated pine
E Top 1335 x 1000 x 17mm CD plywood
F1 Locating strip (2) 55 x 15 x 900mm CD plywood
F2 Locating strip 55 x 15 x 1265mm CD plywood
F3 Locating strip 55 x 15 x 930mm CD plywood
F4 Locating strip (2) 55 x 15 x 320mm CD plywood
G1 Parapet 90 x 35 x 950mm treated pine
G2 Parapet 90 x 35 x 900mm treated pine
G3 Parapet 90 x 35 x 1305mm treated pine
G4 Parapet 90 x 35 x 320mm treated pine
H Ramp 1900 x 300 x 15mm CD plywood
I Stringer 90 x 35 x 1800mm treated pine
J Rungs (7) 300 x 55 x 15mm CD plywood
K Ramp hook 90 x 35 x 335mm treated pine
L1 Corner trim (4) 70 x 845 x 15mm CD plywood
L2 Corner trim (4) 55 x 845 x 15mm CD plywood
You’ll also need
Circular saw; handsaw; fast-drying, water-resistant polyurethane adhesive (we used Sika SuperGrip); Dulux Weathershield Low Sheen in Blue Limewash and Mondrian Blue (for trim); synthetic turf; planer; straightedge
Print this guide Email this guide
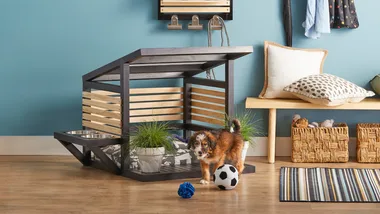
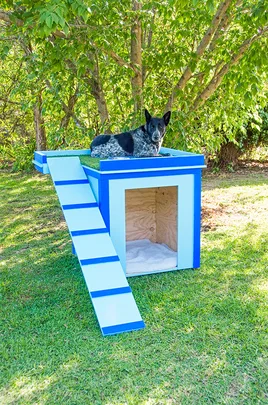
Kennels only need to be simple structures made of inexpensive materials. When building yours, make sure it’s big enough for your dog to get in and out easily, and also lie down comfortably. Remember, you can fit a small pup in a large doghouse but you can’t fit a large hound in a small one. And if your pooch decides it doesn’t like heights, your cat (or the local birds) will love it. Whatever you do, just don’t tell your dog…
Here’s how
Step 1
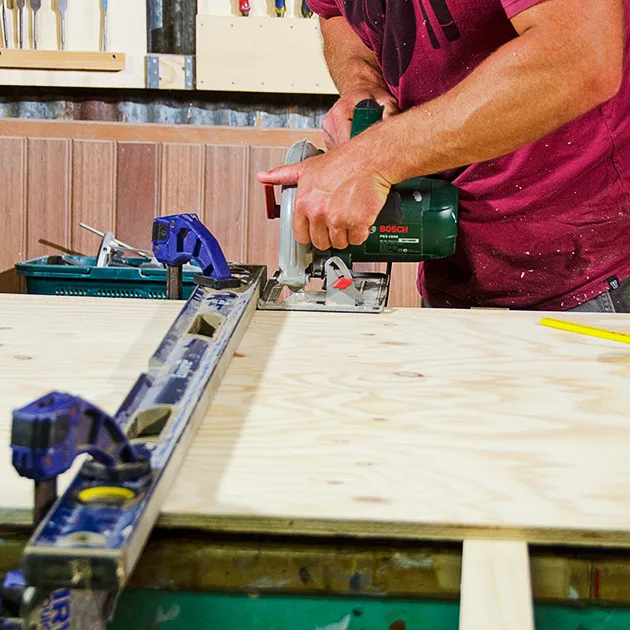
Cut plywood panels into 900mm-wide strips, then cut front and back (A), sides (B) and bottom (C) to size. Use circular saw along straightedge to get nice uniform lines.
Step 2
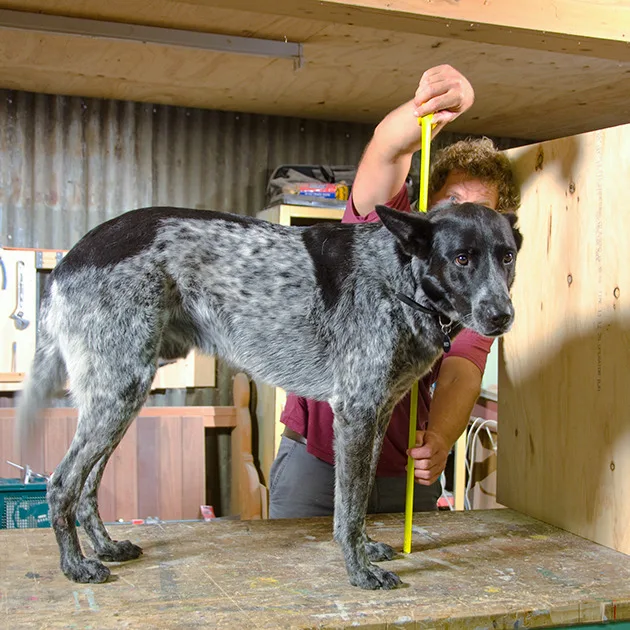
Measure height of your dog from paw to shoulder for height of door. Allow extra 50mm of headroom (so for a 750mm dog, as here, make it 800mm), and make width 500mm. Mark up measurements on front panel.
Step 3
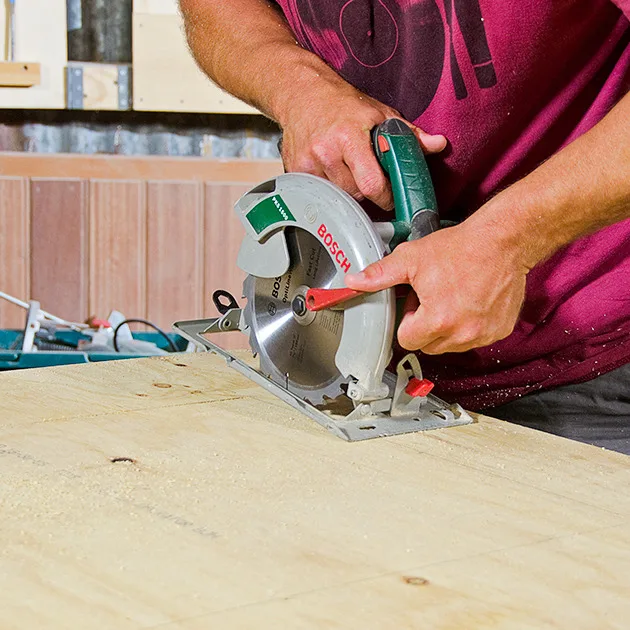
Cut out door along lines using circular saw. Cut up 1 side, then plunge-cut top of door. This is done by aligning saw with start of cut, pivoting it on its front edge, then starting saw and gently feeding it into plywood to make cut.
Step 4
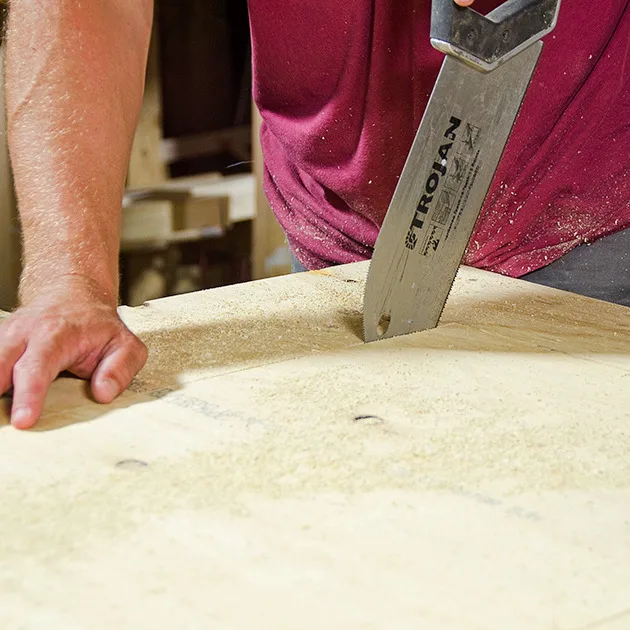
Finish off cuts using handsaw, as circular saw cant get right into corners without overcutting.
Step 5
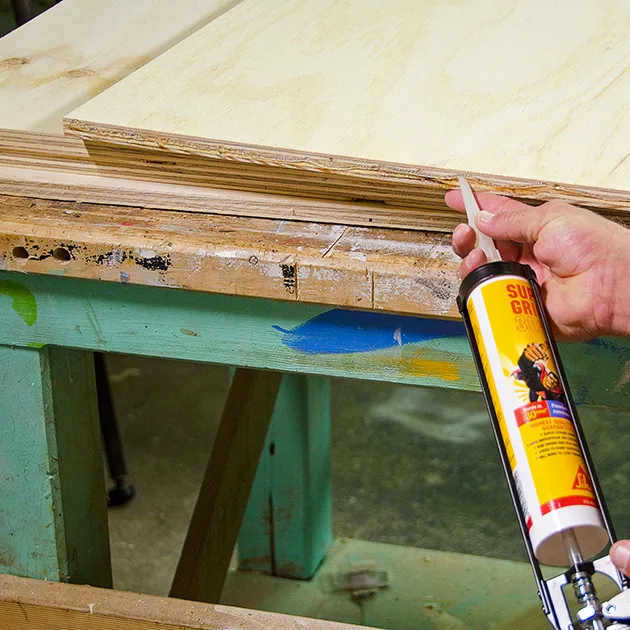
To assemble basic kennel, predrill, then glue edge of 1 side using fast-drying, water-resistant polyurethane adhesive. You only need a thin bead along joining edge because adhesive expands as it cures. All joints will need to be screwed or clamped so the glue does not force them apart.
Step 6
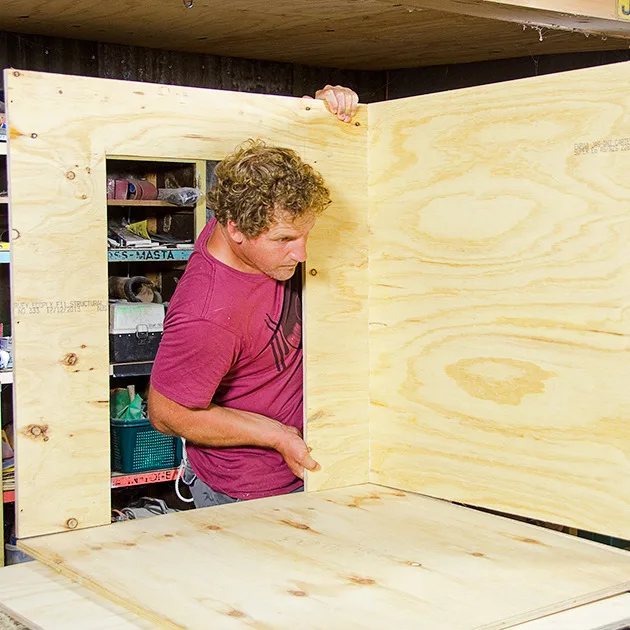
Screw the side to the front. Glue will foam out the side a little, but its best to wait until glue has cured to trim it off. The glue grabs fast and dries to a full cure in 30 minutes. Glue and screw bottom to underside of front and side in same way, screwing up from underside. Add back and remaining side to form basic kennel box.
Step 7
Put kennel on floor and screw 2 feet (D) to underside, set back from front by about 30mm. These will help keep kennel off ground so it stays drier and warmer in winter by not absorbing moisture or cold from ground.
Step 8
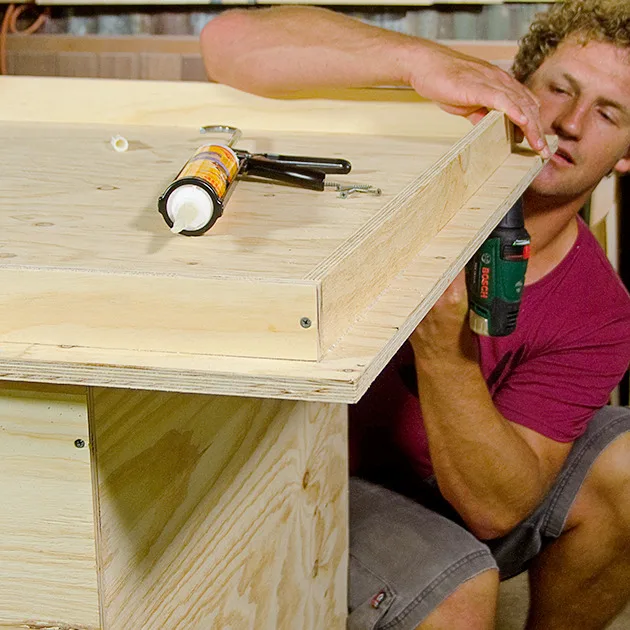
To make top (E), cut a 630 x 370mm notch out of front left corner. Put upside down on kennel. Mark parallel lines around perimeter of roof, 35 and 50mm in from outer edge on all sides except along sides of cut-out, where you only mark in 1 line, 15mm from edge. The inside of large square must not be less than 900 x 900mm. Glue and screw locating strips (F1-4) around perimeter between lines.
Step 9
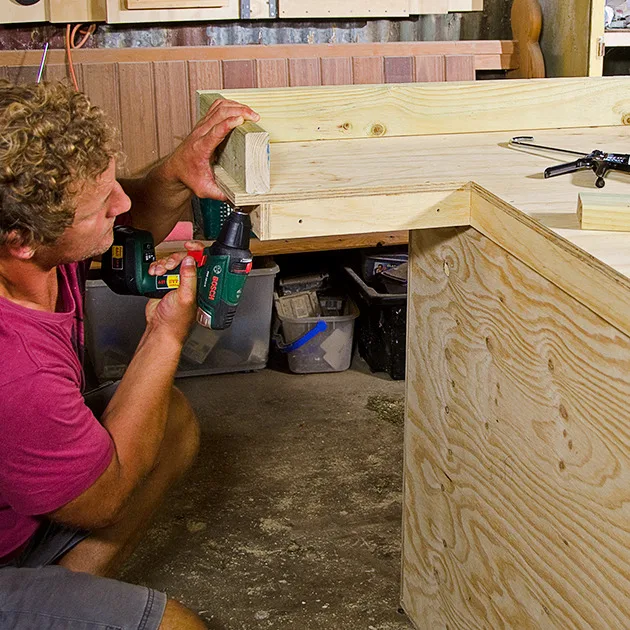
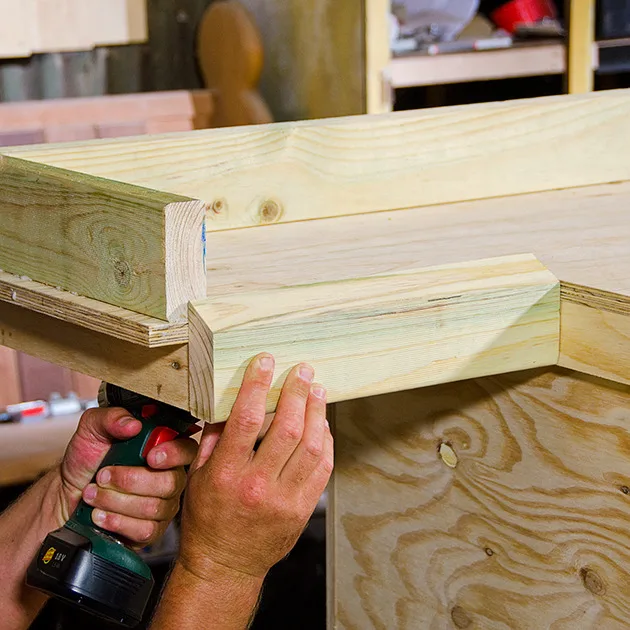
Turn top over and test-fit roof on kennel. It should be loose enough to remove easily. It will actually be a sundeck with access via ramp. Cut perimeter parapet pieces (G1-4) for sundeck and screw on from underside. Fix them 15mm in from perimeter so they are offset from locator strip positions and easy to screw in place.
Step 10
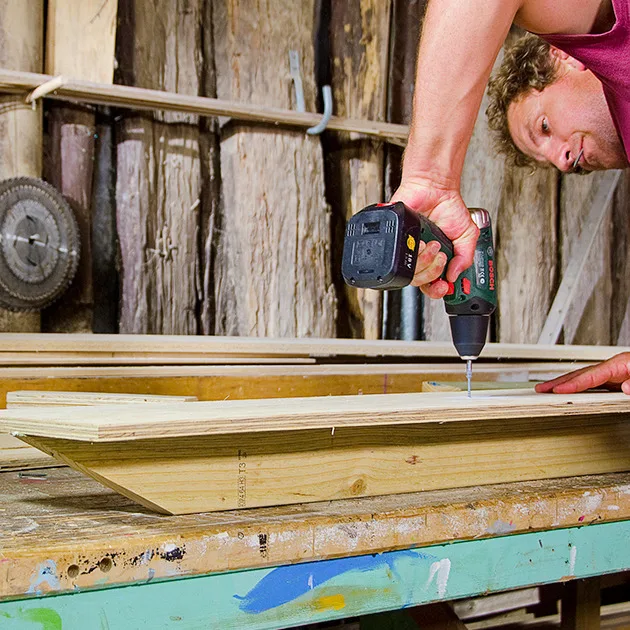
To prepare ramp (H) and stringer (I), measure 165mm from bottom of stringer, draw in acute triangle (about 30) and cut. At other end (top of stringer), do same, but only measure back 50mm for a roughly 60 angle. Glue and screw to underside of ramp with acute angle flush with bottom of ramp. Make sure bottom screw is located high enough so it doesnt poke through angled cut.
Step 11
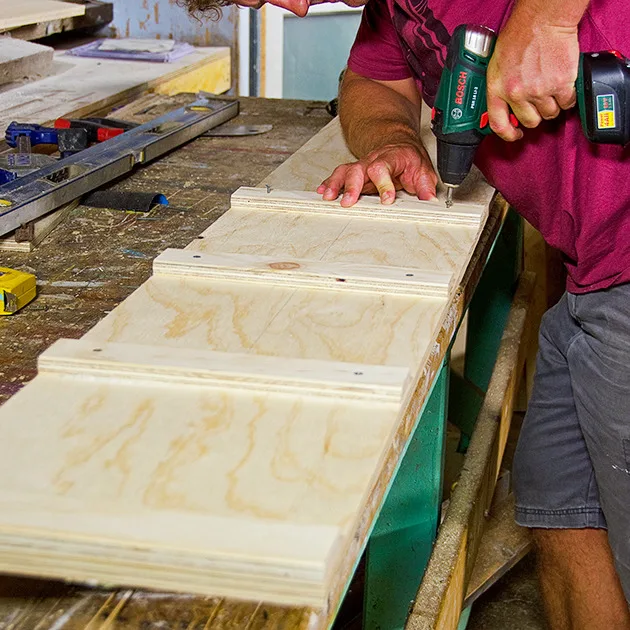
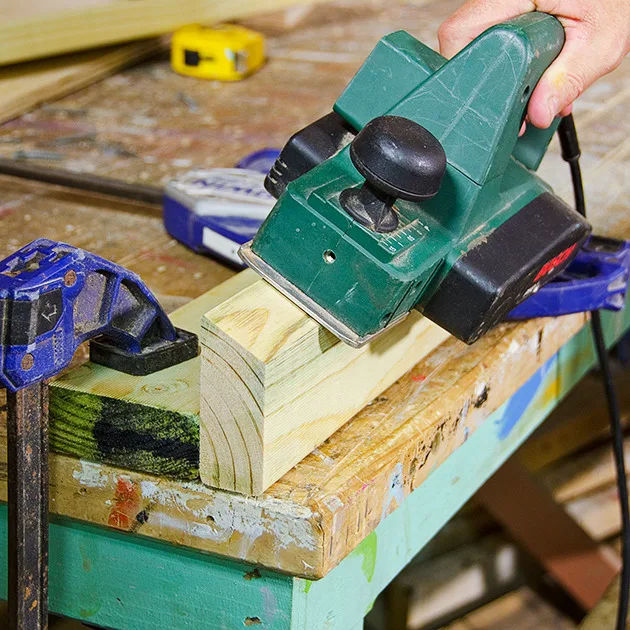
Plane a bevel along top edges of rungs (J). Glue and screw rungs to stringer, unless you have many clamps. Screws act as clamps to hold joints closed while glue sets. Space rungs at 300mm centres, starting at bottom. Top rung is fixed to underside of ramp so it can hook onto roof of kennel.
Step 12
To attach ramp to roof, make ramp hook (K): measure 20mm down face of block, draw in triangle on end grain and plane a bevel to that angle.
Step 13
Screw ramp hook to roof so underside is flush with locater strips and top is protruding a little. The ramp hooks behind this, allowing ramp to be removed for cleaning.
Step 14
Make corner trims (L1-2). Screw together and fill edges. Screw to sides of kennel under locators. If you like, you can adjust back trim to be a bit longer so it lifts rear of roof slightly to allow rainwater to drain away.
Step 15
Paint kennel with Dulux Weathershield in Blue Limewash for main areas, then pick out trim with Dulux Weathershield in Mondrian Blue.
Step 16
Cut a small piece of artificial turf to fit into space between parapets to give your proud dog the ultimate in rooftop sundeck amenities.
 Better Homes and Gardens
